Table of Contents
Advertisement
Quick Links
Advertisement
Table of Contents

Subscribe to Our Youtube Channel
Related Manuals for V-ZUG DV-S Series


Summary of Contents for V-ZUG DV-S Series
- Page 1 V-ZUG Ltd Range hood DV-S / DW-K Operating instructions...
- Page 2 The model number corresponds to the first 3 digits on the identification plate. These operating instructions apply to the models: Type Model no. Size system DV-S5 DV-S6/DW-K6 DV-S8/DW-K8 DV-S9/DW-K9 Variations depending on the model are noted in the text. © V-ZUG Ltd, CH-6301 Zug, 2009/2018...
-
Page 3: Table Of Contents
Contents 1 Safety precautions 1.1 Before using for the first time ........4 1.2 Correct use . -
Page 4: Safety Precautions
Safety precautions The appliance corresponds to recognised technology standards and the relevant safety regulations. Proper use of the appliance is however essential to avoid damage and accidents. Please therefore follow the precautions given in these operating instructions. In accordance with the requirements of IEC 60335-1: •... -
Page 5: Correct Use
1 Safety precautions Correct use • The appliance is designed for use in the home for extracting cooking fumes and smells from above the cooking surface. • Any repairs, modifications or manipulations to the appliance, especially any electrically live parts, should only be carried out by the manufacturer, its Customer Services or similarly qualified persons. -
Page 6: Note On Use
1 Safety precautions Note on use • If the appliance is visibly damaged, do not use it. Contact our Customer Services. • If the appliance is not operating properly, disconnect it from the electricity supply immediately. • If the mains cable of the appliance is damaged, it must be replaced by Customer Services in order to avoid hazard. - Page 7 1 Safety precautions • If other appliances – fuelled by gas or other fuels – are being used at the same time, ensure that there is a sufficient supply of fresh air. This does not apply to air recirculation appliances. •...
-
Page 8: Appliance Description
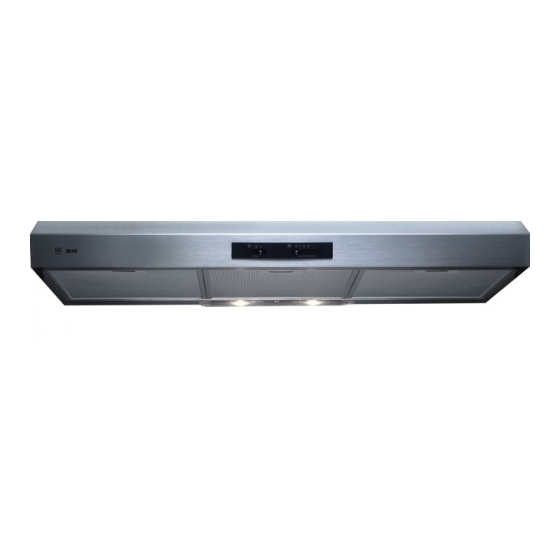
Appliance description The appliance is designed for use in the home for extracting cooking fumes and smells from above the cooking surface. It can be mounted on the wall or built in a wall unit. The appliance can be used in extraction or recirculation mode. -
Page 9: Features
2 Appliance description Features • 1 extractor fan • Illumination • 2 or 3 grease filters • 1 activated charcoal filter (not included in scope of delivery) The extractor fan has 3 power levels • 1 = low, 2 = medium, 3 = high. •... -
Page 10: Operating Element
2 Appliance description Operating element Extraction fan Operation Power level 1 Power level 2 Power level 3 Illumination Depending on the model and features, the specification of the appliance may differ from the standard specification described herein. -
Page 11: Operating The Appliance
Operating the appliance Operation Switching the extractor fan on/off Slide the switch 4 to power level ➤ Only operate power level a short time (a few minutes), then switch to a lower level. To switch off, set the switch to ➤... -
Page 12: Care And Maintenance
Care and maintenance Cleaning the housing Take care that no water gets into the housing of the appliance! If water gets into the housing, it can cause damage. Do not use abrasive cleaners, scouring pads, steel wool, etc. as they can damage the surface. Remove the screw fuse or switch off the circuit breaker. -
Page 13: Cleaning The Illumination Cover
4 Care and maintenance Cleaning the illumination cover If necessary, the illumination cover 1 can be removed for cleaning. Using a screw driver, release the ➤ fixing pin 2. Slide the illumination cover slightly ➤ to the right. Carefully lever out the illumination ➤... -
Page 14: Cleaning The Grease Filters
4 Care and maintenance Cleaning the grease filters The grease filters should be cleaned at least once a month with normal use. If properly cared for, the grease filters should provide unlimited years of service. The grease filters can be cleaned in a dishwasher. ➤... - Page 15 4 Care and maintenance Removing the grease filters Press back the grip 2 on the grease ➤ filter 1. Carefully pull the grease filter down ➤ and out of the fixture. Take care not to damage the grease filters. Replacing the grease filters Insert the grease filter into the slots at the back.
-
Page 16: Replacing The Activated Charcoal Filter
4 Care and maintenance Replacing the activated charcoal filter Remove the screw fuse for the appliance or switch off the circuit breaker. Activated charcoal filters are only used in the recirculation model. The activated charcoal filter can be disposed of with household waste. The activated charcoal filter is to be replaced after an operating period of 3–6 months. -
Page 17: Replacing The Led Light Bulb
4 Care and maintenance Replacing the LED light bulb Remove the screw fuse for the appliance or switch off the circuit breaker. LED light bulbs get warm during operation! Allow to cool down first. Remove the grease filters. ➤ Replace the damaged lamp. ➤... -
Page 18: Trouble-Shooting
Trouble-shooting What to do if … … the illumination is not working Possible cause Solution • The fuse or the circuit Replace the fuse. ➤ breaker for electrical Reset the circuit breaker. ➤ installations in the home is faulty. • Interruption in the power Check the mains supply. -
Page 19: Accessories And Spare Parts
Accessories and spare parts Please give model number of the appliance and exact description of the accessory or spare part when ordering parts. LED light bulb (230V / 3W / E14) Metal grease filter Activated charcoal filter LED light bulbs are also available from specialist retailers. -
Page 20: Technical Data
Technical data Electrical connection See identification plate. ➤ Remove the grease filter. ➤ – The identification plate is located on the inside of the appliance. -
Page 21: Disposal
Disposal Packaging • All packaging materials (cardboard, plastic film (PE) and polystyrene (EPS)) are marked and should, if possible, be collected for recycling and disposed of in an environmentally friendly way. Disconnection • Disconnect the appliance from the mains power supply. With a fixed appliance, this is to be carried out by a qualified electrician! Safety •... -
Page 22: Index
Index Accessories ....19 Maintenance ....12 Ordering . -
Page 23: Repair Service
➤ – The identification plate is located on the inside of the appliance. If the appliance is not working properly, contact your nearest V-ZUG Ltd Service Centre using freephone 0800 850 850 and stand in close proximity to the appliance. -
Page 24: Quick Instructions
Please first read the safety precautions in the Operating instructions! Operation Power level 1 Power level 2 Power level 3 Illumination V-ZUG Ltd Industriestrasse 66, 6302 Zug Tel. +41 (0)58 767 67 67, Fax +41 (0)58 767 61 61 info@vzug.com, www.vzug.com Service Centre: Tel. 0800 850 850 J010013-R06...
Need help?
Do you have a question about the DV-S Series and is the answer not in the manual?
Questions and answers