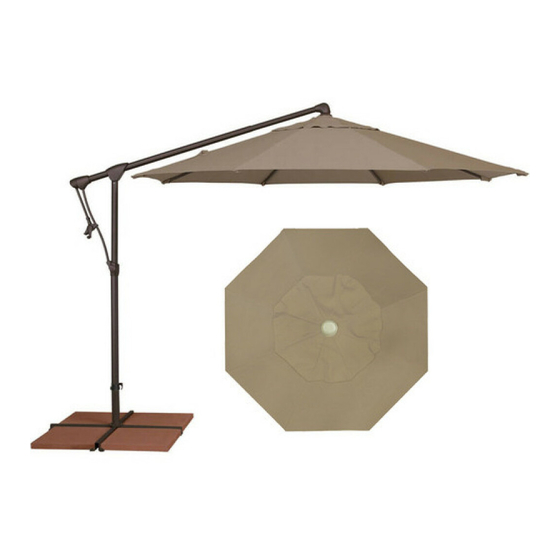
Treasure Garden AG19 Assembly And Operation Manual
10’oc tilt lever/steering rod repair
Hide thumbs
Also See for AG19:
- Assembly and operation instructions manual (9 pages) ,
- Assembly and operation manual (11 pages) ,
- Instruction manual (7 pages)
Advertisement
Quick Links
Advertisement

Subscribe to Our Youtube Channel
Summary of Contents for Treasure Garden AG19
- Page 1 AG19 10’ Tilt Lever/Steering Rod Repair Assembly and Operation Guide...
- Page 2 AG19 TILT LEVER/STEERING ROD REPAIR S T E P 1 Remove AG19 from cross bar stand and lay on soft surface (Fig. 1). Removing canopy is optional. (Fig. 1) S T E P 2 Pull down light adapter (Fig. 2). Remove 2 screws with phillips screwdriver and set aside (Fig.
- Page 3 S T E P 3 Remove 3 screws from tilt lever mechanism using a 4mm hexagon wrench (Fig. 6). Set aside screws and tilt lever mechanism covers (Fig. 7). (Fig. 7) (Fig. 6) S T E P 4 Gently pull steering rod out from tilt lever mechanism (Fig. 8). Cut cord (Fig. 9). (Fig.
- Page 4 S T E P 5 Grab new replacement tilt lever/steering rod (Fig. 10). Using a needle and thread, sew ends of new and old cord together (Fig. 11). Pull cord through runner until tight (Fig. 12). Turn crank handle counter clockwise and continue to pull on cord from runner till there is no more cord left inside steering rod (Fig.
- Page 5 S T E P 6 Place rod back into tilt lever mechanism by pushing up into tilt degree mechanism (Fig. 14). (Fig. 14) S T E P 7 Place 2 covers (Fig. 15) and plastic piece (Fig. 16) back onto tilt lever mechanism and tighten with 3 screws using 4mm hexagon wrench (Fig.
- Page 6 S T E P 8 From the runner, cut off old cord where sewn (Fig. 18) and discard old cord. Tie figure 8 knot in new cord (Fig. 19). Tug on cord from top of runner to allow cord to go back up into runner (Fig.
- Page 7 S T E P 9 Pull down light adapter from runner using fingers (Fig. 21). Place cap back onto light adapter (Fig. 22) and tighten with 2 screws using a phillips screwdriver (Fig. 23). Tighten light adapter back up in runner (Fig. 24). (Fig.
- Page 8 ©2012 Treasure Garden, Inc. - All Rights Reserved. Initial 10/12...


Need help?
Do you have a question about the AG19 and is the answer not in the manual?
Questions and answers