Table of Contents
Advertisement
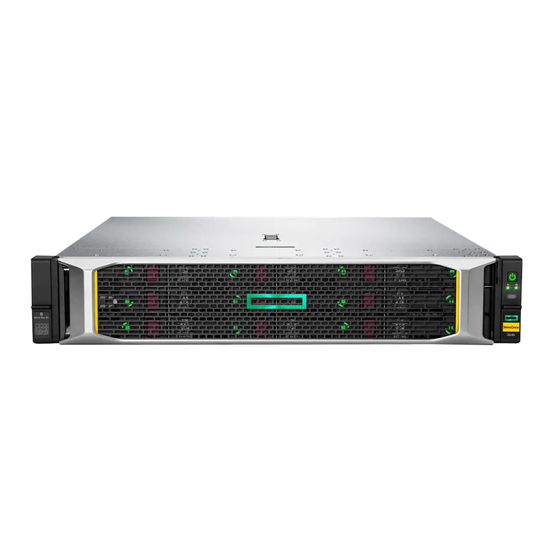
HPE StoreOnce 3620, 3640, 5200, 5250,
and 5650 Systems Installation Guide
Abstract
This guide provides instructions for installing HPE StoreOnce 3620, 3640, 5200, 5250, and
5650 Systems, including the optional hardware and capacity upgrade kits. Use the
instructions in this guide to install a new StoreOnce System or add a capacity upgrade kit to
an existing StoreOnce system. This guide is for HPE StoreOnce System administrators.
Part Number: BB954-80021b
Published: February 2019
Edition: 3
Advertisement
Table of Contents


Need help?
Do you have a question about the StoreOnce 3620 and is the answer not in the manual?
Questions and answers