Clean Water Systems 5900e Installation & Start?Up Manual
Sediment filter
Hide thumbs
Also See for 5900e:
- Installation & start?up manual (24 pages) ,
- Installation & start?up manual (24 pages) ,
- Installation & start?up manual (19 pages)
Table of Contents
Advertisement
Quick Links
Clean Water Made Easy
www.cleanwaterstore.com
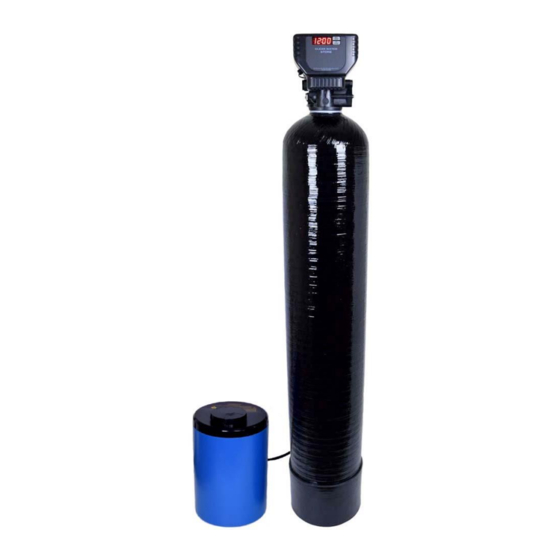
5900e Sediment Filter Installation & Start-Up Guide
Thank you for purchasing a Clean Water System! With proper installation and a
little routine maintenance your system will be providing sediment free water for
many years.
Please review this start‐up guide entirely before beginning to install your system,
and follow the steps outlined for best results.
SEDIMENT MEDIA CONTAINS DUST. USE PAPER MASK AND VENTILATE TO AVOID
BREATHING DUST.
Questions?
Call us toll‐free: 1‐888‐600‐5426 or 1‐831‐462‐8500
Email us:
support@cleanwaterstore.com
See more information on our website:
www.cleanwaterstore.com/resources
Rev 081416
Advertisement
Table of Contents

Related Manuals for Clean Water Systems 5900e


Summary of Contents for Clean Water Systems 5900e
- Page 1 Clean Water Made Easy www.cleanwaterstore.com 5900e Sediment Filter Installation & Start-Up Guide Thank you for purchasing a Clean Water System! With proper installation and a little routine maintenance your system will be providing sediment free water for many years. Please review this start‐up guide entirely before beginning to install your system, and follow the steps outlined for best results.
-
Page 2: Table Of Contents
How Your Sediment Filter Works ........................6 Fig 2: Typical Sediment Filter 5900e piping installation with ball valve and hose bib after the filter .. 7 Fig 3: 5900e from the rear showing the inlet (left) and outlet (right) end‐connector fittings 3/4” or 1”... -
Page 3: Packing List
Packing List Sediment Filter 0.75 cubic foot size 5900e Backwash Control Valve w/ pipe connector kit (1”or ¾”) and Drain Line Barb Fitting Bypass Valve Assembly w/ 4 clips, 4 screws and 2 extra O‐rings Drain Line Flow Control (DLFC) buttons – 5 and 7 GPM 8”... -
Page 4: Pre-Installation
1. See typical installation on page 7 (Fig 2). The Sediment Filter is installed after the pressure tank. 2. Make sure to connect the IN pipe to the 5900e inlet and the OUT pipe to the outlet (see Fig 2). -
Page 5: Installation Of Your System Into Copper Or Metal Piping Systems
Filter on start‐up and gives you a place to test the water before it enters your household plumbing. 4. If you will be using copper piping, do not sweat the copper pipe directly on to the 5900e control valve. Avoid heating up the 5900e control valve plastic with the torch. -
Page 6: How Your Sediment Filter Works
5900e Sediment Filter Installation & Startup Guide This is simple and easy step to take if you are installing your water treatment system into copper piping. A simple ground jumper wire with a pipe clamp can be purchased at any Home Center, or hardware store, etc. -
Page 7: Fig 2: Typical Sediment Filter 5900E Piping Installation With Ball Valve And Hose Bib After The Filter
5900e Sediment Filter Installation & Startup Guide Fig 2: Typical Sediment Filter 5900e piping installation with ball valve and hose bib after the filter Page 7 www.cleanwaterstore.com Rev 081416... -
Page 8: 1" Npt In Noryl Plastic. Brass End-Connectors Are Also Available For Connecting To Copper Tubing
5900e Sediment Filter Installation & Startup Guide Fig 3: 5900e from the rear showing the inlet (left) and outlet (right) end- connector fittings 3/4” or 1” NPT in Noryl plastic. Brass end-connectors are also available for connecting to copper tubing. -
Page 9: Assembly And Installation Instructions
6. Add a small amount of silicone grease to the tank threads and both o‐rings on the bottom of the control valve and screw on 5900e control valve carefully. Do not use pipe‐joint compound, vegetable oil, Teflon tape, or Vaseline or other petroleum greases to lubricate tank threads. - Page 10 5900e Sediment Filter Installation & Startup Guide Assemble the bypass valve When you remove the bypass valve from the box, the valves are in the open position. Holding the bypass so that you are reading the In and Out (so that the...
- Page 11 It is OK to run the drain line up and over the 5900e Sediment Filter up to 4 feet above the top of the tank. If the drain line will be more than 20 feet, use larger diameter tubing such as ¾”...
-
Page 12: Programming Your Valve
5900e Sediment Filter Installation & Startup Guide ever desire for testing purposes, it is OK to use rigid PVC pipe for the drain. Make sure the drain tubing is firmly clamped to the barbed fitting with a hose clamp to prevent leaks. -
Page 13: Master Programming Mode
5900e Sediment Filter Installation & Startup Guide Next you will need to set the Master Programming to be used as a Sediment filter, continue on to the next page to finish the programming instructions. Master Programming Mode Entering Master Programming Mode ‐To enter Master Programming Mode press and hold both buttons for 5 seconds. -
Page 14: Sample Regeneration Displays
5900e Sediment Filter Installation & Startup Guide Sample Regeneration Displays Page 14 www.cleanwaterstore.com Rev 081416... -
Page 15: Initial Backwash
5900e Sediment Filter Installation & Startup Guide Initial Backwash 1 If days remaining is not already at 1 press and hold the Set/Change button. Now, press and hold the set change button again, until the valve begins the backwash cycle and the display reads 1 –... -
Page 16: Maintenance
5900e Sediment Filter Installation & Startup Guide Maintenance Normal Operation ‐Normal display alternates between time of day and days until regeneration. ‐Days remaining until the next regeneration will count down from the regeneration day override value to 1 day remaining. -
Page 17: Troubleshooting The 5900E Sediment Filter
Sediment filter. You can verify the backwash flow rate by running the drain line into a bucket and timing it when the 5900e is in Cycle 1 or backwash. A 1.0 or 1.5 cubic foot system should have 5 gallons per minute and a 2.5 cubic foot system should have 10 gallons per minute of backwash. - Page 18 5900e Sediment Filter Installation & Startup Guide 2) From the Service Mode, initiate a manual regeneration, by pressing and holding the regen button (button on far left). 3) The valve will advance to the BW (backwash) position, and start counting down. Press the Regen button again, and wait for the valve to advance and stop at the Rapid Rinse (RR) position.
Need help?
Do you have a question about the 5900e and is the answer not in the manual?
Questions and answers