
Subscribe to Our Youtube Channel
Related Manuals for Softing echolink S7-compact


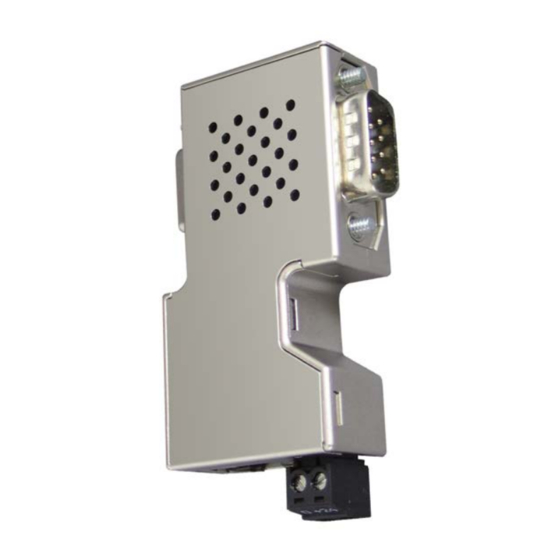
Summary of Contents for Softing echolink S7-compact
- Page 1 S7-compact Plug&Play Ethernet Coupler for SIMATIC S7 Version: D-102013-01 © Softing Industrial Automation GmbH 2013...
- Page 2 Read the manual before the start. For damages due to improper connection, implementation or operation Softing refuses any liability according to our existing guarantee obligations. The recent version of this manual is available in the Download Area of the Softing at: http://industrial.softing.com.
-
Page 3: Table Of Contents
Software Installation ........................ 5 2 Configuration ....................7 3 PLC Programming with Step 7 via TCP/IP ..........12 Connecting with Softing VCOM S7 Compact ............... 12 Settings in SIMATIC Manager ....................13 4 OPC Access ....................15 RFC1006 ..........................15 echolink S7-compact –... - Page 4 Chapter 1 Introduction...
-
Page 5: Introduction
- echolink S7-compact functionality is compatible with echocollect with PLC programming license 1.3 System Requirements The echolink S7-compact requires for its function an appropriate power source with 18V bis 24 V output. The power can be supplied to the device either directly over the Profibus Interface from the PLC or with an external power source. - Page 6 Chapter 2 Configuration...
-
Page 7: Configuration
Configuration 2 Configuration 1. Start the Netcon configuration tool 2. Click on “Configuration via TCP/IP” The next window will displays the echolink S7-compact device(s), connected to the local network. echolink S7-compact – Getting Started / Configuration... - Page 8 192.168.1.15. In order to prevent IP address conflict, be sure that this IP address does not already exist in the network or please connect to the echolink S7-compact directly. 3. Select the device and click on “OK”, or double click on the device, alternatively.
- Page 9 The bus parameters are set for MPI/Profibus by default. In case that these do not fit your custom bus, please change them accordingly: • Proceed with „OK“. The device will be configured in a few seconds: • Confirm the dialog with „OK“. The device list will appear again echolink S7-compact – Getting Started / Configuration...
- Page 10 10 | Configuration • In order to update the list, click on the “Scan for stations” button. echolink S7-compact – Getting Started / Configuration...
- Page 11 Chapter 3 PLC Programming with Step 7 via TCP/IP...
-
Page 12: Plc Programming With Step 7 Via Tcp/Ip
Proceed with „OK“ In the following dialog will open: • Here define the destination IP address of the echolink S7-compact (here, e.g., 192.168.25.30). • Proceed with „OK“ echolink S7-compact – Getting Started / PLC Programming with Step 7 via TCP/IP... -
Page 13: Settings In Simatic Manager
Here, select the virtual COM-port. This port needs to be the same one, as you select in the Softing VCOM S7 Compact configuration. • Proceed with „OK“ Now, you can program and diagnose your STEP 7 over the TCP/IP network. echolink S7-compact – Getting Started / PLC Programming with Step 7 via TCP/IP... - Page 14 Chapter 4 OPC Access...
-
Page 15: Opc Access
Because of the more universal use we recommend to use MPI/RFC 1006 protocol. 4.1 RFC1006 echolink S7-Compact behaves similar to a Siemens S7 communication processor. If a Rack/Slot ® Configuration is not offered by your OPC tool, it is necessary to configure a MPI /PB Address in the TSAPs directly to create a link between PLC and MPI connector.
Need help?
Do you have a question about the echolink S7-compact and is the answer not in the manual?
Questions and answers