Sign In
Upload
Download
Table of Contents
Contents
Add to my manuals
Delete from my manuals
Share
URL of this page:
HTML Link:
Bookmark this page
Add
Manual will be automatically added to "My Manuals"
Print this page
×
Bookmark added
×
Added to my manuals
Manuals
Brands
Emerson Manuals
Gateway
1410H
Quick start manual
Emerson 1410H Quick Start Manual
Hide thumbs
Also See for 1410H
:
Reference manual
(66 pages)
1
Table Of Contents
2
3
4
5
6
7
8
9
10
11
12
13
14
15
16
17
18
19
20
21
22
23
24
25
26
27
28
page
of
28
Go
/
28
Contents
Table of Contents
Bookmarks
Table of Contents
Table of Contents
Wireless Planning
PC Requirements
Initial Connection and Configuration
Establishing a Connection
Configure the Gateway
Physical Installation
Terminating Resistors
Software Installation (Optional)
Verify Operations
Product Certifications
Advertisement
Quick Links
1
Initial Connection and Configuration
Download this manual
See also:
Reference Manual
Quick Start Guide
00825-0300-4410, Rev AA
February 2019
™
Emerson
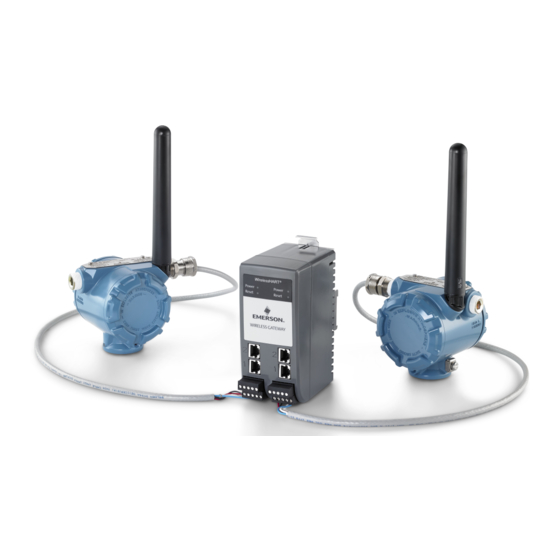
Wireless 1410H Gateway and
781 Field Links
Table of
Contents
Previous
Page
Next
Page
1
2
3
4
5
Advertisement
Table of Contents
Need help?
Do you have a question about the 1410H and is the answer not in the manual?
Ask a question
Questions and answers
Related Manuals for Emerson 1410H
Gateway Emerson 1410H Reference Manual
And 781 field links (66 pages)
Gateway Emerson Smart Wireless Gateway 1410 Reference Manual
Emerson smart wireless gateway 1410 (76 pages)
Gateway Emerson 1410 Quick Start Manual
Emerson smart wireless gateway 1410 (20 pages)
Gateway Emerson 1410 Reference Manual
Wireless gateway (66 pages)
Gateway Emerson Wireless 1410 Gateway Reference Manual
(68 pages)
Gateway Emerson 1410 A/B Quick Start Manual
Wireless and gateway with781 field link (30 pages)
Gateway Emerson 1410D Quick Start Manual
(36 pages)
Gateway Emerson 1410S Quick Start Manual
Wireless gateway (32 pages)
Gateway Emerson 1410S Reference Manual
Wireless gateway and smart antenna (134 pages)
Gateway Emerson 1410S Reference Manual
(64 pages)
Gateway Emerson 1410S Quick Start Manual
Wireless gateway (44 pages)
Gateway Emerson Rosemount 1410S Quick Start Manual
Wireless gateway (48 pages)
Gateway Emerson Rosemount 1410S Reference Manual
Gateway/smart antenna (78 pages)
Gateway Emerson Rosemount 1410S Quick Start Manual
(48 pages)
Gateway Emerson 1420 Reference Manual
Wireless gateway (84 pages)
Gateway Emerson Smart Wireless Gateway 1420 Quick Start Manual
(24 pages)
This manual is also suitable for:
781 field link
Table of Contents
Print
Rename the bookmark
Delete bookmark?
Delete from my manuals?
Login
Sign In
OR
Sign in with Facebook
Sign in with Google
Upload manual
Upload from disk
Upload from URL


Need help?
Do you have a question about the 1410H and is the answer not in the manual?
Questions and answers