Advertisement
Advertisement
Table of Contents

Summary of Contents for Vista PVM18DEC
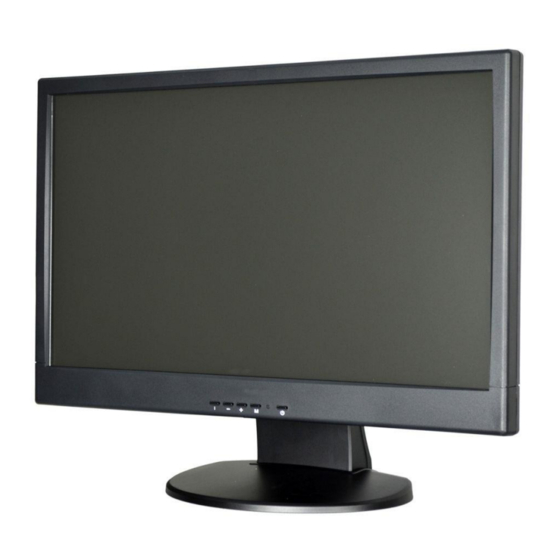
- Page 1 Quick Start Guide Quick start guide for the PVM18DEC...
- Page 2 Norbain SD,Inspired, East Hampstead RD, Bracknell, RG12 1YQ. UK +44 (0) 118 912 5000 Vista Technical Helpline: +44 (0) 118 912 5125 Note: You should be at the equipment and ready with details before calling Vista Technical Support. Conventions Used in this Manual Boldface or button icons highlight command entries.
- Page 3 This apparatus is manufactured to comply with the radio interference. A Declaration of Conformity in accordance with the following EU standards has been made. The manufacturer declares that the product supplied with this document is compliant the provisions of the EMC Directive 2004/108/EC, the CE Marking Directive 93/68 EEC and all associated amendments.
-
Page 4: Important Safeguards
IMPORTANT SAFEGUARDS 1. READ AND RETAIN INSTRUCTIONS Read the instruction manual before operating the equipment. Retain the manual for future reference. 2. CLEANING Turn the unit off and unplug from the power outlet before cleaning. Use a damp cloth for cleaning. -
Page 5: Ce Compliance Statement
D. If the equipment does not operate normally by following the operating instructions, adjust those controls that are covered by the operating instructions as Improper adjustment for other controls may result in damage to the unit. E. If the equipment has been dropped or the casing is damaged. F. -
Page 6: Contents Of Package
Installation of the PVM18DEC must be performed by qualified service personnel in accordance with all local and national electrical and mechanical codes. Carefully remove the PVM18DEC and its accessories from the carton and verify that they were not damaged in shipment. -
Page 7: Basic Installation
BASIC INSTALLATION 1) Connect ethernet cable to RJ45 port: PoE+ (IEEE802.3at) 30W required. Monitor OSD ACCESS Use either the buttons on the side of the PVM18DEC A. “i” Channel button ⚫ Press the button to select information. B. “-“ / “+” buttons ⚫... - Page 8 Quick Setup 1. Account 1.1 Set ID and Password. ▪ Default ID/Password is admin/admin. Note ▪ Change the password for security. Network 2.1 Set each item in Network setting screen. WAN Port: Select whether to use static IP or dynamic IP. ...
- Page 9 Network Time Sync: Select network for synchronizing with time server. System Time: Not for synchronizing with network time server, set the device time; otherwise (applying for Daylight saving time), select DST. Time Zone: Select time zone for the system being installed. ...
- Page 10 Channel Assign Cameras / Video files can be dragged to screen segments from the Channel Assign menu Camera Registration Item Description Reload the list. Local Display registered image list. Display media file list. Displayed registered device list. Drag & drop the desired channel. List Drag the screen and drop it on the list to unregister the selected channel.


Need help?
Do you have a question about the PVM18DEC and is the answer not in the manual?
Questions and answers