Table of Contents
Advertisement
Quick Links
Advertisement
Table of Contents

Subscribe to Our Youtube Channel
Related Manuals for Vista VFS24/32HDIP


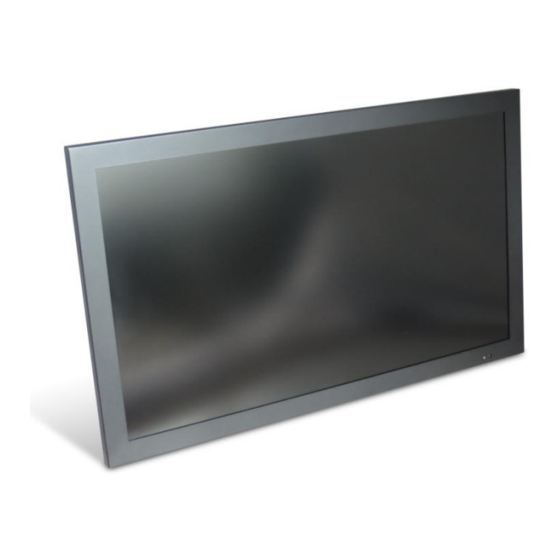
Summary of Contents for Vista VFS24/32HDIP
- Page 1 VFS24/32HDIP Public Display IP Monitor User Manual...
- Page 2 VFS-24_32HDIP user manual V1.0...
-
Page 3: Table Of Contents
Contents Before You Begin ....................4 Side Panel Control buttons ..................6 Connections ......................7 OSD Function ......................7 LCD monitor Mounting Guide ................9 Getting started ....................10 Power up ......................10 Power Down ...................... 10 Logging into the Monitor ..................11 Setting the language and IP address via Wizard ..........11 Setting language .................... -
Page 4: Before You Begin
For assistance in installing, operating, maintaining and troubleshooting this product refer to this document and any other documentation provided. If you still have questions, please contact Norbain Technical Support and Sales: Vista, 210 Wharfedale Road, IQ Winnersh, Wokingham, Berkshire RG41 5TP, England. UK +44 (0) 118 912 5000 Note: You should be at the equipment and ready with details before calling Technical Support. - Page 5 WARNINGS AND CAUTIONS: To reduce the risk of fire or electric shock, do not insert any metallic objects through the ventilation grills or other openings on the equipment. WARNING This is a Class A product. In a domestic environment this product may cause radio interference in which case the user may be required to take adequate measures.
-
Page 6: Side Panel Control Buttons
Side Panel Control buttons Control buttons on side of monitor 1. Power Push to turn on and turn off the unit. LED Green light: Power on LED Red light: Standby mode. 2/3. Adjust UP /DOWN UP: Used as UP function. Or Increase value on the OSD Menu. And as a hot key for color adjust function. -
Page 7: Connections
Connections 1: Network connection RJ45 2: USB mouse connection 3: DC 12V IN 4: DVI-D IN 5: HDMI input 6: VGA In 7: AUDIO R/L IN 8: Earphone OUT OSD Function Color Image Setting OSD Menu Signal Source Audio Misc. Back Color: Contrast... - Page 8 Image Setting: Clock Adjust image distortion appearing as vertical or “noise” on the screen. Phase Adjust image distortion appearing as horizontal or “noise” on the screen. Sharpness Adjust the clarity and focus of the screen images. H. Position Move the screen image left or right. V.
-
Page 9: Lcd Monitor Mounting Guide
LCD monitor Mounting Guide Desktop Adjust the viewing angle of LCD to fit most comfortable monitoring status. Wall mount Free your space with wall mount design. Please follow the fix-hole size in back panel to install the LCD to the wall. C. -
Page 10: Getting Started
Getting started Power up Plug power cable, press power switch on the side of the monitor, the power LED will be display and the Monitor will start it’s boot up process, This will take approx 30 seconds After booting, the video output defaults to the quad display. -
Page 11: Logging Into The Monitor
Logging into the Monitor Once the monitor has booted use the mouse, right click on the screen, the following menu will be displayed: Click on the “Start” button, and select the Login / Logout option as shown below: A Login screen will display as shown below, the Default is “Admin” with no password, it is recommended that a secure Admin password is created, see accounts section of main Settings Menu. -
Page 12: Setting Language
Setting language Setting the Monitor IP Address VFS-24_32HDIP user manual V1.0... - Page 13 Setting the monitor to display 1 or multiple cameras The monitor can be configured to either display a single full screen camera, a sequence of full screen images or a quad of 4 cameras. Right click on the screen to display the following menu and select the “Setting” options: The following screen will appear: Click on the “Stream Type”...
- Page 14 Linking cameras to the monitor To associate the cameras to the monitor, right click on the screen, and select “IP Channel Settings, next select the “Manual” option from the drop down menu as shown below: The following menu screen will appear: Note: At time of writing the manual the “Search”...
- Page 15 Ensure the “Enabled” box on the right is ticked. Enter the camera details in fields provided: 1. Set Protocol to “Onvif” 2. Set relevant IP address of the camera 3. Set the port – Generally to 80. 4. Set the Stream Type to “Main Stream” 5.
- Page 16 Setting a full screen sequence To set the monitor into it’s full screen sequence mode, right click on the screen and select the Display Setting option from the menu. The following page will be displayed. Click on the “Enable SEQ” box , then select the “Retention Interval” for each camera being displayed. VFS-24_32HDIP user manual V1.0...
-
Page 17: Main Menu Settings Description
Main Menu settings description To the Main settings menu of the monitor right click on the screen and select the Settings option: The following menu page will be displayed: Device – Device Info Device Serial Number – Useful for tracing of Warranty’s, this can be displayed as a QR Code Channel Number –... -
Page 18: Device - System Version
Protocol Setting – Generally set to Onvif but other options available Device Time – Used the set the Time /Date display on the monitor. Device – System Version This displays the Firmware and Hardware versions installed in the monitor. Device - PTZ Settings Not supported, no RS485 output on monitor Devise DST settings Used the set the Day light saving time settings. - Page 19 VFS-24_32HDIP user manual V1.0...
- Page 20 VFS-24_32HDIP user manual V1.0...
Need help?
Do you have a question about the VFS24/32HDIP and is the answer not in the manual?
Questions and answers