Table of Contents
Advertisement
(For UM595-HD-3GE(Web Portal) Model)
Thanks for your purchase of
UOV Cloud Platform
guide you through all the features of this
device
So that you could get optimal use of your
Uovision product.
We strive on offering all customers a
positive, user friendly experience and
leaving customers a lasting impression
camera.
This manual will
ww.uovision.com
086-755-8652-8612
ales@uovision.com
Advertisement
Table of Contents

Subscribe to Our Youtube Channel
Related Manuals for Uovision UM595-HD-3GE


Summary of Contents for Uovision UM595-HD-3GE
- Page 1 So that you could get optimal use of your Uovision product. We strive on offering all customers a positive, user friendly experience and leaving customers a lasting impression ww.uovision.com 086-755-8652-8612 ales@uovision.com (For UM595-HD-3GE(Web Portal) Model)
-
Page 2: Table Of Contents
Content 1 Camera Overview ............1 2 Quick start guide: ............3 2.1 Installing your SIM card and SD card ......3 2.2 Set power ..............4 2.3 Camera settings ............5 2.4 Setting map ............. 6 3 Test shot ............... 8 4 Connecting CAM to cloud server ........ -
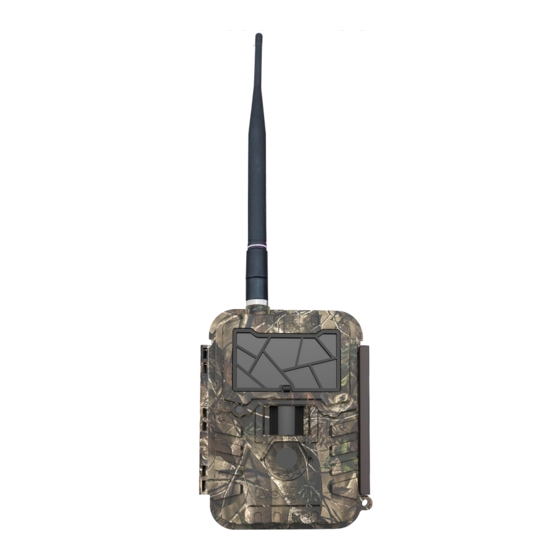
Page 3: Camera Overview
1 Camera Overview Fig 1 Front View Page 1... - Page 4 Fig 2 :Operation Interface Fig 3 : Bottom View Page 2...
-
Page 5: Quick Start Guide
2 Quick start guide: 2.1 Installing your SIM card and SD card Fig 4 Notice ·This product use 3G /GSM cellular network ·The maximum support SD memory is 32G Page 3... -
Page 6: Set Power
2.2 Set power There’re two ways to offer power: 12 size AA batteries with 1.5v, or plug power port. Fig 5 Notice · Confirm that the power switch is at ‘OFF’ position · Insert battery with right polar, as fig6 show ·... -
Page 7: Camera Settings
2.3 Camera settings Slide the switch button to ‘setup’ position, then you can start setting the CAM as your favor. Power Switch button: OFF: power off; SETUP: setting the CAM; ON: working mode (the screen will power off). Press the MENU button. You will see the screen shown in Fig.6, Fig 4 use▲▼◄►... -
Page 8: Setting Map
2.4 Setting map Fig 7 Fig 8 Page 6... - Page 9 Fig 9 Fig 10 Page 7...
-
Page 10: Test Shot
3 Test shot If former steps are all right, slide power switch to ‘Setup’, after few minutes of network searching, the screen of CAM will present as below. Fig 11 With enough battery power, good signal strength and enough SD card memory, then you can start a test shot: Press to take a photo manually (assume it’s camera mode,... -
Page 11: Connecting Cam To Cloud Server
Fig 12 Choose Send and Execute, then you will see the sending process information and result. 4 Connecting CAM to cloud server In order to ‘send’ your photo to your cloud account or mobile phone, you need adding CAM towards them first Open website: https://www.linckeazi.com/index.html Fig 13 Login, if you already have an... - Page 12 Click the ‘Add Camera’ button, a form will pop out requesting basic information for your CAM. Fig 15 Name your CAM, and add location description if necessary, the SN and IMEI can be found labelled inside CAM: SN labelled at the side of SIM slit IMEI labelled at the front panel Page 10...
-
Page 13: Send A Photo To Cloud Server
4.1 Send a photo to cloud server Select ‘send’, the process of sending photo will present at screen, and within minutes your cloud account will receive your photo. Fig 16 If the above test has accomplished, then you can slide power switch to ‘on’... - Page 14 As to APP, Please search“Linckeazi” in Google play(or scan the QR code in the package) and install the APK file to your smart phone. The adding and setting process is quite similar to cloud server. Fig 18 Page 12...
-
Page 15: Mount Tips
6 Mount tips Use cable or belt cross the holes or slits, tie it up at trees or anywhere you want to mount. mount the camera approximately 1.3m/4ft off the ground facing straight forward as level as possible Fig 20 Don’t not facing directly Use the forest for reflection, towards light source... -
Page 16: Appendix Ⅰ: Technical Specifications
Appendix Ⅰ: Technical Specifications 12MP, 8MP, Picture Resolution 5MP(Real), 3MP Lens F/NO=3.0 FOV(Field of View)=52° Dual-Band WCDMA 900/2100MHz Frequency Bands Quad-Band GSM/GPRS/EDGE 850/900/ 1800/1900MHz IR-Flash 6m, 12m Display Screen 2.0” LCD Memory Card Up to 32GB Video Resolution VGA,QVGA,720P PIR Sensor Multi Zone PIR Sensitivity Adjustable (High/Normal/Low) -
Page 17: Appendix Ⅱ: Parts List
Appendix Ⅱ: Parts List Part Name Quantity Digital Camera Belt User Manual Antenna Declaration of Conformity to Directive 2014/53/EU CE Caution: Hereby, the manufacturer declares that this camera is in compliance with the essential requirements and other relevant provisions of Directive 2014/53/EU. - Page 18 Customer Name: Contact Tel: Date of Purchase: Series No: Fault Description: Retailer: The camera manufacturer provides 12 months of warranty service for this product against manufacturing defects or malfunctions. If your camera fails to function under normal use within 1 year, the camera manufacturer will repair or replace the camera at no charge.
Need help?
Do you have a question about the UM595-HD-3GE and is the answer not in the manual?
Questions and answers