
Related Manuals for Uovision PANDA UV535


Summary of Contents for Uovision PANDA UV535
- Page 1 UOVISION PANDA UV535 8.0MP Digital Scouting Camera User’s Manual Page 1...
-
Page 2: Quick Start
www.uovisioneurope.com Quick Start 1. Load 8pcs of NEW 1.5V AA size alkaline batteries, or connect 6 V external power supply. If external power source connected, the batteries can remain inside the camera 2. Insert the SD card (32GB or smaller). Make sure the SD card is not locked. - Page 3 www.uovisioneurope.com Delete one, select yes to execute or No to Exit Key Notes a. “menu”: enter the program menu. b. “▲”“▼”“◄”“►”: for parameter settings as described in the user’s manual. “▲”is the shortcut to choose “Video”, while “▼”for the “Photo”. c.
-
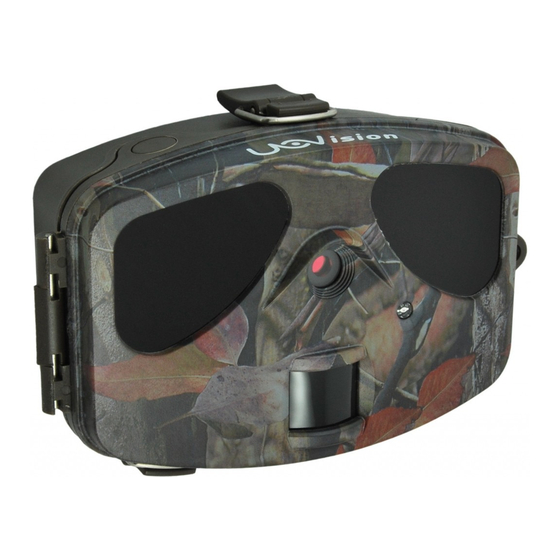
Page 4: General Description
1 Instruction Instruction 1.1 General Description This camera, is a digital animal surveillance camera, triggered by any movement of humans or animals monitored by a high sensitive Passive Infrared (PIR) motion sensor, and then automatically captures high quality pictures up to 8MP or records video clips (QVGA or VGA) according to default settings or preset customer settings. - Page 5 1 Instruction Figure 2: Operation Interface Display Screen Lock Hole Switch Operation Panel Battery Depot Figure 3: Bottom view SD-card Slot DC In DC Hole and Stopper Bottom Screw 1.2.1 Key Notes a. “menu”: enter the program menu. b. “▲”“▼”“◄”“►”: for parameter settings as described in the user’s manual.
-
Page 6: Power Supply
2. Quick Start Guide Power Supply To supply power for the camera, 8 size AA batteries are needed. Confirm that the power switch is in the OFF position; load the fully charged batteries into the pack according the polarities signs shown below. -
Page 7: Power On And Enter Into The On Mode
Power on and Enter into the ON Mode Before switching on, please pay attention to the following: 1. Avoid temperature and motion disturbances in front of the camera such as a big leaf, curtain, air-conditioner, air outlet of the chimney and other heat sources to prevent from false triggering. -
Page 8: Advanced Operations
3 Advanced Operations Settings Menu and Default Settings To view the camera settings menu, switch the camera to SETUP mode and press menu, the main menu and the default settings are under below charts: Main menu Setting Items Description Choose Photo or Video. Camera Mode Photo Size Choose the image size, 3MP, 5MP, 8MP... -
Page 9: Viewing Photo Or Video
needs not to change SD card frequently. Restore all customer settings to default Default Set values. Format Format the SD-card. Press LEFT or RIGHT and UP or DOWN to select the desired options,And then press OK to save. 4 Playback 4.1. -
Page 10: Appendix : Technical Specifications
Appendix : Technical Specifications Picture Resolution 8MP, 5MP, 3MP Lens F/NO=3.0 FOV(Field of View)=52° IR-Flash Display Screen 1.7” LCD Memory Card From 8 MB to 32GB Video Resolution VGA(16fps) ; QVGA(20fps) PIR Sensor Multi Zone PIR Sensitivity Adjustable (High/Normal/Low) Trigger Time 1.2s Weight 0.35 kg... -
Page 11: Appendixⅱ : Parts List
Appendix Ⅱ: Parts List AppendixⅡ : Parts List Part Name Quantity Digital Camera USB Cable Not Available Belt User Manual The camera manufacturer provides 12 months of warranty service for this product against manufacturing defects or malfunctions. If your camera fails to function under normal use within 1 year, the camera manufacturer will repair or replace the camera at no charge.
Need help?
Do you have a question about the PANDA UV535 and is the answer not in the manual?
Questions and answers