Sign In
Upload
Download
Table of Contents
Contents
Add to my manuals
Delete from my manuals
Share
URL of this page:
HTML Link:
Bookmark this page
Add
Manual will be automatically added to "My Manuals"
Print this page
×
Bookmark added
×
Added to my manuals
Manuals
Brands
COMAC Manuals
Scrubber
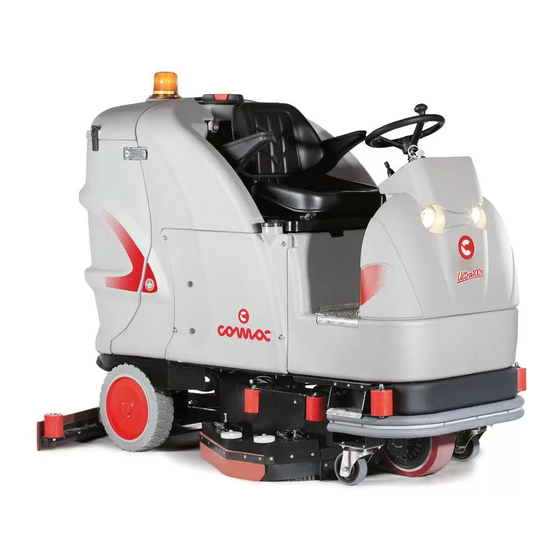
ULTRA 85B
Use and maintenance manual
COMAC ULTRA 85B Use And Maintenance Manual
Scrubbing machine
Hide thumbs
1
2
Table Of Contents
3
4
5
6
7
8
9
10
11
12
13
14
15
16
17
18
19
20
21
22
23
24
25
26
27
28
29
30
page
of
30
Go
/
30
Contents
Table of Contents
Troubleshooting
Bookmarks
Table of Contents
Table of Contents
On Consignment of the Machine
Machine Plate
Preface
Symbology Used on the Machine
Simbology Used in the User Manual
General Rules of Security
Machine Preparation
Handling of the Packed Machine
How to Unpack the Machine
Installation of the Batteries into the Machine
Connection of the Battery Connector
Connection of the Battery Charger
Recharge of the Batteries
Level Indicator for the Charge of the Batteries
Squeegee
Adjustment Height Squeegee Support
Brushes Assembly
Solution Water
Recovery Tank
During Work
On Completion of the Work
Daily Maintenance
Weekly Maintenance
Functioning Control
Trouble Shooting Guide
Choice and Use of Brushes
Ec Declaration of Conformity
Advertisement
Quick Links
1
Table of Contents
2
During Work
3
Daily Maintenance
4
Functioning Control
5
Trouble Shooting Guide
Download this manual
MANUAL USE AND MAINTENANCE
ULTRA 85B
ULTRA 100B
ED. 01-2009
Doc.
10004922
Ver.
AB
EN
Table of
Contents
Previous
Page
Next
Page
1
2
3
4
5
Advertisement
Table of Contents
Need help?
Do you have a question about the ULTRA 85B and is the answer not in the manual?
Ask a question
Questions and answers
Related Manuals for COMAC ULTRA 85B
Scrubber COMAC Innova Comfort Use And Maintenance Manual
Scrubbing machines (44 pages)
Scrubber COMAC SIMPLA 50 B Use And Maintenance Manual
(31 pages)
Scrubber COMAC Vispa 35B Manual Use And Maintenance
Scrubbing machine (20 pages)
Scrubber COMAC C85 ESSENTIAL Series Use And Maintenance Manual
Scrubbing machines (40 pages)
Scrubber COMAC Tripla 60B Use And Maintenance Manual
2009 year floor scrubber-dryer (32 pages)
Scrubber COMAC OPTIMA 85 Use And Maintenance Manual
Scrubbing machines (32 pages)
Scrubber COMAC C85B-C100B Instruction Manual
(27 pages)
Scrubber COMAC ANTEA 50 B Use And Maintenance Manual
Scrubbing machines (44 pages)
Scrubber COMAC Vega 2019 Use And Maintenance Manual
Scrubbing machines (40 pages)
Scrubber COMAC SCRUB 45D Use And Maintenance Manual
Scrubbing machines (24 pages)
Scrubber COMAC ANTEA 50 B Use And Maintenance Manual
Antea series; versa series scrubbing machines (64 pages)
Scrubber COMAC SIMPLA 45 Use And Maintenance Handbook
(7 pages)
Scrubber COMAC agila bto Use And Maintenance Manual
(32 pages)
Scrubber COMAC INNOVA 65 B M 2011 Use And Maintenance Manual
(32 pages)
This manual is also suitable for:
Ultra 100b
Table of Contents
Save PDF
Print
Rename the bookmark
Delete bookmark?
Delete from my manuals?
Login
Sign In
OR
Sign in with Facebook
Sign in with Google
Upload manual
Upload from disk
Upload from URL


Need help?
Do you have a question about the ULTRA 85B and is the answer not in the manual?
Questions and answers