
Related Manuals for ensto eFiller


Summary of Contents for ensto eFiller
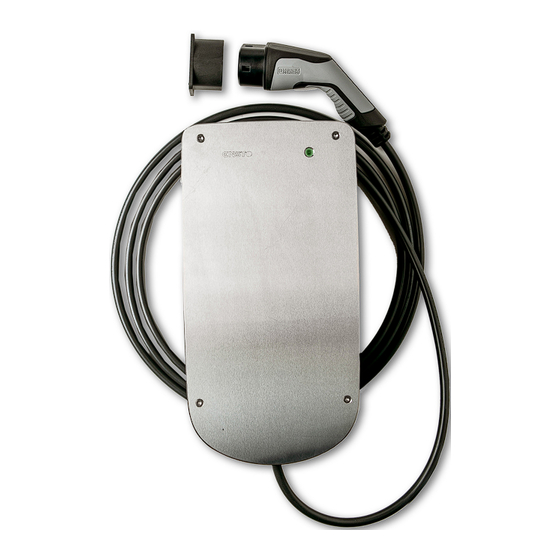
- Page 1 Installation instructions Operation instructions RAK130_ENG 3.12.2018 © Ensto 2018...
-
Page 2: Table Of Contents
5.1 The vehicle is not charging............9 5.2 The indicator light is red............10 5.3 The vehicle is charging slower than expected......10 6. Maintenance Instructions..............10 7. Warranty....................11 8. Dimension Drawing................11 9. Technical Data..................12 RAK130_ENG / © Ensto 2018... -
Page 3: Introduction
Power drill with bore bit • Screws and possible accessories for wall installation 3.1 Before Installation Remove the eFiller from it’s package. Do not to scratch the surface of the eFiller after removal from the package. RAK130_ENG / © Ensto 2018... -
Page 4: Installation To Wall
Place rubber washers between the wall and the enclosure. Figure 1 Cable lead through plate orientation, if Cable lead through cable entry is from plate orientation, if bottom cable entry is from rear Rubber washer Possible supply cable entry directions RAK130_ENG / © Ensto 2018... -
Page 5: Supply Connection
Ensure strain relief to the cables by fastening it on the cable support that is located under the supply connectors. IMPORTANT NOTICE: eFiller needs to be installed to a dedicated supply line, which is equipped with 30mA residual current device (RCD-B) and 16A circuit breaker (MCB). - Page 6 DIP1 DIP2 EVI020 DIP3 DIP4 DIP5 L1 N L1 N DIP6 PG = ProximityGround CP = ControlPilot X1 16A L1 N PEPE SUPPLY 1 x 16A 230V max 6mm² Cu 30mA RCD-B and 16A MCB RAK130_ENG / © Ensto 2018...
-
Page 7: Charging Current Limitation
To get to the control unit the front cover must be removed by loosing the four torx screws. DIP1 DIP2 DIP3 DIP4 DIP5 DIP6 Maximum charging current 16A EVH020.02H default 3 x 16A EVH050.02H default RAK130_ENG / © Ensto 2018... -
Page 8: Top Cover Installation
After the eFiller charging point is installed, turn on the electricity to the supply line. • When the green light in the eFiller cover turns on, the charging point is ready to use for charg- ing. 3.6 Plug Holder Installation •... -
Page 9: User Instructions
Disconnect the plug from your vehicle. • Put the plug back to the holder. 4.3 User Interfaces The eFiller charging point has indicator lights to tell the status of the charging. The charging sequence and indicator light operation is as follows: Sequence Indicator... -
Page 10: The Indicator Light Is Red
Ensure that there is no charging current limitation features in use at the vehicle. If you need to contact Ensto related to faulty operation of eFiller, please prepare to tell the order number (V..). You will find the order number on the nameplate on the enclosure bot- tom. -
Page 11: Warranty
7. Warranty The warranty period for Ensto electric vehicle charging point is 3 years from the date of pur- chase but no longer than 4 years from the date of manufacture, if there is no other agreement. The warranty is not applicable if the maintenance is not performed according to the instruc- tions. -
Page 12: Technical Data
Operating humidity 95% non condensating Standby power consumption <1W typical Functional features Status indicator LED’s Ensto Finland Oy Ensio Miettisen katu 2, P.O. Box 77 FIN-06101 Porvoo, Finland Tel. +358 20 47 621 Customer service +358 200 29 005 ensto@ensto.com...
Need help?
Do you have a question about the eFiller and is the answer not in the manual?
Questions and answers