Table of Contents
Advertisement
Quick Links
Download this manual
See also:
Instruction Manual
Advertisement
Table of Contents

Related Manuals for Midea MHC90CGSS


Summary of Contents for Midea MHC90CGSS
- Page 1 Midea Cooker Hood Instruction MODEL : MHC90CGSS SAVE THESE INSTRUCTIONS CAREFULLY Read these instructions carefully before using your cooker hood,and keep it carefully. If you follow the instructions, your cooker hood will provide you with many years of good service.
-
Page 2: Recommendations And Suggestions
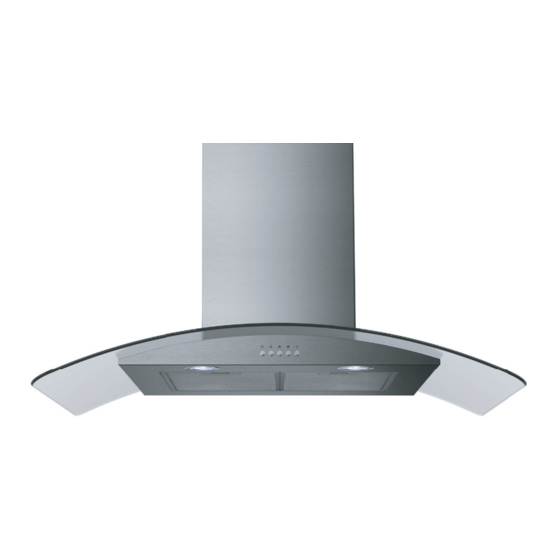
RECOMMENDATIONS AND SUGGESTIONS The instructions for Use apply to several versions of this appliance. Accordingly, you may find descriptions of individual features that do not apply to your specific appliance. INSTALLATION The manufacturer will not be held liable for any damages resulting from incorrect or improper installation. - Page 3 COMPONENTS Ref. Qty. Product Components Hood Body, complete with: Controls, Light, Blower, Filter. Lower Decorative Chimney ( optional ) Upper Decorative Chimney ( optional ) Flange ( optional ) Exhaust Pipe The Activated Charcoal filter ( optional ) Qty . Ref.
- Page 4 DIMENSIONS Unit:mm Min. Min. 650mm 650mm 485-855...
-
Page 5: Installation
INSTALLATION WALL DRILLING AND BRACKET FIXING (OPTIONAL) Optional Vertical reference line As a first step, proceed with the following drawings: A vertical line up to the ceiling or up to the upper limit, at the center of the area in which the hood is to be fitted. - Page 6 Mark a point (3) on the horizontal line C, 130 (250 optional) mm to the vertical reference line. Repeat this operation on the other side, checking that the two marks are on the same horizontal line. Fix the brackets (Optional): ...
-
Page 7: Chimney Assembly
CHIMNEY ASSEMBLY The chimney can only be installed with exhausting hood. Lower Decorative Chimney Fix a Chimney fixing bracket 21 onto the Lower Decorative Chimney with 12 screws (4.2 x 9.5) supplied with the hood. Upper Decorative Chimney Slightly widen the two sides of the upper chimney and hook them between the wall and the ... - Page 8 Speed adjustment. OFF MOTOR SWITCH: Press on this switch to stop the motor operation. SPEED SWITCH: Press on this switch, the motor runs at LOW speed. SPEED SWITCH: Press on this switch, the motor runs at MEDIUM speed. SPEED SWITCH: Press on this switch, the motor runs at HIGH speed.
-
Page 9: Grease Filters
MAINTENANC GREASE FILTERS CLEANING METAL SELF-SUPPORTING GREASE FILTERS The filters must be cleaned every 2 months of operation, or more frequently for particularly heavy usage, and can be washed in a dishwasher. Pull the comfort panels to open them. ... -
Page 10: Disposal Of Old Electrical Appliances
LIGHTING LIGHT REPLACEMENT Replacing the light modules Before changing the light module(s), unplug the appliance from the mains or switch off the circuit breaker in the fuse box. 2. Lower the control panel at the front by carefully pulling it downwards. You can now access the light module and terminals.Replace the lamp(commercially available LED lamp (max.1.5w). -
Page 11: Troubleshooting
TROUBLE SHOOTING Fault Cause Solution The blades are blocked. The capacitor is damaged. Replace capacitor. Light on, but The motor is damaged. Replace motor. motor does not The internal wiring of motor is cut off/ work Replace motor. disconnected. An unpleasant smell may be produced. - Page 12 P/N:19173000A09197...
Need help?
Do you have a question about the MHC90CGSS and is the answer not in the manual?
Questions and answers