Advertisement
Quick Links
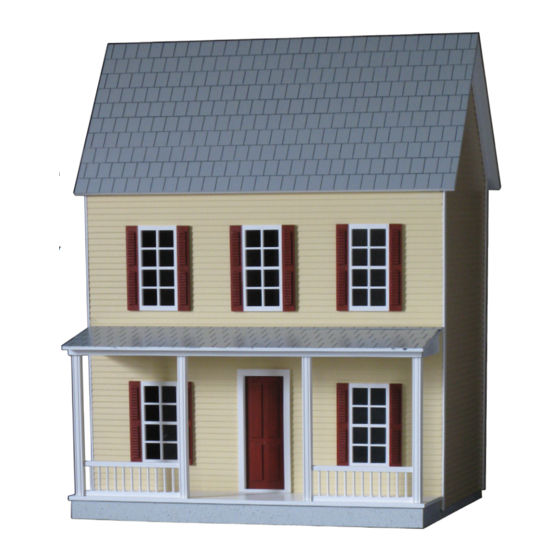
Real Good Toys'
the
This Dollhouse will last for a lifetime if heirloom care
is given during assembly. Take your time and read the
instructions completely. More details are available at
www.imagination-house.com
Before you begin -
You have already opened the box
and see all the parts organized in boxes and bundles. For
the moment, keep them that way. There are important
things to do before you open your glue bottle.
Choose your color scheme
community or at our website: realgoodtoys.com; look at
plan books from a paint store or architectural books at
your library You will be painting the parts right away so
get the paint now. Choose high-quality interior semi-
gloss latex paints for ease of use and durability.
:
Prepare your space
This dollhouse will spread out over
a large area while it is being built. You will need a large
flat tabletop for the house, several boxes to keep parts
organized until they are needed, and several trays lined
with waxed paper for holding small parts like windows
and railings.
A snap-lid box will keep your tools and supplies handy
between building sessions.
Measure and identify the parts
The kit is packed in group-
ings that protect the parts,
and that is how the Parts
List is organized. As you
measure and identify the
parts, label them with sticky
notes using the names from
the parts list, and check
them off the parts list so
you know you have every-
thing. Taking the time now
to identify and organize
the parts also makes them
familiar so you will under-
stand what the instructions
intend as you read ahead.
• Plan ahead so you know
where you are going
• Read ahead so you know
how to get there
• Paint ahead so the parts
will be ready when you
need them
Tools and Supplies:
"Tacky" White glue for all construction
Masking tape, Painting Supplies,
Sandpaper
(especially 320gr)
Not suitable for children under 13 years of age
California 93120 compliant for formaldehyde phase 2
Real Good Toys s 122 Gallison Hill Rd s Montpelier, VT 05602 s 802 262-6018 s www.realgoodtoys.com
Quickbuild
Casa de Imaginación
.
Look at houses in your
:
Waxed paper
Imagination House
™
Esta Casa de muñecas durará de por vida si se le da un cuidado
especial durante su ensamblaje. Tome su tiempo en leer las
instrucciones completamente. Hay más detalles disponibles en
www.imagination-house.com.
Antes de comenzar – Usted ya abrió la caja y ve todas las
piezas organizadas en cajas y paquetes. Por el momento,
manténgalas de esa manera. Hay cosas importantes que hacer
antes de que usted abra su botella de pegamento.
Elija su combinación de colores. Observe casas en su
comunidad o en nuestro sitio web: realgoodtoys.com; mire
libros de planificación de una tienda de pintura o libros de
arquitectura en su biblioteca. Usted estará pintando algunas de
las partes de inmediato, así que consiga la pintura ahora. Elija
pinturas de látex semi-brillante de alta calidad por su facilidad
de uso y durabilidad.
Prepare su espacio: Esta casa de muñecas se esparcirá a
través de un área grande mientras se esté construyendo. Usted
necesitará una mesa grande y plana para la casa, varias cajas
para mantener las piezas organizadas hasta que se necesiten,
y varias bandejas forradas con papel encerado para mantener
piezas pequeñas como ventanas y barandillas. Una caja
con tapa de cierre a presión mantendrá sus herramientas y
suministros a mano entre las sesiones de construcción.
Pegamento blanco "Tacky" para toda la construcción
de Quickbuild
Mida e identifique las piezas:
Este kit está empacado en
grupos que protegen las piezas
y es así como la Lista de Piezas
está organizada. A medida que
usted mida e identifique las
piezas, etiquételas con notas
autoadhesivas utilizando los
nombres de la Lista de Piezas
y márquelas en la lista para
que se cerciore que lo tiene
todo. Tomarse el tiempo ahora
para identificar y organizar
las piezas hace que usted se
familiarice con ellas y así
pueda entender la intención de
las instrucciones a medida que
siga leyendo.
• Planifique con anticipación
para que sepa hacia dónde se
dirige.
• Lea con anticipación para que
sepa cómo llegar ahí.
• Pinte con anticipación para
que las piezas estén listas
cuando las necesite.
Herramientas y Suministros:
Cinta adhesiva protectora,
Papel de lija
No apto para niños menores de 13 años de edad
Cumple con la regulación 93120 de California para formaldehido fase 2
™
Kit #67100
©
09/17
Suministros de pintura
Papel encerado
(especialmente de grano 320)
Advertisement


Need help?
Do you have a question about the 67100 and is the answer not in the manual?
Questions and answers