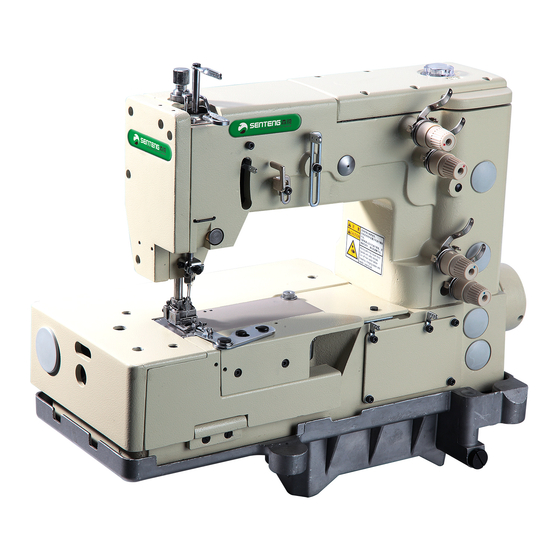
Summary of Contents for KANSAI SPECIAL PX302-4W
- Page 1 INSTRUCTION Industrial Sewing Machines PX302-4W PX302-5W First published : July 1997 Second edition : October 2000 No. 000079...
- Page 2 INTRODUCTION INTRODUCTION INTRODUCTION Thank you for your purchasing Kansai Special's PX Series. Read and study this instruction manual carefully before beginning any of the procedures and save it for later use. This instruction manual describes adjustments and maintenance procedures on this machine.
-
Page 3: Table Of Contents
CONTENTS CONTENTS CONTENTS CONTENTS 1. NEEDLES & THREADING THE MACHINE 1-1 Needles ・・・・・・・・・・・・・・・・・・・・・・・・・・・・・・・・・・・・・・・・・・・・・・・・・・・・・・・・ 1-2 Replacing the needle ・・・・・・・・・・・・・・・・・・・・・・・・・・・・・・・・・・・・・・・・・・・・ 1-3 To thread the machine ・・・・・・・・・・・・・・・・・・・・・・・・・・・・・・・・・・・・・・・・・・ 2. MACHINE SPEED 2-1 Machine speed & direction in which the machine pulley runs ・・・・・・・ 2-2 Motor & belt ・・・・・・・・・・・・・・・・・・・・・・・・・・・・・・・・・・・・・・・・・・・・・・・・・・・・... -
Page 4: Needles & Threading The Machine
【1】NEEDLES & THREADING THE MACHINE 1 1 1 1 - - - - 1 Needles 1 Needles 1 Needles 1 Needles UO163 of Schmetz or Organ Select the proper needle for the fabric and thread. < Comparison table of needle sizes > Schmetz UY163GAS Nm65 Nm70... -
Page 5: Machine Speed
【2】MACHINE SPEED 2 2 2 2 - - - - 1 Machine speed & direction in which the machine pulley runs 1 Machine speed & direction in which the machine pulley runs 1 Machine speed & direction in which the machine pulley runs 1 Machine speed &... -
Page 6: Lubrication
3 3 3 3 - - - - 1 Oil 1 Oil 1 Oil 1 Oil Use Kansai Special’s genuine oil (Part No. 28-611) 3 3 3 3 - - - - 2 To fill the machine with oil 2 To fill the machine with oil... -
Page 7: Sewing Machine Installation
【4】SEWING MACHINE INSTALLATION 4 4 4 4 - - - - 1 Cutting the machine table 1 Cutting the machine table 1 Cutting the machine table 1 Cutting the machine table... -
Page 8: To Install The Machine
4 4 4 4 - - - - 2 2 2 2 To install the machine To install the machine To install the machine To install the machine Install the brackets on the underside of the table board (see the illustration below). Fit the rubber cushions onto the brackets. -
Page 9: Needle Drop And Needle Side Stroke
5 5 5 5 - - - - 2 2 2 2 Needle drop and needle side stroke Needle drop and needle side stroke Needle drop and needle side stroke Needle drop and needle side stroke The needle side stroke on this machine is 5.55mm (302-4W) and 7.4mm (302-5W). To increase the stroke, loosen screw B and move it up in the slot. -
Page 10: Eccentric For Adjusting The Looper Left To Right
5 5 5 5 - - - - 4 Eccentric for adjusting the looper left to right 4 Eccentric for adjusting the looper left to right 4 Eccentric for adjusting the looper left to right 4 Eccentric for adjusting the looper left to right To adjust the position of the eccentric, loosen screws D. -
Page 11: Looper Left-To-Right Movement
5 5 5 5 - - - - 6 Looper left 6 Looper left 6 Looper left 6 Looper left- - - - to to to to- - - - right movement right movement right movement right movement This adjustment should be made when the needle is at position 1 (see 5-2). -
Page 12: Adjusting The Looper Back Spring
5 5 5 5 - - - - 9 Adjusting the looper back spring 9 Adjusting the looper back spring 9 Adjusting the looper back spring 9 Adjusting the looper back spring It is the best that the surface of the spring touches the looper closely within the range of B. -
Page 13: Stitch Length
7 7 7 7 - - - - 2 Stitch length 2 Stitch length 2 Stitch length 2 Stitch length Loosen bolt A with a 9.5mm T-wrench. Then turn screw B as required. To decrease the stitch length, turn it clockwise. increase stitch length,... -
Page 14: Position Of The Presser Foot And Foot Lift
8 8 8 8 - - - - 2 Position of the presser foot and foot lift 2 Position of the presser foot and foot lift 2 Position of the presser foot and foot lift 2 Position of the presser foot and foot lift The presser foot should not touch the needle. -
Page 15: Position Of The Looper Thread Take-Up
9 9 9 9 - - - - 2 Position of the looper thread take 2 Position of the looper thread take 2 Position of the looper thread take 2 Position of the looper thread take- - - - up When the bottom of the needle's eye has reached the top surface of the needle plate while the needle is descending, the looper thread taken up by looper...


