Advertisement
Advertisement
Table of Contents

Related Manuals for KANSAI SPECIAL DLR-1501SPF


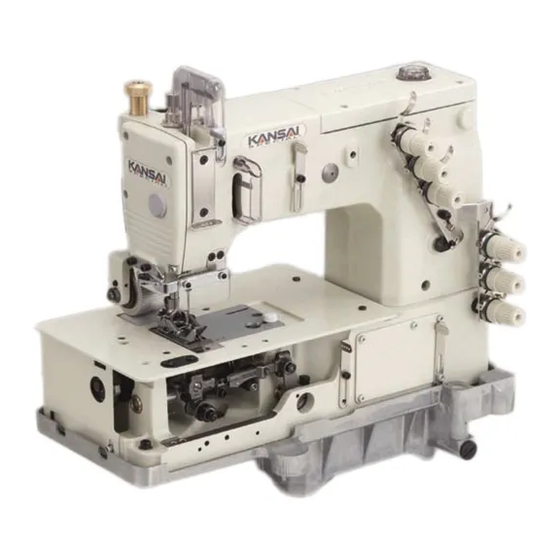
Summary of Contents for KANSAI SPECIAL DLR-1501SPF
- Page 1 INSTRUCTION Industrial Sewing Machines First published : August 2005 No. 050072...
- Page 2 INTRODUCTION Thank you for your purchasing Kansai Special's DLR Series. Read and study this instruction manual carefully before beginning any of the procedures and save it for later use. This instruction manual describes adjustments and maintenance procedures on this machine.
- Page 3 CONTENTS 1. SPECIFICATIONS 10. ADJUSTING THE REAR PULLER DEVICE 1-1 Stitch type ··············································· 1 10-1 Upper puller angle adjustment ················ 12 1-2 Model ····················································· 1 10-2 Lower puller angle adjustment ················ 12 10-3 Guide plate adjustment ·························· 13 2. NEEDLES & THREADING THE MACHINE 10-4 Manual lever ········································...
- Page 4 【1】SPECIFICATIONS 1-1 Stitch type JIS401 double chainstitch machines 1-2 Model Model 1501 1502,1507 1503 1504 1508 No. of needles No. of threads No. of loopers UY×128GAS UY×128GAS Needle count TV×5 #21 TV×5 #21 #14~#18 #14~#18 Needle space 3/16~1 1/2 1/4,9/32 1'',1 1/8 1/4-1-1/4 Needle bar stroke...
- Page 5 2-3 To thread the machine Thread the machine correctly by referring to the next page. Incorrect threading may cause skip stitching, thread breakage and/or uneven stitch formation. When threading the looper, tilt the looper holder toward the front of the machine by means of the looper drawing bar.
- Page 6 ■A,B,C,D … Needle threads E,F,G,H … Looper threads...
-
Page 7: Pulley Runs
【3】MACHINE SPEED 3-1 Machine speed & direction in which the machine pulley runs Maximum speed : 4,500 rpm Standard speed : 4,000 rpm extend machine life, machine approximately 15-20% below the maximum speed for the first 200 hours of operation (approx. 1 month). Then run the machine at the standard speed. -
Page 8: To Fill The Machine With Oil
【4】LUBRICATION 4-1 Oil Use Kansai Special’s genuine oil. (Part No. 28-611) 4-2 To fill the machine with oil Remove oil plug A. Fill the machine with oil until the oil level is at the top line (see H in the illustration) on oil gauge C. - Page 9 【5】SEWING MACHINE INSTALLATION 5-1 Cutting the machine able...
-
Page 10: To Install The Machine
5-2 To install the machine Install the brackets on the underside of the table board (see the illustration below). Fit the rubber cushions onto the brackets. Mount the machine head on the rubber cushions. 【6】TIMING OF THE LOOPER TO THE NEEDLE 6-1 To install the looper Insert the looper to the proper depth and tighten screw A. -
Page 11: Looper Left-To-Right Movement
6-2 Looper left-to-right movement When the point of the looper, moving to the left or right, has reached the center of the needle, the point of the looper should be 2mm above the top of the needle's eye. Adjustment is made by removing the cover and loosening three screws A. -
Page 12: Needle/Looper Front-To-Back Relationship
6-5 Needle/looper front-to-back relationship When the point of the looper has reached the center of the needle, the point of the looper should be 2mm above the top of the needle's eye. With the looper and the needle in this position, there should be a clearance of 0~0.1mm between the needle and the point of the looper. -
Page 13: Feed Dog Height & Tilt
【8】ADJUSTING THE FEED DOG & STITCH LENGTH 8-1 Feed dog height & tilt When the feed dog is at the top of its stroke, the feed dog teeth should be 1.0~1.2mm above the top surface of the needle plate. Adjustment is made with screw A. The fine tilt adjustment is made by loosening nut C and turning screw B. -
Page 14: Presser Foot Pressure
【9】ADJUSTING THE PRESSER FOOT 9-1 Presser foot pressure The presser foot pressure should be as light as possible, yet be sufficient to feed the fabric and produce uniform stitches. To increase the presser foot pressure, turn the adjusting knob clockwise (see the illustration). 9-2 Position of the presser foot and foot lift Fit the presser foot properly onto the presser bar. - Page 15 【10】ADJUSTING THE REAR PULLER DEVICE 10-1 Upper puller angle adjustment Loosen both screw E of the upper puller bracket G and screw F of the bracket R, and change the angle of the upper puller bracket. And adjust scale plate H to scale mark D on the cloth cover how much the angle of the curved waist band is.
- Page 16 10-3 Guide plate adjustment Adjust guide plate M & T according to the width of waist band. Loosen screw N & S for the adjustment. 10-4 Manual lever To position or remove the fabric, raise manual lever 10-5 To adjust the puller pressure The puller pressure should be as light as possible, yet be sufficient to feed the fabric smoothly.
- Page 17 10-7 The minor adjustment of the rear puller feeding amount The feeding amount will be bigger by loosening nut B of lever A, and moving the connecting rod C to the left. And the feeding amount will be smaller by loosening nut B of lever A, and moving the connecting rod C to the right.
-
Page 18: Position Of The Needle Thread Eyelet
11-2 Position of the needle thread eyelet Secure needle thread eyelet C at the bottom end of the slot. < Note > Adjust the needle thread eyelet according to the thread to be used. To tighten the needle thread, raise the needle thread eyelet. 11-3 Adjusting the needle thread guard With the needle bar at the bottom of its stroke, the top surface of needle thread guard A should be level... - Page 19 11-5 Position of the looper thread take-up Adjust thread guide E so that the clearance between thread guide E and the top surface of the guide plate is 6~7mm. Adjustment is made by loosening screw When the point of the needle has reached bottom surface B of the looper blade while the looper is moving to the right from the extreme left end of its travel, the looper thread should be removed from...
Need help?
Do you have a question about the DLR-1501SPF and is the answer not in the manual?
Questions and answers