Table of Contents
Advertisement
Advertisement
Table of Contents

Related Manuals for KANSAI SPECIAL RX9701J Series


Summary of Contents for KANSAI SPECIAL RX9701J Series
- Page 1 INSTRUCTION Industrial Sewing Machines First published : July 1998 No. 980058...
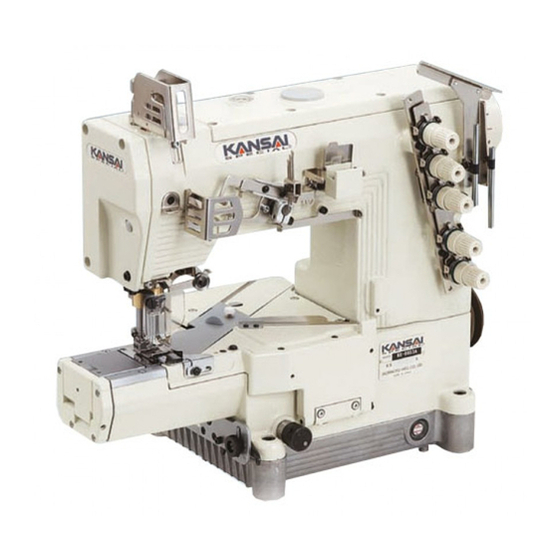
- Page 2 INTRODUCTION INTRODUCTION INTRODUCTION Thank you for your purchasing Kansai Special's RX9701J Series. Read and study this instruction manual carefully before beginning any of the procedures and save it for later use. This instruction manual describes adjustments and maintenance procedures on this machine.
-
Page 3: Table Of Contents
CONTENTS CONTENTS CONTENTS CONTENTS 1. NEEDLES 1-1 Needles ・・・・・・・・・・・・・・・・・・・・・・・・・・・・・・・・・・・・・・・・・・・・・・・・・・・ 1-2 Replacing the needle ・・・・・・・・・・・・・・・・・・・・・・・・・・・・・・・・・・・・・・・ 2. MACHINE SPEED 2-1 Machine speed & direction in which the machine pulley runs ・・ 2-2 Motor & belt ・・・・・・・・・・・・・・・・・・・・・・・・・・・・・・・・・・・・・・・・・・・・・・・ 3. TIMING OF THE LOOPER TO THE NEEDLES 3-1 Angle and height for installing the looper ・・・・・・・・・・・・・・・・・・・・... -
Page 4: Needles
【1】NEEDLES 1 1 1 1 - - - - 1 Needles 1 Needles 1 Needles 1 Needles TV×5 of Schmetz or Organ Select the proper needle for the fabric and thread. < Needles and needle size > Schmetz Nm120 Nm125 Nm130 Organ # 19... -
Page 5: Timing Of The Looper To The Needles
【3】TIMING OF THE LOOPER TO THE NEEDLES 3 3 3 3 - - - - 1 Angle and height for installing the looper 1 Angle and height for installing the looper 1 Angle and height for installing the looper 1 Angle and height for installing the looper To obtain the proper angle and height, insert the looper fully into looper holder A and then tighten screw B. -
Page 6: Needle Height
3 3 3 3 - - - - 4 Needle height 4 Needle height 4 Needle height 4 Needle height When the needle bar is at the top of its stroke, adjust distance should be 11.3mm from the top surface of the needle plate to the point of the needle. To make this adjustment, loosen screw A and move the needle bar up or down. -
Page 7: Changing The Looper Orbit
3 3 3 3 - - - - 6 Changing the loo 6 Changing the loo 6 Changing the looper orbit 6 Changing the loo per orbit per orbit per orbit When the looper moves around the needles, the point of the looper barely touches the needle. <... -
Page 8: Changing The Amount Of The Looper Front-To-Back Movement
3 3 3 3 - - - - 7 Changing the amount of t 7 Changing the amount of t 7 Changing the amount of the looper front 7 Changing the amount of t he looper front he looper front he looper front- - - - to to to to- - - - back movement back movement back movement... -
Page 9: Feed Dogs & Stitch Length
【4】FEED DOGS & STITCH LENGTH 4 4 4 4 - - - - 1 Feed dog height & tilt 1 Feed dog height & tilt 1 Feed dog height & tilt 1 Feed dog height & tilt ■Height When the feed dog is at the top of this stroke, the feed dog teeth should be parallel with and 1.0~1.2mm above the top surface of the needle plate. -
Page 10: Stitch Length
To change the stitch length, be sure to turn off the power. ■On the RX9701J Series, the feeding amount can be changed mechanically up to 4.5mm. To achieve a feeding amount of 4.5mm, loosen screw F on the adjusting knob and release the stop position by moving stop pin G.
Need help?
Do you have a question about the RX9701J Series and is the answer not in the manual?
Questions and answers