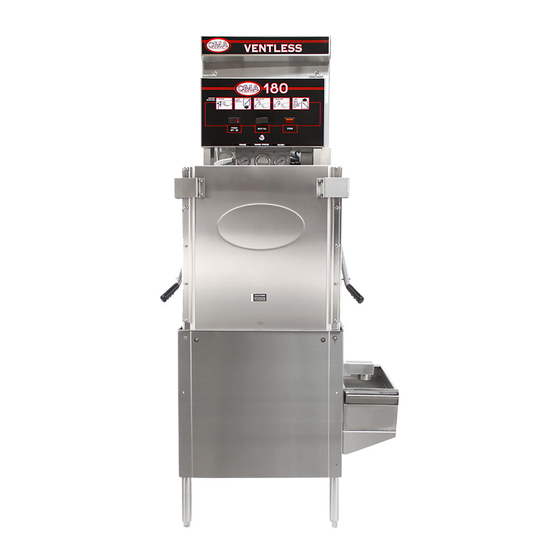
CMA Dishmachines CMA-180-VL Quick Setup Instructions
3 doors/tall
Hide thumbs
Also See for CMA-180-VL:
- Service and parts manual (32 pages) ,
- Owner's manual (22 pages) ,
- Parts manual (14 pages)
Advertisement
Quick Links
CMA-180-VL 3 Doors/Tall
Quick Setup Instructions
STEP
1
8"
WALL
DRAIN
Connect a 2" drain pipe (not supplied) from scrap
accumulator to floor or wall drain.
STEP
2
COLD
WATER INLET
Connect dishmachine to hot water source 120°F -
140°F. Connect cold water inlet (min 41°F and max
65°F). (Review other side for details).
STEP
3
3 PHASE OR SINGLE
FOR SINGLE PHASE
L1
L2
L3
3 Phase: Connect power supply wires, L1, L2 and L3
to the appropriate terminals marked L1, L2 and L3 on
the power block. Important: If one of the three wires
has higher voltage it must be inserted as L-2.
STEP
4
PLASTIC
PLUG
R e m o v e t h e p l a s t i c p l u g t o i n s t a l l t h e d e t e r g e n t
f i t t i n g ( p r o v i d e d b y y o u r d i s p e n s e r s u p p l i e r ;
C M A d o e s n o t s u p p l y ) .
PN: 10130.17
5
FLOOR DRAIN
RINSE TOGGLE
6
CONTROL PANEL
HOT
WATER INLET
208/240
DRAIN
1
PHASE
CONNECTION
L1 AND L3
WARNING: Electrical and plumbing
connections need to be made by a
licensed service person and comply
with all Federal, State and Local
Health, Electrical, Plumbing and
Safety codes.
STEP
5
Remove the plug from the mixing chamber and install
the rinse injection fitting (rinse injection fitting
provided by your dispenser supplier; CMA does not
supply).
CMA-180-VL
REAR VIEW
MIXING
CHAMBER
SWITCH
LOCATED ON
BACK SIDE OF
COLD WATER INLET
2
LOCATED ON FRONT
OF MACHINE
STEP
6
Push "RINSE TOGGLE SWITCH", located on the back
of the control box, to fill the booster tank.
POWER
3
BLOCK
HOT WATER
2
INLET
DETERGENT
4
FITTING INLET
10-2017
Advertisement

Related Manuals for CMA Dishmachines CMA-180-VL


Summary of Contents for CMA Dishmachines CMA-180-VL
- Page 1 CMA-180-VL 3 Doors/Tall Quick Setup Instructions STEP CMA-180-VL REAR VIEW POWER BLOCK MIXING CHAMBER HOT WATER INLET 8" WALL DRAIN FLOOR DRAIN RINSE TOGGLE SWITCH Connect a 2" drain pipe (not supplied) from scrap LOCATED ON accumulator to floor or wall drain.
-
Page 2: Front View
CMA-180-VL 3 Doors/Tall Quick Setup NOTE: The wash-down feature for HR Instructions Condenser is automatically activated when CMA-180-VL the machine’s “Master Power Switch” FRONT VIEW turned “off”. Approximately (2) gallons of hot water will spray over the HR Condenser, cleansing and discharging into drain system.
Need help?
Do you have a question about the CMA-180-VL and is the answer not in the manual?
Questions and answers