Advertisement
Table of Contents
Owner's Manual
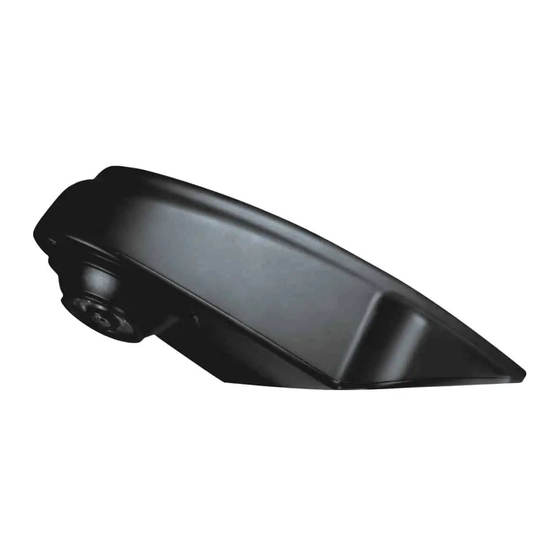
Top mount camera
Model: CM-T1000P
Specifications:
Image Device:
1/3" Color CMOS PC1089
TV System:
NTSC
Effective Pixels:
728 x 488 pixels
Sensing Area:
0.18 inch x 0.14 inch
Scanning System:
2:1 Interlace
Sync. System:
Internal
Resolution:
500 TV Lines
Minimum Illumination:
0.1 Lux (day), 0 Lux (with IR)
Microphone:
Built in microphone
Horizontal Sync. Freq.:
15.734KHz
Video Output:
1.0 vp-p,75 Ohm
Gamma Consumption:
0.45
AGC:
Auto
S/N Ratio:
+48 dB
White Balance:
Auto
Electronic Shutter:
1/60 -1/100,000 second
BLC:
Auto
Current Consumption:
Day: 12V / 55mA; Night: 12V / 120mA
Power Supply:
DC 9 - 16V
Operating Temperature:
-4℉ ~ 158℉, RH 95% max.
Lens:
f=2.8mm, F=2.0
Lens Angle:
120°
Product features:
1. Waterproof: IP69K approved
2. Nightvision distance: approx. 33ft (9 IR lights)
3. Day / Night sensor for automatic adjustment
4. Wider viewing angle up to 120 degrees
Precautious:
1. Be cautious when mounting camera and wiring near fuel tank.
2. The device is designed to work with +12 volt DC power supply.
Assembly:
■ CAMERA
①
②
③
1. Camera body
(1) Ball camera
x1
(w/ power cable, undetachable)
(2) Bottom cover
x1
(3) Ring mount
x1
(4) Rubber grommet
x1
(5) Hex head screw
x2
(stainless steel, M3*10)
2 Top cover
x1
3 Rubber pad
x1
Advertisement
Table of Contents

Related Manuals for Rydeen CM-T1000P


Summary of Contents for Rydeen CM-T1000P
- Page 1 Owner's Manual Precautious: 1. Be cautious when mounting camera and wiring near fuel tank. Top mount camera 2. The device is designed to work with +12 volt DC power supply. Model: CM-T1000P Assembly: Specifications: ■ CAMERA Image Device: 1/3” Color CMOS PC1089 ①...
- Page 2 Installation: (1) Remove the double-sided adhesive from the rubber pad and stick the pad onto the camera (5) Place the top cover onto the camera body and fix it with 4x ST3*12 Philips head screws body (Illustration 1). (Illustration 5). Philips (2) Find a proper location for installation and fix the camea body with the 4x PW4*25 head screws to the vehicle (Illustration 2).
Need help?
Do you have a question about the CM-T1000P and is the answer not in the manual?
Questions and answers