Advertisement
PTX10002-60C Quick Start Guide
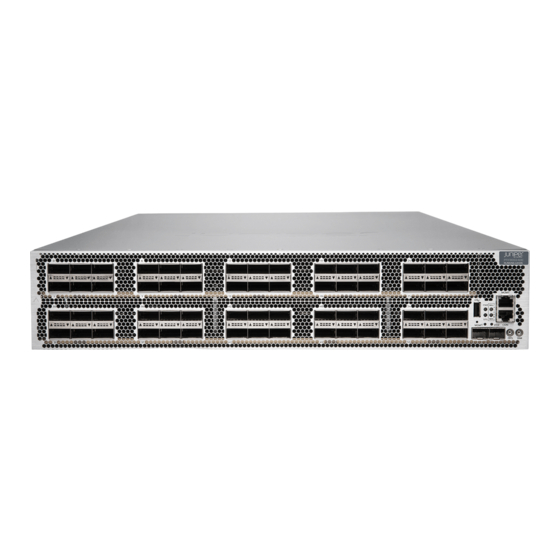
PTX10002-60C Packet Transport Router Overview
The PTX10002-60C Packet Transport Router is a second-generation PTX Series fixed-configuration core router, featuring a
compact, 2 U form factor that is easy to deploy in space-constrained Internet exchange locations, remote central offices, and
embedded peering points throughout the network, including cloud-hosted services. The PTX10002-60C operates at 6 Tbps in
a fixed core router configuration. It supports flexible interface configuration options, offering 60 physical 100-Gigabit Ethernet
ports that support the quad small form-factor pluggable transceiver QSFP28.
For more information about the PTX10002-60C hardware, see the PTX10002-60C Packet Transport Router Hardware Guide
available at:
https://www.juniper.net/documentation/en_US/release-independent/junos/information-products/pathway-pages/ptx-series/index.html
Register the Product
Register product serial numbers on the Juniper Networks website and update the installation base data if there is any addition
or change to the installation base or if the installation base is moved. Juniper Networks will not be held accountable for not
meeting the hardware replacement service-level agreement for products that do not have registered serial numbers or accurate
installation base data.
Register your product at
https://tools.juniper.net/svcreg/SRegSerialNum.jsp
Update your installation base at
PTX10002-60C Clearance Requirements for Airflow and Hardware Maintenance
When planning the site for a PTX10002-60C installation, you must allow sufficient clearance around the installed chassis. Follow
these guidelines:
For the cooling system to function properly, the airflow around the chassis must be unrestricted. See PTX10002-60C Cooling
System Description and Airflow in the PTX10002-60C Packet Transport Router Hardware Guide for more information about the
airflow through the chassis.
If you are mounting a PTX10002-60C in a rack with other equipment, ensure that the exhaust from other equipment does not
blow into the intake vents of the chassis.
You must leave at least 24 in. (60.9 cm) both in front of and behind the PTX10002-60C. For service personnel to remove and
install hardware components, you must leave adequate space at the front and back of the router. NEBS GR-63 recommends
that you allow at least 30 in. (76.2 cm) in front of the rack and 24 in. (60.9 cm) behind the rack. See
https://www.juniper.net/customers/csc/management/updateinstallbase.jsp
.
.
Figure
1.
Advertisement
Table of Contents

Related Manuals for Juniper PTX10002-60C


Summary of Contents for Juniper PTX10002-60C
- Page 1 You must leave at least 24 in. (60.9 cm) both in front of and behind the PTX10002-60C. For service personnel to remove and install hardware components, you must leave adequate space at the front and back of the router. NEBS GR-63 recommends that you allow at least 30 in.
-
Page 2: Prepare For Installation
Prepare for Installation To install and configure the PTX10002-60C router, you need: Either a mechanical lift or two persons to lift the PTX10002-60C into place. An additional person is needed to secure the router to the rack. ESD grounding strap (not provided). - Page 3 Place the rack in its permanent location, allowing adequate clearance for airflow and maintenance, and secure it to the building structure. Decide whether the field-replaceable unit (FRU) end or the port end of the PTX10002-60C must be placed at the front of the rack. Position the PTX10002-60C in such a manner that the labels on components are next to the hot aisle.
- Page 4 Tighten the screws. Figure 4: Attaching the PTX10002-60C to the Rack Ensure that the PTX10002-60C chassis is level by verifying that all the screws on the front of the rack are aligned with the screws at the back of the rack.
- Page 5 Connect the AC PTX10002-60C to Power Before you connect the PTX10002-60C to power: Read General Electrical Safety Guidelines and Warnings and Action to Take After an Electrical Accident in the PTX10002-60C Packet Transport Router Hardware Guide. Ensure that you have taken the necessary precautions to prevent electrostatic discharge (ESD) damage (see Prevention of Electrostatic Discharge Damage in the PTX10002-60C Packet Transport Router Hardware Guide).
- Page 6 If the AC power source outlet has a power switch, set it to the on NOTE: The PTX10002-60C powers on as soon as power is provided to the power supply. There is no power switch on the router. Verify that the AC LEDs for each power supply are lit green and on steadily.
-
Page 7: Perform The Initial Configuration
Parity—None Stop Bits—1 DCD State—Disregard Ensure the PTX10002-60C is powered on. Use any terminal emulation program, such as HyperTerminal, to connect to the device console. The CLI displays a login prompt. Log in as . There is no password. If the software booted before you connected to the console port, you might need to press root the Enter key for the prompt to appear. -
Page 8: Safety Warnings Summary
[edit] root@# set system services telnet NOTE: When Telnet is enabled, you cannot log in to a PTX10002-60C through Telnet using root credentials. Root login is allowed only for SSH access. Commit the configuration to activate it on the PTX10002-60C. -
Page 9: Contacting Juniper Networks
Juniper Networks, the Juniper Networks logo, Juniper, and Junos are registered trademarks of Juniper Networks, Inc. and/or its affiliates in the United States and other countries. All other trademarks may be property of their respective owners. Juniper Networks assumes no responsibility for any inaccuracies in this document.
Need help?
Do you have a question about the PTX10002-60C and is the answer not in the manual?
Questions and answers