Sign In
Upload
Download
Table of Contents
Contents
Add to my manuals
Delete from my manuals
Share
URL of this page:
HTML Link:
Bookmark this page
Add
Manual will be automatically added to "My Manuals"
Print this page
×
Bookmark added
×
Added to my manuals
Manuals
Brands
danalock Manuals
Door locks
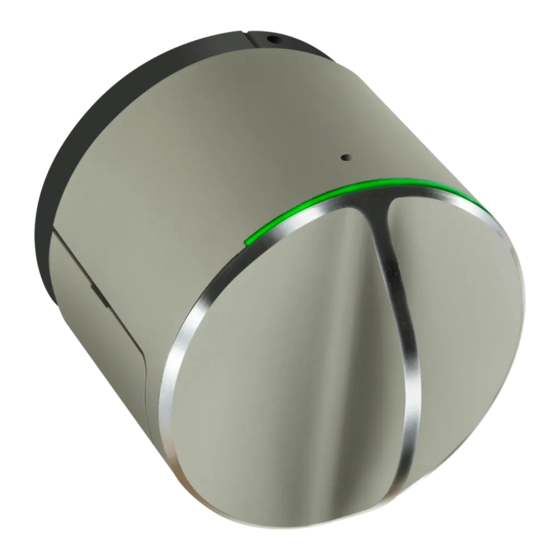
V3 BT HK SCANDI
Mounting manual
danalock V3 BT Mounting Manual
Works with apple homekit
Hide thumbs
Also See for V3 BT
:
Manual
(36 pages)
,
Mounting manual
(24 pages)
,
Manual
(28 pages)
1
2
Table Of Contents
3
4
5
6
7
8
9
10
11
12
13
14
15
16
17
18
19
20
21
22
23
24
25
26
27
28
29
30
31
32
33
34
35
36
page
of
36
Go
/
36
Contents
Table of Contents
Bookmarks
Table of Contents
Table of Contents
Tools Needed
Parts Involved
Contents of the Danalock Box
1 Remove the Old Cylinder
2 Pull out the Old Cylinder
3 Adjust the New Cylinder
4 Unscrew the Small Screws
5 Insert the Spacer Piece and Brass Tube
Cylinder Size Guide
6 Assemble the Cylinder
7 Insert the Adjustable Cylinder
8 The Right Rosette Spacer
Avoid Pulling the Cylinder out of Place
9 Break the Screws to the Right Length
10 Fasten the Back Plate to the Cylinder
Make Sure that the Lock Still Works
11 Give the Tailpiece the Right Length
12 Attach the Tailpiece Adapter
13 Fit the Tailpiece
14 Align the Plate Marks
15 Fasten the Danalock
16 Activate Batteries
17 Add the Danalock in the Homekit App
18 Calibrate the Lock
19 Dismounting
20 LED-Signals
Advertisement
Quick Links
1
Add the Danalock in the Homekit App
2
Calibrate the Lock
Download this manual
See also:
Manual
Danalock V3 BT HK EU
Mounting guide
Table of
Contents
Previous
Page
Next
Page
1
2
3
4
5
Advertisement
Table of Contents
Need help?
Do you have a question about the V3 BT and is the answer not in the manual?
Ask a question
Questions and answers
Related Manuals for danalock V3 BT
Door locks danalock V3 BT US Manual
(36 pages)
Locks danalock V3 BT Euro Manual
(32 pages)
Door locks danalock V3 BT Euro Manual
(32 pages)
Door locks danalock V3 BT Scandi Manual
(28 pages)
Door locks danalock V3 BT HK Scandi Manual
(28 pages)
Door locks danalock V3 BT HK SCANDI Mounting Manual
(24 pages)
Locks danalock V3 BT HK EURO Manual
(17 pages)
Door locks danalock V3 BT Manual
(10 pages)
Door locks danalock V3 Product Manual
(7 pages)
Door locks danalock V3 EURO Mounting Manual
(32 pages)
Door locks danalock V3-BT Technical Manual
Smartlock (20 pages)
Door locks danalock V3 HK Mounting Manual
Works with apple homekit (36 pages)
Door locks danalock V3 SCANDI Mounting Manual
(24 pages)
Door locks danalock V3 SCANDI Easy Install
(2 pages)
Door locks danalock V3 SCANDI Quick Manual
(9 pages)
Door locks danalock V3-BTZE Technical Manual
(17 pages)
This manual is also suitable for:
V3 eu
V3 hk
V3 bt hk scandi
Table of Contents
Print
Rename the bookmark
Delete bookmark?
Delete from my manuals?
Login
Sign In
OR
Sign in with Facebook
Sign in with Google
Upload manual
Upload from disk
Upload from URL


Need help?
Do you have a question about the V3 BT and is the answer not in the manual?
Questions and answers