
Related Manuals for CYP CP-251F


Summary of Contents for CYP CP-251F
- Page 1 PC/HDTV to PC/HDTV converter (CP-251F) Operation Manual Please browse our online catalogue to view our full product range. 44-48 Maitland Road, Mayfield East, NSW, 2304 Australia, sales@converters.tv Phone +61 249689313 Fax +61 249689314 www.converters.tv...
- Page 2 Introduction This unit combines the functions of a video-scaler, scan-converter, and format transformer into a compact and durable metal housing with easy-to-use touch buttons. Precautions 1. Do not expose this product to direct sunlight. 2. Keep the unit away from radiator, heat sources and magnetic field. 3.
- Page 3 Operation Controls and Functions Front Panel 1. Reset/ – and +- The – and + keys are used to adjust the selected parameter values. Pressing + and – simultaneously resets the settings to the factory default values. 2. PC/HDTV Out- This is the PC/HDTV Output port 3.
- Page 4 Red- Use the + and – buttons to enhance or decrease the level of red colour. Green- Use the + and – buttons to enhance or decrease the level of green colour. Blue- Use the + and – buttons to enhance or decrease the level of blue colour. Reset- Press this button to reset all adjustments back to factory-preset values.
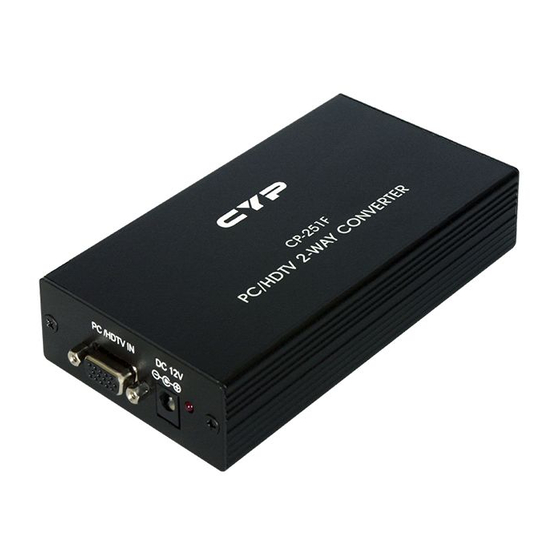
- Page 5 Connection and Installation When accepting a PC input use the 15-pin D-Sub cable to connect the output of a PC device to the input connector (Number 2 on rear panel). When accepting a HDTV input use the 15-pin D-Sub to YPbPr/3 RCA cable to connect the YPbPr/Output (or YCbCr) of a HDTV device to the PC/HDTV input connector (Number 2 on the rear panel).
- Page 6 Output Signal Specifications PC Resolution Vert Rate Format Scan Type 640 x 480 60, 72, 75, 85 Hz RGBHV Progressive VESA85 640 x 400 720 x 400 85 Hz RGBHV Progressive VGA70 800 x 600 70 Hz RGBHV Progressive SVGA 1024 x 768 60, 72, 75, 85 Hz RGBHV...
Need help?
Do you have a question about the CP-251F and is the answer not in the manual?
Questions and answers