Table of Contents
Advertisement
Installation and Operation Data
Installation and
Operation Manual
Jandy
Cartridge
®
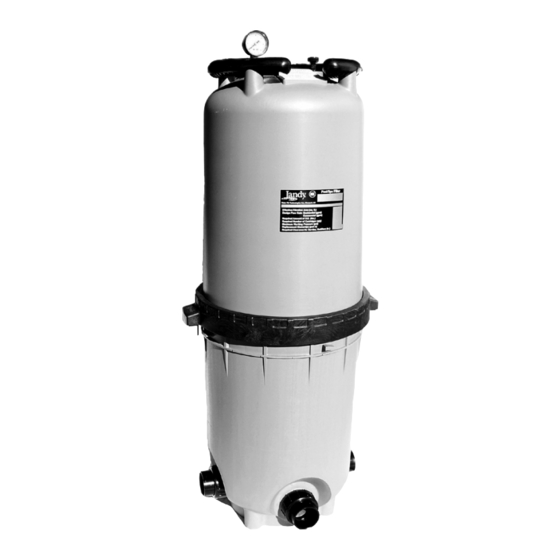
Pool/Spa Filters
Models
CJ200 and CJ250
FOR YOUR SAFETY - This product must be installed and serviced by a pro fes sion al pool/
spa service technician. The procedures in this manual must be followed ex act ly. Im prop er
in stal la tion and/or op er a tion can create dangerous high pres sure which can cause the fi lter
lid to be blown off, possibly causing death, serious injury or prop er ty damage. Improper
in stal la tion and/or operation will void the war ran ty.
Before installing this product, read and follow all warning notices and instructions that
accompany this fi lter. Failure to follow warning notices and instructions may result in
property damage, serious injury, or death.
WARNING
Advertisement
Table of Contents


Need help?
Do you have a question about the CJ200 and is the answer not in the manual?
Questions and answers