
Subscribe to Our Youtube Channel
Related Manuals for Hubbell Geyser-RO


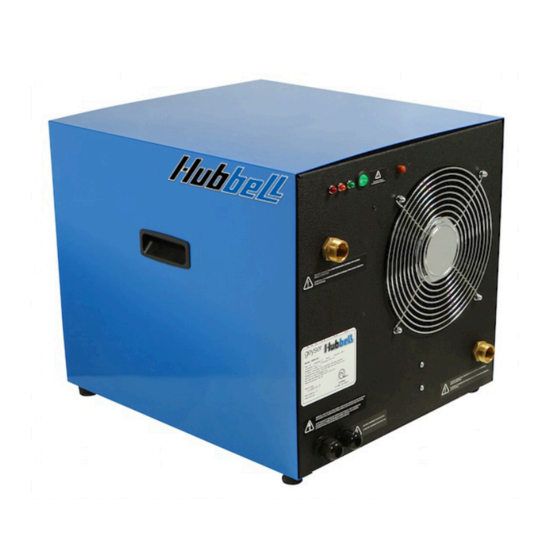
Summary of Contents for Hubbell Geyser-RO
- Page 1 Geyser-RO Heat Pump Water Heater Installation & Owner’s Manual Connection to Gas-Fired Water Heaters Version 2.5...
-
Page 2: Safety Information
Ensure that the power receptacle for the Geyser-RO is rated for 115 VAC and at least 15 A. Ensure that the electrical supply has a properly rated fuse or circuit breaker protection rated for at least 15 A. -
Page 3: System Requirements
Moisture may occasionally cause frost to form on the evaporator. When frost builds up, the Geyser-RO will go into a defrost cycle. This could occur as often as every two hours in a cold, humid environment. While in defrost mode the fan will continue to run until the frost is removed from the coil. -
Page 4: Installation Parts
Note: The two ¾” FH x ¾” FIPS fittings come pre-assembled with two of the ¾” PEX x ¾” MIP fittings. This pre-assembled fitting should be hand tightened on the inlet and outlet connections of the Geyser- RO. No wrenches are to be used on the inlet and outlet connections of the Geyser-RO. Failure to comply will void warranty. - Page 5 Note: Some ¾” shut-off valves taper to a ¼” orifice which restricts flow and thus decreases efficiency of the Geyser-RO. To operate with the maximum performance of the unit it is recommended to use ¾” shut-off valves with the largest diameter orifice you can incorporate.
- Page 6 Geyser-RO can be used in your particular application. Survey the area where the Geyser-RO is to be installed. Make sure the area is clear of obstructions, clear of debris, and clean of significant dust and dirt that can get into the unit or clog the filter.
-
Page 7: Installation Information
It is recommended that the Geyser-RO be installed as close as possible to the water heater. We recommend four feet. This will provide the best performance with the maximum efficiency because there is less surface area for heat loss to occur. -
Page 8: Installation Instructions
Installation Instructions Before you begin, turn off all power to your water heater. Be sure to double check with your electrical meter to make sure there is no power. Turn off the gas/oil to your water heater. Check to see that the pilot light has turned off. - Page 9 Wrap all male ¾” NTP* threads (brass nipple, diptube, and PEX fittings) with the supplied Teflon Tape. *NTP fittings do not include fittings on Geyser front panel. These are standard hose thread fittings. Install 4” x ¾” brass nipple into the drain valve opening. Do not over tighten the brass nipple.
- Page 10 Note: If there are any obstructions in the way of the diptube from inside the tank, please call Hubbell Technical Support to see how to install your Geyser-RO. Tel: 203-378-2659 Install the second brass “Tee” on the exposed threads of the diptube assembly.
- Page 11 Connect the drain valve that was removed earlier into the end of the second brass “Tee”. Carefully tighten the assembly until both brass “Tees” are in the horizontal position, and the drain valve opening faces down. Install both ¾” PEX x ¾” MIP fittings into the open connections on the brass “Tees”.
- Page 12 Cut your ¾” PEX hose to length so the PEX fits snug with the MIP fittings. Note: Remember, if you would like to isolate your Geyser-RO a shut-off valve needs to be installed on each line. For this installation four PEX lines will need to be cut. Two of the hoses will go from the MIP fittings on the brass “Tees”...
- Page 13 Repeat the process of connecting and securing the PEX to each of the ¾” PEX barb fittings on the water inlet and outlet of the Geyser-RO. Connect as follows: o The PEX line on the brass “Tee” that is closest to the tank connects to the BOTTOM RIGHT connection on the Geyser-RO (Geyser-RO Water Inlet).
- Page 14 Wrap cork tape around drain valve until sensor is completely insulated from the ambient air. Press cork tape against water tank wall to make a seal from ambient air. Wrap cork tape in foam tape to provide better insulation value. Note: More insulation provides a more accurate temperature reading.
- Page 15 Make sure the drain location is lower than the condensate line so gravity will pull the condensate from the Geyser-RO. If the drain is higher than the condensate line, a condensate pump may need to be incorporated to properly dispose of condensate from the unit.
- Page 16 In this case we recommend the water be heated by the Geyser-RO, pulled from a “Tee” on the cold water supply at the top of the tank. The hot water that exits the Geyser-RO is to be returned to the tank through a “Tee”...
- Page 17 These extra ports are typically on the side of the tank. If you are pairing a Geyser-RO to a solar water heater it is suggested to connect the bottom port to the Geyser-RO inlet and the top port for the outlet.
- Page 18 In this case, the supplied dip tube cannot be installed. To install a Geyser-RO to a boiler mate you will have to order a longer dip tube from Hubbell that will be installed on the top port of a “tee”...
- Page 19 Geyser-RO Installation to Tank w/ Drain Valve on Top Some tanks have the drain valve on top of the tank instead of on the side near the bottom. If this is the case, the supplied dip tube cannot be installed.
- Page 20 In this case, the supplied dip tube assembly can be used, but must be modified. You will need to provide an additional brass “tee” to put in between the drain valve and the Geyser-RO outlet on the original dip tube assembly.
- Page 21 The Johnson A419 Electronic Temperature Controller is fully adjustable. Please refer to the Johnson Controls Owner’s Manual for operation and adjustment information. The control has been preset by Hubbell. Internal jumpers are locked into the heating position. The A419 electronic temperature controller comes factory preset with the following limits:...
-
Page 22: Frequently Asked Questions/Troubleshooting
FREQUENTLY ASKED QUESTIONS / TROUBLESHOOTING The following are a sequence of lights and are used for assuring the proper function of the Geyser-RO and to help diagnose the unit if a problem occurs. On/Off Button Green Power is on and unit is in standby. - Page 23 The red light came on and the will now operate normally. (There may be a 5 minute delay in Geyser switched off starting). If the situation persists, turn the Geyser off and call for service. Call technical support at Hubbell Electric Heater Co. 203-378-2659.
- Page 24 Drain and flush the water heater: Draining the tank every six months will help to ensure that sediment does not build up in the tank and get into the Geyser-RO. Follow the directions from the tank manufacturer for draining the tank.
-
Page 26: Warranty
Hubbell makes no warranty as to the fitness of the equipment for a particular use and shall not be liable for any direct, indirect, or consequential damages in conjunction with this contract/and or the use of the equipment. - Page 27 www.buytankless.com...
Need help?
Do you have a question about the Geyser-RO and is the answer not in the manual?
Questions and answers