Table of Contents
Advertisement
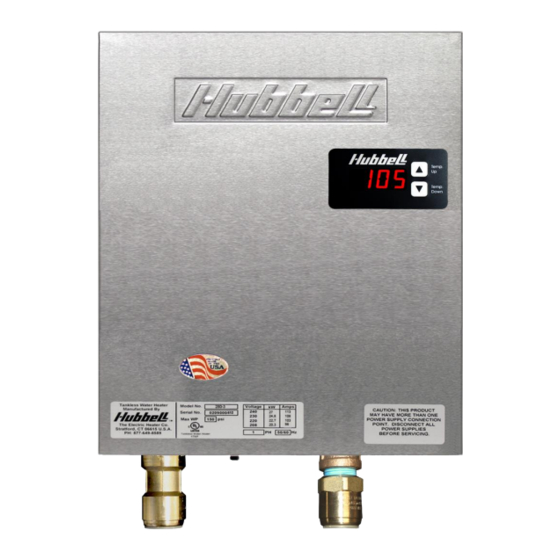
Installation, OPERATION, AND
Maintenance MANUAL FOR
THE HUBBELL TANKLESS WATER HEATER
ELECTRIC HEATER COMPANY
Edition 2016A
Advertisement
Table of Contents

Advertisement
Advertisement


Need help?
Do you have a question about the 280-3 and is the answer not in the manual?
Questions and answers