Table of Contents
Advertisement
Quick Links
Pressing this button will activate and de-activate the sonde.
With each press of the button the sonde frequency will
change. After cycling through the frequencies the sonde will
turn off.
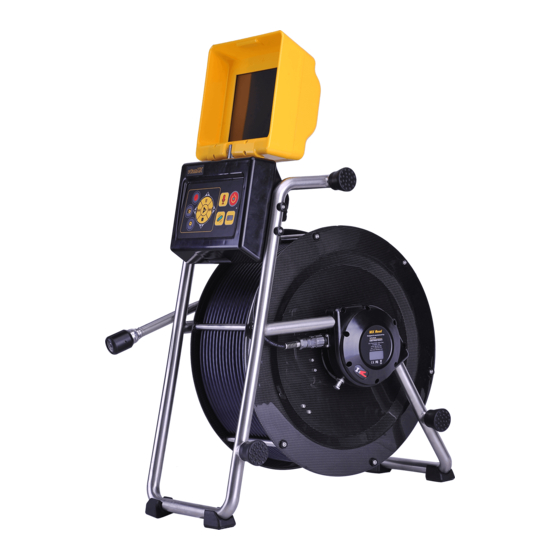
Sonde
When active, the button will glow green and the sonde
frequency will appear in the status bar.
Press this button to start a recording.
When active the button will glow red and the record icon
will appear in the status bar.
Record
Press this button again to end the recording.
Press this button to take a JPEG picture.
When pressed a message will appear top center screen to
confirm that the picture capture was successful.
Picture
Press this button to enter the digital zoom mode.
One press will zoom x 2, press again to zoom x 3, and press
again to exit the zoom mode.
Zoom
The level of zoom will be shown in the status bar.
While viewing or Recording: Use the Left/Right Arrow
section to lower and raise the camera lights. Use the
Pause/Resume button while recording or playing a video to
Pause And Resume the video.
To re-name a file: Use these buttons to navigate the on-
screen keyboard which appears when a recording is stopped.
Use the center Enter button to select the letters to name the
file.
Playback controls and
While playing a video: Use these buttons to Pause, Forward
Camera lights
Fast, Stop and Rewind the video playing.
LCD Keypad Buttons
Press this key to go back to the previous screen or to exit
an operation.
Step Back / ESC
Press these keys to make a selection while in various
menus.
Karat choice keys
Press this key when required to complete an action.
Press this key to hide and show the main menu bar while
Enter
viewing and recording.
Make a Video Recording or JPEG Picture
Press this button to start a recording. The button will glow
red and the record icon will appear in the status bar while
recording. Press this button to stop the recording.
Press this button to take a JPEG picture. When pressed a
message will appear top center screen to confirm that the
picture capture was successful.
Page 2
™
Main On-Screen Menu
Press this key to enter the File Manager to manage video
and picture files.
Files
Press this key to access the LCD's settings .
Backlight, Brightness, Contrast Hue and Saturation settings
Display
Press this key to change the colors and position of the
date, distance and time shown on the screen
OSD
Use this key to adjust the camera lights.
Lights
Use this key to enter the systems setup options.
Regional, storage, features, system and wi-fi settings.
Setup
Playing, Copying and Deleting Files
Press the File Manager key to enter the file manager.
Choose the drive where the file is located, SD or USB
Use the Up/Down Scroll keys to highlight the desired file
Play - Press the Play key to play the file.
Press the Select key to individual files or press Select All to
select all of the files.
Copy - Select the Copy key.
Select the copy destination, SD or USB.
Delete - Press the Delete key.
™
Page 3
Advertisement
Table of Contents

Related Manuals for Vivax Metrotech vCamMX


Summary of Contents for Vivax Metrotech vCamMX
- Page 1 Main On-Screen Menu Pressing this button will activate and de-activate the sonde. Press this key to enter the File Manager to manage video With each press of the button the sonde frequency will and picture files. change. After cycling through the frequencies the sonde will Files turn off.
- Page 2 Quick Guide V1.0 vCamMX File Manager Screen vCamMX Playback Controls, Camera Lights and On-screen Keyboard STORAGE > SD Card NTSC 1016_01pm_4657.avi 7.7 MB 1016_01pm_4618.jpg 44.2 kB 1016_13_4416.avi 66.6 kB 1016_13_4355.jpg 66.0 kB 1016_13_4352.jpg 65.1 kB 1016_13_2344.jpg 1016_01pm_4657.avi 45.1 kB 1016_13_1807.avi...
Need help?
Do you have a question about the vCamMX and is the answer not in the manual?
Questions and answers