Table of Contents
Advertisement
Quick Links
Advertisement
Table of Contents

Related Manuals for Martin Exterior Inground 400


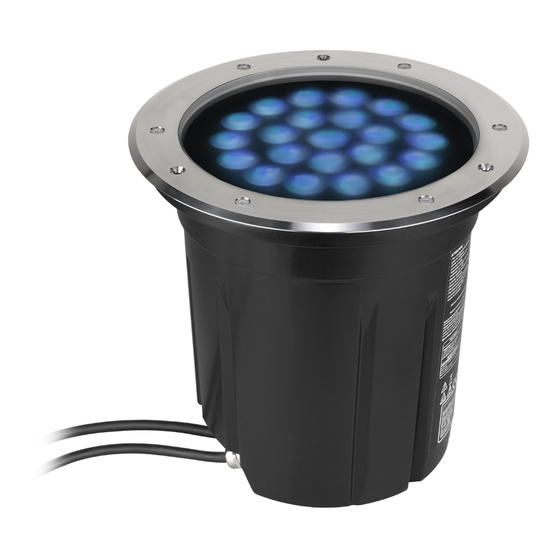
Summary of Contents for Martin Exterior Inground 400
- Page 1 SERVICE MANUAL Exterior Inground 400 LED Revision B, 08-18-2017...
-
Page 2: Table Of Contents
Closing the fixture ............................15 Installing an anti-humidity bag .......................15 Tightening the top ring ........................15 Performing a vacuum test .......................15 Maintenance ..........................16 Cleaning the product ..........................16 Conditions ..............................16 Maintenance schedule ..........................17 Exterior Inground 400 LED - Revision B, 08-18-2017 2 of 18... -
Page 3: General Information
ESD mat and wristband. Figure 2: Tools Take the necessary precautions to prevent static electricity from damaging the product during modification or repair. Figure 3: ESD mat and wristband Exterior Inground 400 LED - Revision B, 08-18-2017 3 of 18... -
Page 4: Spare Parts
Service manual Spare parts For an overview of the spare parts and spare part numbers of Exterior Inground 400 LED, refer to martin.com Login with your user login details. Search for “Exterior Inground 400 LED”. Clik “Partfinder: Layered” (1). You will need the following spare parts: •... -
Page 5: Troubleshooting
* You can use RDM to send setup commands, check the properties and view the status information of the fixture. We recommend that you use a Martin™ M-PC to configure the fixture. Martin™ M-PC is an RDM compatible DMX controller application that you can run on a Windows PC. -
Page 6: Wiring Diagram
Service manual Wiring diagram Figure 8: Wiring diagram, Exterior Inground 400 LED Exterior Inground 400 LED - Revision B, 08-18-2017 6 of 18 6 of 18... -
Page 7: Repair And Maintenance
It can be difficult to remove the top glass assembly with the top sealing because the top ring seal might be deform. In this case, use a suction cup. Figure 11: Suction cup Exterior Inground 400 LED - Revision B, 08-18-2017 7 of 18... - Page 8 (4). The connectors connect the mains power and DMX. Before you close the fixture, follow the instructions in “Closing the fixture” on page 15. Figure 14: Disconnecting connectors Exterior Inground 400 LED - Revision B, 08-18-2017 8 of 18...
-
Page 9: Replacing The Housing
Connect the cables from the new housing into the connection box in the sleeve and fasten the housing to the sleeve. Before you close the fixture, follow the instructions in “Closing the fixture” on page 15. Exterior Inground 400 LED - Revision B, 08-18-2017 9 of 18... -
Page 10: Servicing The Insert Module
400, 410 or 420. Diffuser. Glare shield. Light engine. Service module. This assembly contains the frame, main PCBA, mains filter and fan. Figure 15: Fixture insert module Exterior Inground 400 LED - Revision B, 08-18-2017 10 of 18... -
Page 11: Diffuser
There are two types of glare shields available. Depending on the configuration of the light engine, you can choose between 22 holes and 56 holes. Figure 17: Glare shield Exterior Inground 400 LED - Revision B, 08-18-2017 11 of 18... -
Page 12: Light Engine
• service bracket (metal frame) • SMPS 32V/48V, 200W complete • mainboard inground with software • PCBA, mains AC filter • Fan, 120x120x25. Figure 20: Service module Exterior Inground 400 LED - Revision B, 08-18-2017 12 of 18... -
Page 13: Smps Replacement
To install the new SMPS, follow the procedure in reverse order. Before you close the fixture, follow the instructions in “Closing the fixture” on page 15. Figure 23: SMPS DC connector Exterior Inground 400 LED - Revision B, 08-18-2017 13 of 18... -
Page 14: Replacing The Mainboard
To install the new AC filter, follow the procedure in reverse order. Before you close the fixture, follow the instructions in “Closing the fixture” on page 15. Figure 25: Removing the AC filter Exterior Inground 400 LED - Revision B, 08-18-2017 14 of 18... -
Page 15: Closing The Fixture
Performing a vacuum test To perform a vacuum test, follow the instructions in the tech note “Performing a vacuum test” Figure 28: Performing a vacuum test Exterior Inground 400 LED - Revision B, 08-18-2017 15 of 18... -
Page 16: Maintenance
Minimum temperature: -30°C (-22°F), power must be Inspect maintained below 0°C (32°F). Replace Voltage and frequency: 100-277 V nominal, 50/60 Hz. Clean Lubricate Adjust Update Contact Martin™ by Harman Service Figure 30: Legend, maintenance schedule Exterior Inground 400 LED - Revision B, 08-18-2017 16 of 18... -
Page 17: Maintenance Schedule
Service manual Maintenance schedule Exterior Inground 400 LED - Revision B, 08-18-2017 17 of 18... - Page 18 Martin™, Harman™ and all other trademarks in this document pertaining to services or products by Martin Professional™...
Need help?
Do you have a question about the Exterior Inground 400 and is the answer not in the manual?
Questions and answers