Advertisement
Quick Links
Advertisement

Related Manuals for Casall 91022


Summary of Contents for Casall 91022
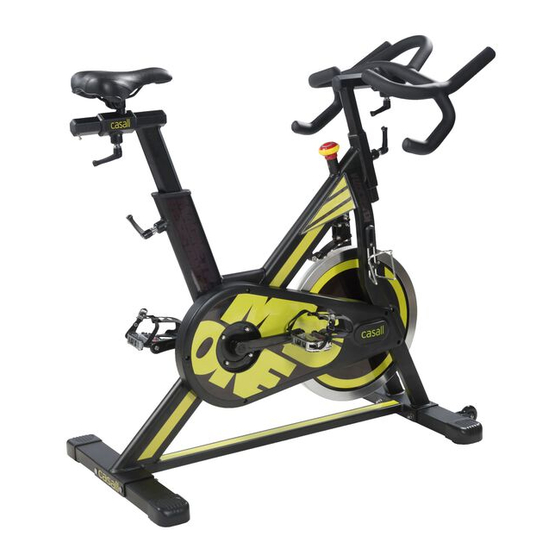
- Page 1 INDOOR BIKE 91022 MANUAL...
-
Page 2: Instructions For Use
It has a fixed wheel driven flywheel and should be used under professional supervision. or asking your supplier before using. Installation – it is important that the 91022 is correctly assembled and we recommend that installation and assembly be carried out by suitably qualified personnel. - Page 3 1022 Assembly Diagrams 7 0 R...
- Page 4 1022 ASSEMBLY Step 1 (foot) Attach the front foot (6) to the frame using the bolt (3), washer (4) and nut (5). Step 2 (foot) Attach the rear foot (2) to the frame using the bolt (3), washer (4) and nut (5). Step 3.
- Page 5 Step 4 (handlebar & stem) Attach handlebar (11) onto handle bar stem (14), silde handlebar (11) until reach your required position. Using lock lever (18) for tightening. And then put the handlebar-stem set onto front tube, adjust to your ideal position., and then using lock lever to tighten.
- Page 6 Step 6. 7. (bottle cage) Attach screws (10) into bottle cage (9) on front fork in required position using a 4mm allen key. Step 8. (console holder) Attach the console holder (81) on the handle bar and then attach the console.
- Page 7 1022 EXPLODED DRAWI G 39 40 42 43...
-
Page 8: Parts List
1022 PARTS LIST arts no. descri tion q'ty arts no. descri tion q'ty ain Frame agnet 2 Rear Ground Tube 44 Washer 16*6.2*1.5t 3 Groung Tube Fixed Bolt 45 Screw 8*P1.25*8L 4 Washer 46 Nut 10*P1.5 5 Nut 47 Washer25*10*2t 6 Front Ground Tube 48 Fly wheel axle 25*20*151L 7R/L Pedal... -
Page 9: How To Change Battery
NSTRUCT ONAL MANUAL FOR 91022 CONSOLE How to change battery﹕ 1. Open battery cover and insert 2 AAA or 2 UM-4 batteries. 2. Properly put back battery cover. 3. Under regular condition, warranty of battery is one year. 4. If the LCD shows partial display, please take out batteries, wait for 15 seconds and insert again. - Page 10 1. Press UP key and DOWN key at the same time for 3 seconds to start AUTO SCAN” function. 2. Under the condition of setting exercise values, Press UP key and DOWN key at the same time for 1 second to remove the values. Function and O eration Auto ON/OFF The monitor automatically starts working once the user starts to do the exercise on the machine.
- Page 11 Working Temperature︰0℃~ 50℃ Storage Temperature.︰-10℃~ 60℃ S eed sensor nstallation Insert speed sensor into holder. Adjust the position of sensor, ensure the distance between sensor's end and magnet is 5~8 mm.
- Page 12 The way to switch km/mile as below steps: First step take out the battery from console Second step press the button B and C in simultaneously Third step put back the battery into console in speedy way (it's better to go this action quickly with second step )
Need help?
Do you have a question about the 91022 and is the answer not in the manual?
Questions and answers