Table of Contents
Advertisement
Advertisement
Table of Contents

Related Manuals for Polimaster PM1703MO-1


Summary of Contents for Polimaster PM1703MO-1
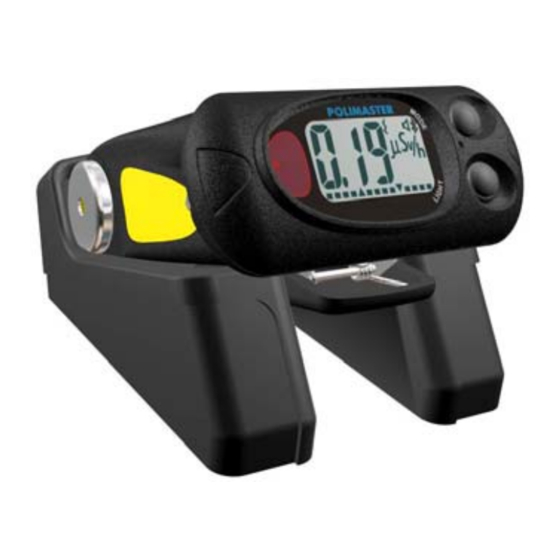
- Page 1 PERSONAL COMBINED RADIATION DETECTOR/DOSIMETER РМ1703МО-1 OPERATION MANUAL...
-
Page 2: Table Of Contents
TABLE OF CONTENTS 1 DELIVERY OPTIONS.........................3 2 BEFORE YOU BEGIN ........................4 3 PRECAUTIONS............................4 GENERAL DESCRIPTION ......................4 4.1 DISPLAY AND CONTROL BUTTONS ................4 4.2 SPECIFICATIONS .......................5 4.3 BATTERY INSTALLATION....................6 4.3.1 BATTERY CHARGER ....................7 4.4 CLIP INSTALLATION/REMOVAL .................7 4.5 CHARGING THE INSTRUMENT BATTERY..............7 4.6 ALARM THRESHOLDS .....................8 4.6.1 DOSE RATE ALARM THRESHOLDS ..............8 4.6.2 DOSE ALARM THRESHOLD.................9... -
Page 3: Delivery Options
1 DELIVERY OPTIONS Consult the following table to find out which modes and features are enabled in your Personal Combined Radiation Detector/Dosimeter. Enabled features are marked by a checked box. /off Features and operation modes Search mode (indication "µR/h") Measurement mode (indication µSv/h) Measurement mode (indication µR/h) Dose mode (indication µR) Auto calibration... -
Page 4: Before You Begin
2 Avoid severe mechanical shocks and submerging the instrument into water. 4 GENERAL DESCRIPTION The РМ1703МО-1 belongs to Polimaster’s new generation of highly sensitive, small and power-saving personal gamma combined radiation detectors/dosimeter. When ON the Detector continuously monitors the environment for radiation and alerts the user with a visual, audio and/or vibrating alarm if a radiation source is detected or a radiation threshold is exceeded. -
Page 5: Specifications
The LCD screen may display any of the following information: - gamma Dose Equivalent Rate (DER) in µR/h; - Dose Equivalent (DЕ) in µR; - n coefficient: number of mean square deviations for the gamma threshold (also called “alarm multiplier”); - Messages "tSt", "CAL", "OL", "oFF", "bAt", "ot", etc.;... -
Page 6: Battery Installation
Response time (time to alarm) at dose rate increase up to 50 µR/h for 5.0±1 s produced by Meets the ANSI N42.32 -2006 (6.5.1, 6.5.2) Co at the radiation background 20 µR/h, not more requirements Rate of false alarms in the mode of gamma mean time to false alarm >... -
Page 7: Battery Charger
When the battery voltage drops below 1.15 V, the instrument LCD will indicate a blinking battery sign and signals will be produced (audio, light and/or vibration). This means that the battery must be recharged or replaced. However, the instrument can work up to 8 hours after the appearance of the “critical battery discharged”... -
Page 8: Alarm Thresholds
Exceeding the threshold values is also indicated by an analogue scale on the LCD. Use the PM1703MO-1 Data Processing Software to change instrument threshold values. When several thresholds are exceeded simultaneously, the Dose threshold has the highest priority, then the Dose rate threshold, and finally the searching “Alarms”... -
Page 9: Dose Alarm Threshold
4.6.1 Dose rate alarm thresholds The value range of Dose rate thresholds I and II correspond to the instrument dose rate measurement range (10 µR/h - 999 R/h). The following threshold values are manufacturer preset: First dose rate threshold - 5,000 µR/h. Alarms - the instrument produces a light (red LED), audio and/or vibration signals and LCD is activated. -
Page 10: Operation
5 OPERATION 5.1 Turning the unit ON/OFF Once the battery has been installed, the РМ1703МО-1 will turn ON automatically. However, when turning ON the instrument from the OFF Mode, it is necessary to press the Mode button. All display segments and alarms will be activated for 1 second and the unit will than perform its self-test procedures. -
Page 11: Operation Modes
5.3 Operation Modes In order to meet the demands of every user, Polimaster customizes PM1703MO-1 according to the user’s requirements. Please refer to the Delivery options page to learn about the particular instrument’s operation modes. • Search Mode; • Dose Rate Measurement Mode;... -
Page 12: Der (Dose Equivalent Rate) Measurement Mode
(999 R), the LCD screen will display the overload message “-OL-”. To reset the accumulated dose value and start a new accumulation it is necessary to connect the instrument to a PC and use the PM1703MO-1 Data Processing Software. -
Page 13: Alarms
In case the alarm is actuated automatic calibration is not performed, therefore it is recommended that the user re-calibrate the instrument manually to accommodate the changed background. You can also change the n-coefficient to alter the sensitivity threshold. When the background radiation decreases (when the instrument is moved from a higher level of background radiation to a lower one) the instrument will be re-calibrated automatically (if auto-calibration is enabled). -
Page 14: Instrument Settings
6 INSTRUMENT SETTINGS 6.1 Adjusting instrument settings Using the unit front panel buttons it is possible to adjust several parameters of the instrument. The number and combination of settings enabled for editing in your particular instrument depends on factory pre-sets and may vary in each instrument. See below the complete list of settings that may be enabled for editing in the instrument: - n coefficient, gamma may be setup in the range of 1.0 to 9.9 with increment of 0.1. -
Page 15: Enabling/Disabling The Audio And Vibration Alarms
6.1.2 Enabling/disabling the audio and vibration alarms To adjust it, make sure the instrument is in any of the operation modes, then press the Mode button and hold it for more than 5 seconds, “CAL” message will be displayed first. Continue to hold the Mode button down until the instrument enters the settings adjustment menu. -
Page 16: Communication With Computer
LCD screen indicates it by a blinking “h” (HISTORY) sign. This sign disappears after the information is read from the instrument memory by the PM1703MO-1 Data Processing Software. To initialize the infrared communication, place the instrument 3 to 4 inches away from the infrared adapter and press the Light button. -
Page 17: Limited Warranty
Polimaster's facility or authorized service center. If Polimaster fails to repair or replace the Affected Products within a reasonable time after Purchaser has so returned them to Polimaster, Purchaser shall be entitled to repayment or credit of the original price of the defective or nonconforming Product as its exclusive further remedy.
Need help?
Do you have a question about the PM1703MO-1 and is the answer not in the manual?
Questions and answers