Table of Contents
Advertisement
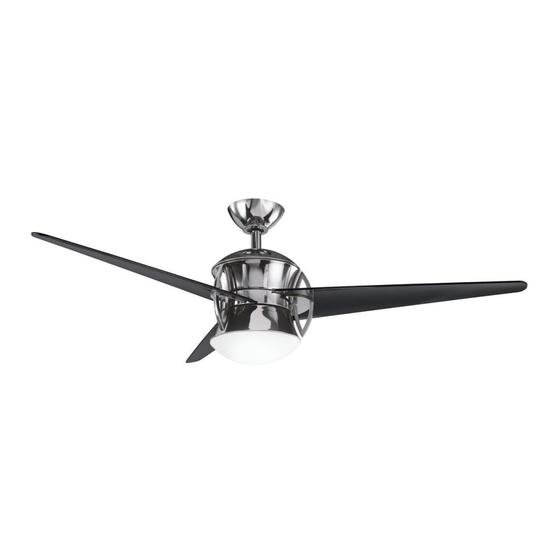
Quick Links
Advertisement
Table of Contents

Related Manuals for Kichler Lighting Cadence


Summary of Contents for Kichler Lighting Cadence
- Page 1 KHA9090108...
-
Page 2: Safety Rules
1. SAFETY RULES 10. Do not use water or detergents when 1. To reduce the risk of electric shock, insure electricity has been turned off at the circuit cleaning the fan or fan blades. A dry dust breaker or fuse box before beginning. cloth or lightly dampened cloth will be suitable for most cleaning. - Page 3 Ceiling Mounting Bracket (1) Canopy (1) Coupling Cover Fan Assembly Ball / Downrod Assembly (1) & Extra Downrod (1) Fan Blades (3) Light Plate (1) Glass Bowl (1) Bottom Cap (1) Blade Brackets (5) Canopy Cover (1) Bulb (1) Cool TouchTM Control System Receiver + 7 Wire Nut Pats Bag Contents: 1.) Mounting hardware:...
- Page 6 Step. 8 Slip the coupling cover, canopy cover Hanger Ball and canopy onto the downrod. Canopy Thread the hanger ball onto the downrod, insert the cross pin through the downrod and tighten. Coupling Cover Canopy Cover Now tighten the set screw. (Fig. 9) Step.
-
Page 7: Installation Of Safety Support
6. INSTALLATION OF SAFETY SUPPORT (for Canadian Installation ONLY) Ceiling mounting Attach bracket safety cable to ceiling joist with screw and washer Fig. 11 7. ELECTRICAL CONNECTIONS WARNING: Code switch NOTE: Fig. 12 Receiver Ceiling mounting bracket Fig. 13... -
Page 8: Finishing The Installation
Step 2. Motor to Receiver Electrical Outlet Box Connections: (Fig. 14) Connect the black wire from the fan to the Black (AC in L) black wire marked "TO MOTOR L" on the receiver. Connect the white wire from the fan Green (Ground) to the white wire marked "TO MOTOR N"... -
Page 11: Installing The Batteries
Cadence 13. INSTALLING THE BATTERIES Remove the battery compartment cover on the back of the CoolTouch™ Transmitter and insert both batteries provided. Make sure the + sign is facing up. Take care during this procedure NOT TO move the frequency dip switches inside this compartment. - Page 12 Speed settings for warm or cool weather depend on factors such as the room size. Ceiling height, number of fans and so on. Warm Weather Operation: Forward (counter clockwise) A downward airflow creates a cooling effect as shown in Fig. 22. This allows you to set your air conditioner on a warmer setting without affecting your general comfort.
-
Page 13: Hand Held Transmitter
Cadence 16. INSTALLING THE COOLTOUCH™ CONTROL SYSTEM WALL PLATE Select a location to install your CoolTouch™ Control System Transmitter. You can replace an existing wall switch or, install the transmitter on ANY flat surface. Option 1: Install the control system using an existing wall switch outlet box. -
Page 14: Troubleshooting
18.TROUBLE SHOOTING Problem Solution Fan will not start. 1. Check circuit fuses or breakers. 2. Check all electrical connections to insure proper contact. CAUTION: Make sure the main power is OFF when checking any electrical connection. 3. Make sure the batteries are installed properly. Positive (+) side facing out. 4.
Need help?
Do you have a question about the Cadence and is the answer not in the manual?
Questions and answers