Advertisement
Quick Links
Video • Data • Power
Passive UTP Transceiver Hub
with Integral Camera Power
Installation Guide
Models Include:
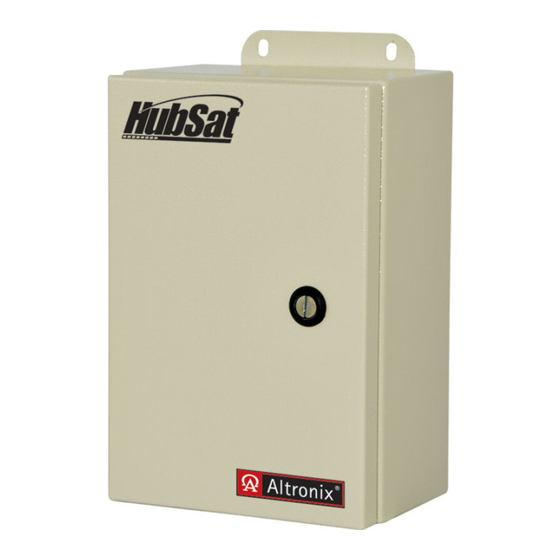
HubSat4WP
- Four (4) Channel Outdoor Passive UTP Transceiver Hub with Integral Camera Power
HubSat42WP
- Four (4) Channel Outdoor Passive UTP Transceiver includes four (4) HubWayAv
Video Balun/Combiners
HubSat43WP
- Four (4) Channel Outdoor Passive UTP Transceiver includes four (4) HubWayDv
Video Balun/Combiners
Rev. 081809
More than just power.
TM
Advertisement

Related Manuals for Altronix HubSat4WP


Summary of Contents for Altronix HubSat4WP
-
Page 1: Installation Guide
Passive UTP Transceiver Hub with Integral Camera Power Installation Guide Models Include: HubSat4WP - Four (4) Channel Outdoor Passive UTP Transceiver Hub with Integral Camera Power HubSat42WP - Four (4) Channel Outdoor Passive UTP Transceiver includes four (4) HubWayAv Video Balun/Combiners... -
Page 2: Specifications
(Green) to earth ground (Fig. 4, pg. 6). 6. S elect 24VAC or 28VAC power output for each of the Channels 1-4 on HubSat4WP (Fig. 4, pg. 6) with the corresponding output voltage switches. Select OFF position when servicing or installing individual cameras (Fig. - Page 3 10. Set illuminated master power disconnect circuit breaker to the RESET (ON) position (Fig. 4a, pg. 6). Power LEDs (Green) of the HubSat4WP will illuminate when AC power is present (Fig. 2e, pg. 5) and HubWayAv, HubWayDv or HubWayDvi Video Balun/Combiner LEDs will illuminate indicating power is present (Fig. 3b, 3d, pg. 5).
- Page 4 1. Set illuminated master power disconnect circuit breaker to the (OFF) position (Fig. 4a, pg. 6). 2. Connect one end of the coaxial cable to the BNC connector marked [Video1] on HubSat4WP (Fig. 2a, pg. 5). Connect the opposite end of the coaxial cable to the BNC video output of camera 1 (Fig. 6a, pg. 7).
- Page 5 To BNC To BNC Structured Structured Connector Connector Cable from AC Power Cable from 12VDC Power of Camera of Camera HubSat4WP HubSat4WP to Camera to Camera Data to Data to Camera Camera Fig. 3e Power to Camera HubWayAv2 Cat5 back to...
- Page 6 Illuminated master power disconnect circuit breaker: • OFF position: Circuit breaker tripped – Switch not illuminated. • RESET (ON) position: Black Lead XFMR Switch illuminated. White Lead Green Lead 115VAC 60 Hz Input (Ground) non power-limited - 6 - HubSat4WP...
- Page 7 Typical Application Drawing HubSat4WP Passive UTP Transceiver Hub with Integral Camera Power: Fig. 5 Head End Equipment (DVR) Monitor RS485 Data Video Data Power Data CAT-5 Video HubWayAv Power CAT-5 Video Balun Combiner 24VAC PTZ HubWayDv/Dvi Camera Video Balun Combiner...
-
Page 8: Wall Mount Installation
Refer servicing to qualified service personnel. Wall Mount Installation 1. Place unit at the desired location and secure with mounting screws (not included) (Fig. 7 and Fig. 7a, pg. 8). Fig. 7 Fig. 7a - 8 - HubSat4WP... - Page 9 This installation should be made by qualified service personnel. This product contains no serviceable parts. PMK1 is in- tended for use with Altronix outdoor rated power supplies or accessories housed in WP1, WP2, WP3 and WP4 enclosures. Brackets are designed for use with the Wormgear Quick Release Straps (two included).
- Page 10 Notes: - 10 - HubSat4DWP...
- Page 11 Notes: - 11 - HubSat4DWP...
- Page 12 4.21” 107mm Altronix is not responsible for any typographical errors. 140 58th Street, Brooklyn, New York 11220 USA | phone: 718-567-8181 | fax: 718-567-9056 website: www.altronix.com | e-mail: info@altronix.com | Lifetime Warranty | Made in U.S.A. MEMBER IIHubSat4WP K15Q - 12 -...
Need help?
Do you have a question about the HubSat4WP and is the answer not in the manual?
Questions and answers