Belling IH60 Users Manual & Installation Handbook
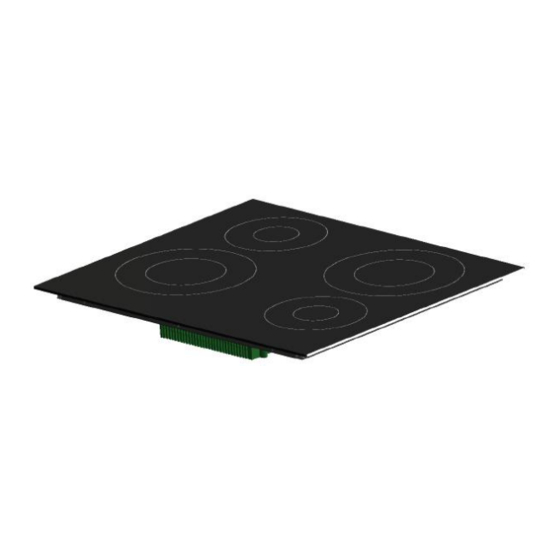
Induction hob
Hide thumbs
Also See for IH60:
- Users manual & installation handbook (25 pages) ,
- Users manual & installation handbook (25 pages) ,
- Users manual & installation handbook (28 pages)
Advertisement
Quick Links
Advertisement

Related Manuals for Belling IH60


Summary of Contents for Belling IH60
- Page 1 Users Guide & Installation Handbook Belling IH60 Induction Hob...
-
Page 2: Table Of Contents
contents Introduction Before Using Safety Using the Hob Cleaning Installation Technical Customer Care... -
Page 3: Introduction
Please ensure that you have the product’s model no and serial no available when you call. These can be found on the silver data label on your product. Alternatively, general information, spares and service information is available from our website: www.belling.co.uk... -
Page 4: Before Using
Before Using YoUr HoB • Make sure that you have removed all packaging, wrappings, stickers and films from the hob surface. • It is recommend that you clean and wash the hob surface before using for the first time. • Apply a thin coat of ceramic hob cleaner to the hob to help maintain and protect it. • See the customer care section for details of how to obtain all the available cleaning products. -
Page 5: Safety
safety fire safety advice Most kitchen fires occur when people are distracted or leave things unattended, so remember: If you’re called away from the cooker - by the phone or someone at the door, either take pans off the heat, or switch off your hob. - Page 6 safety Hob safety 11) Warning:- Ensure you switch off the appropriate cook zone individually or 1) Parts of the appliance may become by the central on/off key when you have hot while in use. Always make sure that finished cooking, do not rely upon the children are supervised when they are automatic pan detection system as your near to the appliance. means of switching “off” the appliance. 2) Always position pans over the centreof 12) The appliance must never be the cook zone, and turn the handles disconnected from the mains supply to a safe position so they cannot be during use as this will seriously affect the accidentally knocked or grabbed. safety and performance, particularly in relation to surface temperatures becoming 3) Don’t leave pans on the hob when hot and component parts not working you’re not around - take them off the cook efficiently. The cooling fan (if fitted) is zone if you have to leave the kitchen even designed to run on after the control has if you think it will only be for a moment, been switched off. while you answer the door or phone. 13) This induction hob complies with the 4) If you use a griddle plate ensure it is applicable EMC and EMF standards. completely cool before attempting to lift it Therefore it should not interfere with from the hob as residual heat may cause other electronic units. Persons fitted with a burns, Always use oven gloves to protect...
-
Page 7: Using The Hob
using the hob - induction Basic Control Functions touch controls basic control Functions Basic Control Functions The touch controls for your induction hob Power up (+) Key have been designed to provide you with finger tip control of your hob, providing Power up (+) Key Key Lock accurate and repeatable power settings... - Page 8 using the hob - induction central on/off switch. Power boost Central On/Off switch. Power Boost The central on/off switch enables all of Temporarily boost the power to a cook The central on/off switch enables all of the cooking zones to be switched off simultaneously at a touch o Temporarily boost the power to a cook zone by approx 2 Power Boost the cooking zones to be switched off...
- Page 9 using the hob - induction Pans and cookware for induction hobs. Pans and Cookware for induction cooking zones must be made of metal and have magnetic properties. The base must also be of the correct diameter. suitable Pans and cookware for induction hobs unsuitable cookware Enameled steel pans with a thick base Pots made of copper, stainless steel,...
- Page 10 using the hob - induction Auto Power Tuning Auto Power tuning Residual heat indicators Auto Power Tuning Residual Heat Indicators Induction hobs have a unique power tuning systems that automatically tunes Induction hobs have a unique power tuning systems that automatically tunes the power to the size of the Induction hobs have a unique power tuning systems that automatically tunes the power to the size of the the power to the size of the pan base this pan base this ensures energy isn’t wasted...
- Page 11 using the hob - induction troubleshooting the hob produces a smell the first few times it is used Heat a pan full of water on each zone for half an hour. Pans make a noise during cooking!! This is caused by vibration due to the passage of energy from the hob to the pan.
- Page 12 using the hob - induction hob status Fault description Action codes Ensure correct pan size and that the pan is Indicates no pan or suitable pan on cook zone suitable for induction use (Check with a magnet) Heater Over Temperature Product will auto reset, Allow hob to cool Indicates pan overheat Heater Over Temperature Product will auto reset, Pan...
-
Page 13: Cleaning
cleaning cleaning and maintenance of your ceramic glass Hob Surface cleaning up spillages Use a clean cloth or paper towel to wipe up any spillages, do not use a used dishcloth or sponge to wipe clean the hob as they can leave a film of detergent on the surface which can lead to discoloration. - Page 14 InstallatIon InstructIons - InductIon General information We recommend that you install this appliance in a work top which is a Installation should only be carried out by a minimum 38mm deep. qualified installer or engineer. The hob can be fitted into a work top less Please keep to the following points most than 38mm deep, but the 20mm gap carefully;...
- Page 15 InstallatIon InstructIons - InductIon Installation above an oven Refer to the manufacturer’s instructions for clearances above the oven. We recommend a 20mm gap between the bottom of the hob and appliance. Wooden Dividing panel required if being fitted above a drawer In the case of a pyrolytic oven If installing the hob above a pyrolytic oven, additional provision for air...
- Page 16 InstallatIon InstructIons - InductIon clearances and dimensions – requirements No shelf or overhang of combustible material should be closer than 650mm above the hob. There must be a minimum clearance of 50mm between the edges of the hob and any side walls; this clearance must be maintained up to 420mm above the worktop.
- Page 17 Place the hob in the aperture, checking the hob glass is covering the work to four sides. Set the front edge of the appliance parallel with the front of the work top. InstallatIon InstructIons - InductIon Locate and attach the securing clamps as required, Tighten the screws so th down firmly against the worktop, thus ensuring a good seal.
- Page 18 InstallatIon InstructIons - InductIon Fixing Brackets Installation advice - cabinetry dealing with sides, cross-rails and back-panels in cabinetry Depending on the cabinets, the worktop thickness and the hob positioning, it is possible for the hob base and/or the clamp brackets to interfere with parts of the cabinet.
- Page 19 InstallatIon InstructIons - InductIon connect to the electricity supply Warning: This appliance must be earthed. The hob must be installed by a competent electrician, using a suitable double pole control unit, with 3mm minimum contact separation at all poles. We recommend that the appliance is connected by a competent person who is a member of a “Competent Person Scheme”...
-
Page 20: Technical Data
technical data electrical Supply 220~240V 50Hz total Power Rating @ 220 - 240V ~ 50hz (kW) hob details normal Power Power Boost cook Zone Rating kW Rating kW hob dimensions (W X d X h) mm 580 x 510 x 65 cut Out Required (W x d) mm 560 x 490... -
Page 21: Customer Care
Customer Care Customer Care Webshop Having purchased a superior cooker, hob or hood from us, you’ll naturally want to keep it looking great. And who better to help you care for it than the manufacturer? We offer a range of over 30,000 different accessories and components which will instantly give your cooker a good as new look Including Control Knobs, Oven... - Page 24 Engineer’s name For customers outside the UK and Northern Ireland, please contact your local supplier. Glen Dimplex Home Appliances Limited is the owner of the Belling brand and is part of the Glen Dimplex group of companies. Glen Dimplex Home Appliances, Stoney Lane, Prescot, Merseyside, L35 2XW...
Need help?
Do you have a question about the IH60 and is the answer not in the manual?
Questions and answers