Table of Contents
Advertisement
Quick Links
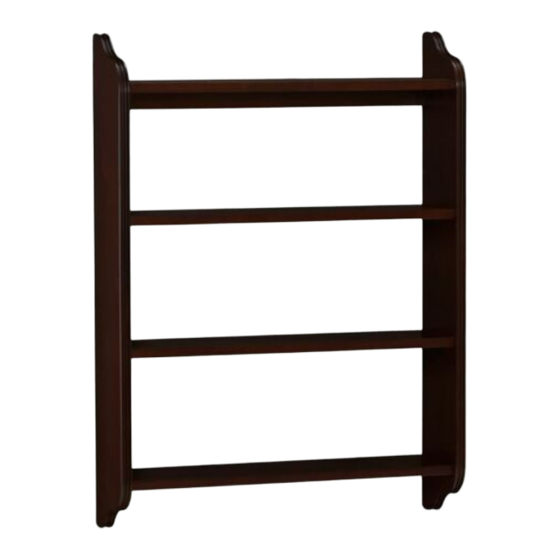
Beadboard Wall Bookcase
Note: The maximum load for each shelf is 30lbs.This hanging system is meant for drywall/wood stud
mounting only. If walls are concrete, brick or plaster, please consult your local hardware store for
assistance. For safety and ease of mounting, installation is recommended using two adult people.
ASSEMBLY PARTS INCLUDED:
TOOLS REQUIRED FOR ASSEMBLY OF BOOKCASE (NOT INCLUDED):
•
Phillips screwdriver
ASSEMBLY INSTRUCTIONS:
1. Place (8) Wooden Dowels (G) into the pre-drilled holes on the Left Frame (A). (Figure #1)
2. Using a Phillips head screwdriver, screw (8) Long Cam screws (H) into the pre-drilled holes on the
Left Frame. (Figure #1)
3. Insert (8) Cam Cases (I) into the large holes on the lower edge of each shelf, ensuring the arrow seen
on the top of the cam case is pointing towards the opening on the bottom edge of the shelf. (Figure #2)
4. Insert Top shelf (C), Middle Shelf (D), Middle Shelf (E) and Bottom Shelf (F) into the Left Frame (A)
ensuring the wood dowels and cam screws insert into their corresponding holes as shown. (Figure #3)
5. Using a Phillips head screwdriver, tighten all the Cam Cases (I) by turning clockwise until tight. Do not
over tighten.
6. Press the Plastic Covers (J) onto the Cam Cases (I)
Advertisement
Table of Contents

Subscribe to Our Youtube Channel
Summary of Contents for PB TEEN Beadboard Wall Bookcase
- Page 1 Beadboard Wall Bookcase Note: The maximum load for each shelf is 30lbs.This hanging system is meant for drywall/wood stud mounting only. If walls are concrete, brick or plaster, please consult your local hardware store for assistance. For safety and ease of mounting, installation is recommended using two adult people.
- Page 2 Figure #1 Figure #2 Figure #3 7. Repeat Steps #1 - #6 using the Right Frame (B). (Figure #4) Figure #4...
- Page 3 MOUNTING HARDWARE INCLUDED: Wall- mount Bracket Toggle Screws Toggles Anchors Stud Screws 1PCS 2PCS 2PCS 2PCS Tools required for mounting (not included): • Phillips screwdriver, Level, Pencil, Tape measure MOUNTING INSTRUCTIONS: 1. Hold the product against the wall at your desired location. Use a level to ensure the product isn’t tilted. Note: It is best to mount the Wall-Mount Bracket (K) to at least (1) stud.
- Page 4 HANGING THE PRODUCT: 1. On the back of your product there is an affixed product-mounting bracket. 2. Carefully position the product-mounted bracket over the Wall-Mount-Bracket (K), ensuring that the two brackets are aligned. 3. Lower the product down so that the product-mounted bracket is resting on the Wall-Mount Bracket (K). 4.
- Page 5 Beadboard Peg Shelf Note: This hanging system is meant for drywall/wood stud mounting only. If wall are concrete, brick or plaster, please consult your local hardware store for assistance. For safety and ease of mounting, installation is recommended using two people. Parts Included: Wall-mount Bracket Toggle Screws...
- Page 6 Drywall Mounting (Figures 1 & 2) 19. Use a Phillips screwdriver to insert a Toggle Anchor (C) over the insertion point that is not centered on a wall stud. The toggle anchors are designed to cleanly cut and bore into the wall like a drill bit. Slowly turn an anchor clockwise while applying even pressure until the flange just touches the wall.


Need help?
Do you have a question about the Beadboard Wall Bookcase and is the answer not in the manual?
Questions and answers