
Related Manuals for PB TEEN BEADBOARD BASIC BED QUEEN


Summary of Contents for PB TEEN BEADBOARD BASIC BED QUEEN
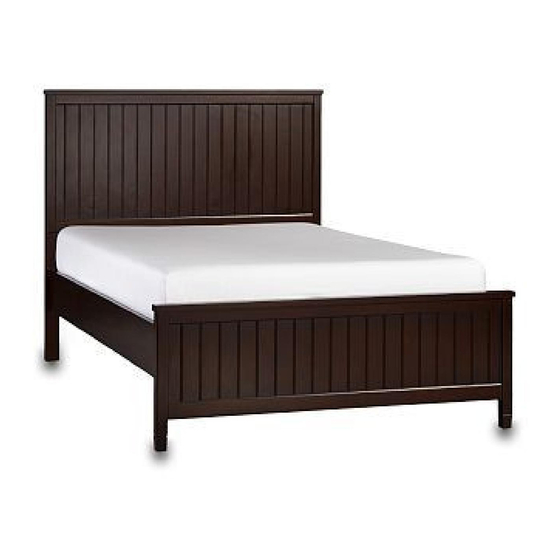
- Page 1 BEADBOARD BASIC BED QUEEN ASSEMBLY INSTRUCTIONS Date: 2013-May-27 www.pbteen.com Page 1 of 5 Rev:...
- Page 2 Important Safety Instructions: • Please read all instructions carefully before assembling this bed. • For your safety, assembly by two or more adults is strongly recommended. • Keep these instructions for future use. • Use only vendor-supplied hardware to assemble this item. Using unauthorized hardware could jeopardize the structural integrity of the item.
- Page 3 Assembly Instruction Steps: 1. Attach the Left and Right Headboard Legs (C&D) to the posts of Headboard (A), as seen in the illustration below. 2. Secure with 4 sets of Bolt (J), Spring Washer (L), and Flat Washer (M) through the pre-drilled holes found on the Left and Right Headboard Legs (C&D) and into the pre-fixed mounting plates of the Headboard (A) posts.
- Page 4 8. Thread the 3 Support Legs (H) into the pre-fixed insert nuts of the Support Rail (G), as seen in the illustration below. 9. Attach the assembled Support Rail (G) and Support Leg (H) to the Slats Roll (F). 10. Connect the 1 slat to one end of the Support Rail (G) by inserting Bolt (J), Spring Washer (L), and Flat Washer (M) through the pre-drilled holes of the 1 slat and into the pre-fixed insert nuts of Support Rail (G),...
- Page 5 11. Tighten with Allen Key (I). 12. Repeat steps # 9 and #10 at the other end of Support Rail (G). 13. NOTE: Three positions for Support Rail (G) are provided. The center position is used without a trundle. If using a trundle, please assemble Support Rail (G) to the pre-drilled holes on the opposite side of the bed where you desire the trundle to be used.
Need help?
Do you have a question about the BEADBOARD BASIC BED QUEEN and is the answer not in the manual?
Questions and answers