
Related Manuals for Mobatime SLH-DC series


Summary of Contents for Mobatime SLH-DC series
- Page 1 INSTRUCTION MANUAL State-of-the-art technology digital clock SLH-DC series addition to the standard DC series instruction manual (for SLH-DC only) © MOBATIME BE-800945.01...
- Page 2 It is prohibited to reproduce, to store in a computer system or to transfer this publication in a way or another, even part of it. The copyright remains with all the rights with BÜRK MOBATIME GmbH, D-78026 VS-Schwenningen and MOSER-BAER AG – CH 3454 Sumiswald / SWITZERLAND.
-
Page 3: Table Of Contents
20 GUARANTEE AND MAINTENANCE ......................15 NOTE: Chapters 2.7 - 15 are the same as in the DC Instruction manual. Use the DC user manual to control and set parameters for the SLH-DC clock. © MOBATIME 3 / 16 800945.01... -
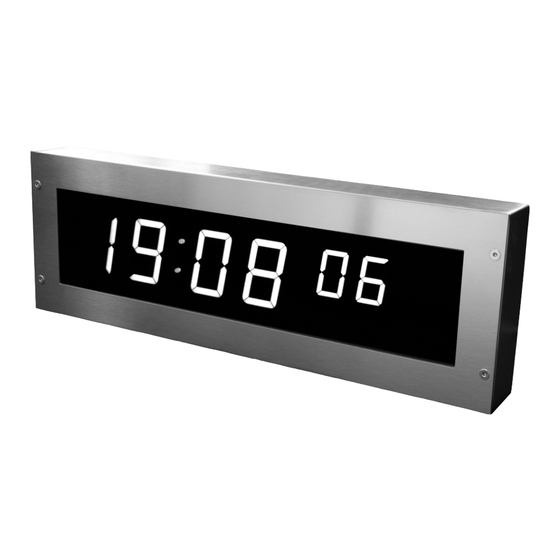
Page 4: Description
IP 54 autonomous, quartz controlled time base with the possibility of synchronization using the following: DCF 77 radio signal, 24 V minute impulses, the MOBATIME serial code, MOBALine, RS 232, RS 485, IRIG-B or GPS NTP multicast or unicast synchronization in Ethernet or unicast synchronization in WiFi network ... - Page 5 IR controller for clock set up and stopwatch control On request internal relay – relay can switch for specified duration, when the stopwatch in the countdown mode reach the zero. protection degree IP 54 © MOBATIME 5 / 16 800945.01...
-
Page 6: Assembly
Pull the incoming conductors through the pipe which serves as the clock suspension. Secure the ceiling suspension (or the side console) to the ceiling (or the wall), using 4 wood screws of 5 mm diameter. Unscrew the allen screws from both front panels. © MOBATIME 6 / 16 800945.01... -
Page 7: Ceiling And Side Mounting Single-Sided Stainless Steel Clock
Ethernet cable or the RS 232 and RS 485 interface connectors, if these have been delivered. Push the temperature sensor connector, the keyboard connector, Ethernet connector or the RS 232 and RS 485 jacks into the corresponding terminals on the © MOBATIME 7 / 16 800945.01... -
Page 8: Flush Mounting Single-Sided Stainless Steel Clock
Put the front panel into the clock body. Check if any cable is not pinched between the back side of front panel and the clock body. Fix the front panel to the clock body by the four allen screws. © MOBATIME 8 / 16 800945.01... -
Page 9: Assembly Diagram
Assembly diagram 2.5.1 Wall mounting single-sided stainless steel clock 2.5.2 Ceiling and side mounting double-sided stainless steel clock © MOBATIME 9 / 16 800945.01... -
Page 10: Ceiling And Side Mounting Single-Sided Stainless Steel Clock
2.5.3 Ceiling and side mounting single-sided stainless steel clock 2.5.4 Flush mounting single-sided stainless steel clock © MOBATIME 10 / 16 800945.01... - Page 11 The hole in the wall for wall mounting of the clock the wall plugs into the wall the hole for rivet nut the holes for fixing of the clock body the hole for rivet nut © MOBATIME 11 / 16 800945.01...
-
Page 12: Connecting Terminal Block
(4x) wall mounting holes the hole for input of cables panel mounting holes Connecting terminal block © MOBATIME 12 / 16 800945.01... -
Page 13: Engineering Data
+- 12 – 30 V 10 – 18 mA MIN, CODE (on request) +- 30 – 60 V 10 – 18 mA IRIG B 20 mVpp – 2 Vpp 20 uA – 2 mA © MOBATIME 13 / 16 800945.01... -
Page 14: Accessories
Unusable batteries can be returned free of charge at appropriate collection points of your waste disposal company or at shops that sell batteries. By doing so, you fulfil your legal responsibilities and help protect the environment. © MOBATIME 14 / 16 800945.01... -
Page 15: Guarantee And Maintenance
The following circumstances are excluded from the guarantee: inappropriate handling or interventions chemical influences mechanical defects external environmental influences (natural catastrophes) Repairs during and after the guarantee period are assured by the manufacturer. © MOBATIME 15 / 16 800945.01... - Page 16 © MOBATIME BE-800945.01...
Need help?
Do you have a question about the SLH-DC series and is the answer not in the manual?
Questions and answers