Table of Contents
Advertisement
Quick Links
Advertisement
Table of Contents

Subscribe to Our Youtube Channel
Related Manuals for Ecom ecom-DP


Summary of Contents for Ecom ecom-DP
- Page 1 Operating Instructions...
-
Page 2: Table Of Contents
6.2. Pressure Auto -> 0 by start 6.3. Choose printer (ecom-P) 6.4. Battery loading 6.5. Display damping 6.6. Pressure unit 7. Sensor setup 8. View service info 9. Data logger program „ecom-DP Logger“ 10. Technical data ecom-DP 11. Maintenance tip Page 2 ecom-DP... -
Page 3: Design Ecom-Dp
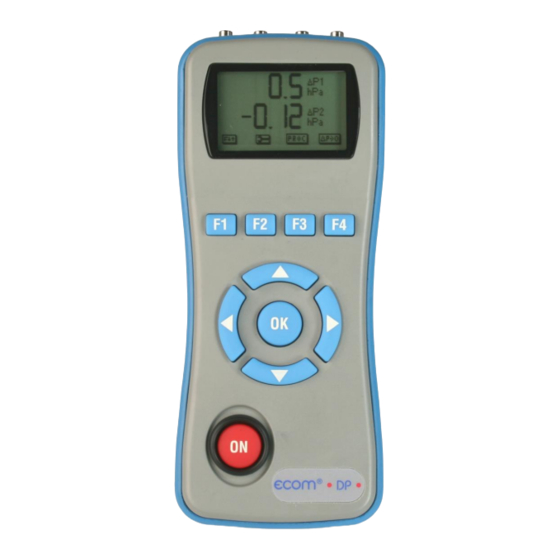
1. Design ecom-DP IR interface (for IR printer) Connections Connections (Option) Pmax = 1500 hPa Pmax = 1500 hPa oder Pmax = 70 hPa Graphic display Function keys (current function is shown on display) Cursor keys Connection loading unit ON/OFF key... -
Page 4: Initialisation
2. Initialisation 2.1. Power supply The ecom-DP is powered by 3 batteries or 3 accumula- tors. The following types can be used to operate the instrument: - Battery 1,5 V AA (Mignon) - Accumulator 1,2 V AA NiCd (nickel cadmium) -
Page 5: Clock Set
Press <ON> to switch on the ecom-DP. The instrument displays the following: Clock set Delete RAM Press OK to continue! - Press twice the <OK> key and the measurement value menu will be displayed. - Press <F2> (wrench symbol) to call up the menu „In- strument settings“. -
Page 6: Numerical Indication
- Press <F2> (Hold) to „freeze“ that measurement value displayed at the time the key is pressed (active function = Hold indication blinks). - Press again <F2> (Hold) to quit the „freezing“ and the current value will be displayed. Page 6 ecom-DP... -
Page 7: Min. / Max. Measurement Values
Basing on the previous function seizure, the functions „LUMI“ and „Light“ are displayed after pressing <F1>. The graphic display of the ecom-DP can be adjusted to different visual conditions. The contrast can be adjusted in 5 steps (each key pressing = one step) while pressing <F3>... -
Page 8: Check Programs
- Air pressure (800 - 1200 hPa, default: 1013 hPa) Each parameter can be adjusted the same way: 1. Select the parameter with <UP/DOWN>. 2. Press <OK> to activate. 3. Use the cursor keys <RIGHT/LEFT> to select the position to be changed (corresponding field blinks). Page 8 ecom-DP... -
Page 9: Pressure Check
<F2> (Print) . 8. If the menu „Pressure Check“ is selected again, so the result can be called up with <F1> (as long as the ecom-DP is on) or a new measurement can be started with <OK>. ecom-DP Page 9... -
Page 10: Preliminary Check
<F2> (Print) . 8. If the menu „Preliminary Check“ is selected again, so the result can be called up with <F1> (as long as the ecom-DP is on) or a new measurement can be started with <OK>. Page 10... -
Page 11: Main Check
IR printer (option) thus pressing <F2> (Print) . 8. If the menu „Main Check“ is selected again, so the result can be called up with <F1> (as long as the ecom- DP is on) or a new measurement can be started with <OK>. -
Page 12: Usability Check
4.5. Usability Check The usability check acc. to DVGW – TRGI Process form G 624 by conduits is memorised as a measurement routine by the ecom-DP. The calculation of the leak rate happens automatically according to the following equation and corre-... - Page 13 The ecom-DP will calculate the pipe volume in sections basing on the diameter and the length for thread pipe acc. to DIN 2440 (middle heavy): - Press <F2> (CAL). - Use <UP/DOWN> to select the pipe diameter (1/2“ to 4“) and confirm with <OK>.
- Page 14 <F2> (Print). 13. If the menu „Usability Check“ is selected again, so the result can be called up with <F1> (as long as the ecom-DP is on) or a new measurement can be started with <OK>. Page 14 ecom-DP...
-
Page 15: Set Clock
6.1. Key beep on/off switch - With the cursor keys <UP/DOWN> scroll until the menu point “Key beep”. - Activate with <OK>. - With the cursor keys <RIGHT/LEFT> modify the ad- justment (YES or NO). - Confirm with <OK>. ecom-DP Page 15... -
Page 16: Pressure Auto -> 0 By Start
(YES = printer ecom-P or NO = printer HP 82240B). - Confirm the modification with <OK>. 6.4. Battery loading The ecom-DP is able to work with accus and AC power (option): - Scroll with the cursor keys <UP/DOWN> until the menu point “Battery loading”. -
Page 17: Pressure Unit
“Pressure unit”. - Press <OK> to activate. - Use the cursor keys <RIGHT/LEFT> to adjust the de- sired unit for the pressure sensor. - Press <OK> to confirm. - Press <F2> (ESC) to quit the menu “Internal”. ecom-DP Page 17... -
Page 18: Sensor Setup
“Service”. - Press <OK> and an info window will be opened in which the address and phone number of the competent service centre as well as the instrument version (e.g. ECOM DP V3.1) will be displayed. Page 18 ecom-DP... -
Page 19: Data Logger Program „Ecom-Dp Logger
9. Data logger program „ecom-DP Logger“ The measured value process of the ecom-DP can be logged with the help of the data logger program „ecom-DP Logger “. The program can be loaded free of charge from the download area of the ecom homepage www.ecom.de. To trans- fer the data a USB cable (kind becomes. -
Page 20: Technical Data Ecom-Dp
10. Technical Data ecom-DP Power supply: - Battery: 3 x 1,5 V AA (Mignon) - or 3 x 1,2 V AA NiCd (nickel cadmium) - or 3 x 1,2 V AA NiMh (metal hydride) - Internal loading unit - Connection via 1.3 mm hollow plug - Loading current approx. -
Page 21: Maintenance Tip
11. Maintenance tip To secure the accuracy of your measuring instrument we recommend the annual check by an authorized ecom partner. In the case of strong demand (e.g. perma- nent several hours of measurement per day, rough conditions etc.) shorter inter- vals between checks should be selected - please contact your ecom partner.
Need help?
Do you have a question about the ecom-DP and is the answer not in the manual?
Questions and answers