Table of Contents
Advertisement
A S S E M B LY- A N D I N S T R U C T I O N S M A N U A L
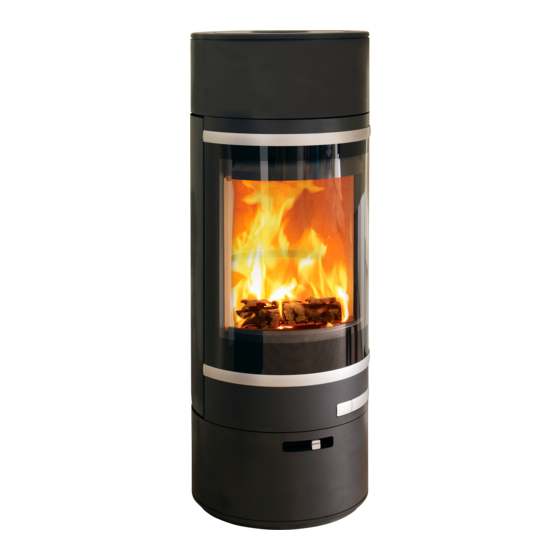
Scan 85 series
Congratulations on your new Scan wood-burning stove
You have purchased a product by one of Europe's leading manufacturer's of wood-burning stoves, and we are sure that you will have years of plea-
sure with your purchase. To make the best possible use of your stove, it is important that you follow our advice and instructions.
Please read this Assembly- and instructions manual before you start to assemble your stove.
Product registration number
Please indicate the product registration number at any enquiry
S C A N A / S - D K- 5 4 9 2 V I S S E N B J E R G
Advertisement
Table of Contents


Need help?
Do you have a question about the 85-1 and is the answer not in the manual?
Questions and answers