Advertisement
Quick Links
Advertisement

Related Manuals for Taurus KH-84802


Summary of Contents for Taurus KH-84802
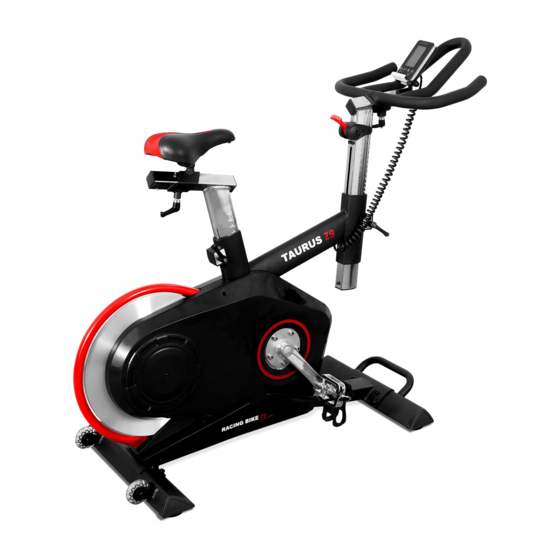
- Page 1 USER’S MANUAL Spining Bike Taurus Racing Bike Z9 KH-84802...
-
Page 2: Safety Instructions
Safety Instructions • To ensure the best safety of the exerciser, regularly mechanisms are not projecting into the area of check it on damages and worn parts. movement during the work-out. • When setting up the exerciser, please make sure •... - Page 3 • Assemble the exerciser as per assembly instructions and be sure to only use the strucutral parts provided with the exerciser and designed for it. Prior to the assembly, make sure the contents of the delivery is complete by referring to the parts list of the assembly and operating instructions.
-
Page 4: Exploded Drawing
Exploded drawing 88 89 19 20 21 22 68 74 72 47 48 49 56 60 62 61 63 96 64 98 99 102103 104... -
Page 5: Part List
Part list part no. description material specification q'ty main frame front stabilizer rear stabilizer left triangle cap 95.7*57.2*51.3 right triangle cap 95.7*57.2*51.3 allen bolt M8x1.25x20L,8.8level spring washer D15.4xD8.2x2T flat washer Q235A D16xD8.5x1.2T front post ... - Page 6 Fibre right cover of brake ABS+15% 95.4*53*31.2 Fibre brake handlebar 101.1*48.2*37 Zn alloy belt PK,J5,1295L puelly ADC-10AL D239.8*23,PK,J6 BB sets 127.5L flat washer Q235A D25*D8.5*2T outer flywheel A1050 D420*14 inner flywheel FC20 D290*34.3 cable plug D4*D12*13 swing connection fixing bracket ...
- Page 7 flat washer Q235A D18*D8.5*1.2T C ring 65Mn S-17(1T) curved washer 65Mn D17*D22*0.3T Q235A M8*1.25*6T screw M8*1.25*16L spring D1.4*55L fixing plate of brake strap Q235A 100*63*3.0T bolt M8*52L 15MM cover of moving wheel M6*1.0*50L,8.8level brake plate 54.5*37*13 cow leather leather 52*31*4T...
- Page 8 CHECK LIST (CONTENTS OF PACKAGE)
- Page 9 M8*1.25*20L D16*D8.5*1.2T D15.4*D8.2*2T M5*1.0*15L D10*5.5T M5*0.8*10L...
- Page 10 STEP 1 (x8) M8*1.25*20L (x8) D15.4*D8.2*2T (x8) D16*D8.5*1.2T Step-1 1) Assemble the front stabilizer (2) and rear stabilizer (3) onto the main frame (1) by using the flat washer (7), spring washer (6), and Allen bolt (5). 2) Adjust the proper height by turning the wheel of front & rear foot cap (59).
- Page 11 STEP 2 DOWN DOWN Step-2 1) Handlebar post (8)and seat post (9) has been preassembled, you can adjust them stepless up and down by knob(22)
- Page 12 STEP 3 (x1) M5*0.8*10L (x1) D10*5.5T Step-3 1) Fix the handlebar (13) onto the front post by L knob (12) 2) Assemble the saddle (10) onto the seat post (9) by L know (12), bolt (93) and nut (92)
- Page 13 STEP 4 (x4) M5*1.0*10L (x2) M5*1.0*15L Step-4 1) Fix the computer fixing plate (14) onto front post by using bolt (86) (fig a) 2) Through the computer cable(105) from the hole of computer fixing plate (fig b) 3) insert the cable plug (41) (fig c) 4) fix the computer (85) onto the plate by screw (84)
- Page 14 STEP 5 Step-5 1) assemble the left pedal(25L) onto left crank by anti-clockwise, and fix the right pedal (25R) onto right crank by clockwise 2) connect the adaptor(100) with machine and electric socket...
- Page 15 Step 6 You can move the machine easily...
Need help?
Do you have a question about the KH-84802 and is the answer not in the manual?
Questions and answers