Table of Contents
Advertisement
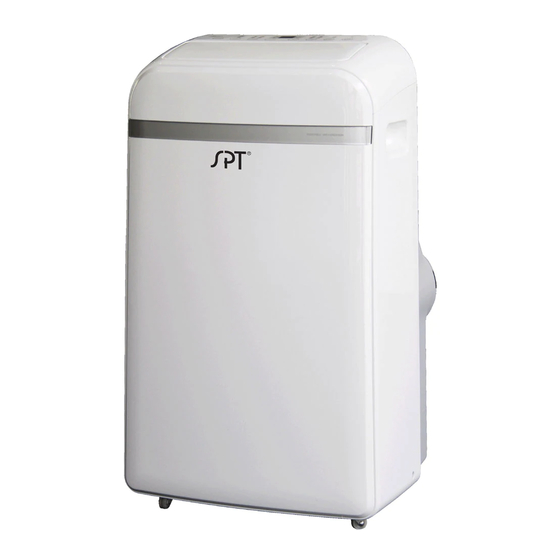
Portable Air Conditioner
Instruction Manual
WA-1240AE1: 12,000BTU (cooling only)
WA-1240H1: 12,000BTU (cooling & heating)
WA-1420E1: 14,000BTU (cooling only)
WA-1420H1: 14,000BTU (cooling & heating)
Thank you for purchasing our Portable Air Conditioner.
Before using your air conditioner, please read this instruction manual carefully and keep it for future reference.
READ AND SAVE THESE INSTRUCTIONS!
Advertisement
Table of Contents

Related Manuals for SPT WA-1240AE1


Summary of Contents for SPT WA-1240AE1
- Page 1 Portable Air Conditioner Instruction Manual WA-1240AE1: 12,000BTU (cooling only) WA-1240H1: 12,000BTU (cooling & heating) WA-1420E1: 14,000BTU (cooling only) WA-1420H1: 14,000BTU (cooling & heating) Thank you for purchasing our Portable Air Conditioner. Before using your air conditioner, please read this instruction manual carefully and keep it for future reference.
- Page 2 Contents P r e p a r a t i o n S a f e t y P r e c a u t i o n s C a u t i o n s D e s i g n a n d C o m p l i a n c e N o t e s I n s t a l l a t i o n O p e r a t i o n M a i n t e n a n c e...
- Page 3 Preparation control panel horizontal louver blade upper air filter (swing automatically) (behind the grille) handle (both sides) upper air intake upper drain outlet air outlet lower air filter lower air intake lower drain outlet (heating models only) power cord outlet power cord buckle Caster power plug socket...
-
Page 5: Design And Compliance Notes
Cautions Design and Compliance Notes Design Notice Energy Rating Information The Energy Rating for this unit is based on an installation using an un-extended exhaust duct without adapters A or B (as shown in the Installation section of this manual). -
Page 6: Installation
Installation Note About Fluorinated Gasses Choosing The Right Location -This air-conditioning unit is a hermetically the amount, please refer to the relevant label on the unit itself. -Service, maintenance and repair of this unit must be technician. NOTE: All the illustrations in the manual are for explanation purpose only. -
Page 7: Tools Needed
Installation Tools Needed -Medium Philips screwdriver; -Tape measure or ruler; -Knife or scissors; Window Installation Kit -Saw (optional, to shorten window adaptor for narrow windows) Step One: Preparing the Exhaust Hose assembly Accessories Press window slider adaptor and unit adaptor onto the exhaust hose. Clips on the adaptors will automatically clamp onto the exhaust hose. - Page 8 Installation Type 1: Hung Window Installation Type 2: Sliding Window Installation...
- Page 9 Installation...
-
Page 10: Operation
Operation Swing button Mode button Fan button Selects the appropriate operating mode. Each press of Controls the fan speed. Press to select the Used to initiate the Auto swing feature. fan speed in four steps: LOW, MED, HIGH the button will select mode in the following sequence: If auto-swing is in function, press the and AUTO. - Page 11 Operation Operation Instructions LED display COOL operation Displays set temperature, in either °C or °F. - Press the MODE button until COOL indicator lights up. Displays auto-timer settings (if any) - Press the + or - button to set desired room temperature. T emperature range is between 62°F~86°F (17°C~30°C).
- Page 12 Operation...
- Page 13 Operation Water drainage " Remove the universal female mender) to upper drain plug a 3/4" hose (not included, purchase locally). Connect to spout. For models without drain hose Continuous the drain connector, just adaptor drain hose attach drain hose to spout. drain hose adaptor - Position the open end...
-
Page 14: Maintenance
Maintenance Safety Precautions Clean the Unit Use a lint free cloth soaked with neutral detergent to clean the -Always unplug the unit before cleaning or servicing. housing. Finished by a dry clean cloth. -DO NOT wash the unit under running water. Doing so causes electrical danger. -
Page 15: Troubleshooting
Trouble Shooting Please check the machine according to the following before asking for maintenance: Problem Possible Cause Troubleshooting The Water Collection Tray is full. Turn off the unit, drain the water P1 Error Code from the Water Collection Tray Unit does not turn and restart the unit. -
Page 16: Using The Remote Controller
USING THE REMOTE CONTROLLER ° ° ° ° ON/OF F SHORT TIMER MODE TEMP TIMER SLEEP SWING ... - Page 17 → → → HEAT (heating model only) → NOTE: Please do not select HEAT mode if your model is cooling only type. → → → Press to turn the LED display on the unit on or off.
- Page 18 Button designs on your unit may differ slightly from the example shown. When there are wide differences between Remote controller illustration and USER'S MANUAL on function description,the description of USER'S MANUAL shall prevail. Inserting and Replacing Batteries The remote controller is powered by two AAA batteries (not included).
- Page 19 (Heating models only)
-
Page 20: Cool Operation
How To Use The Basic Functions The operating temperature range for the unit is 17°C-30°C COOL OPERATION (62°F-86°F). You can increase or decrease the set temperature 1. Press the MODE button to select COOL in 1°C(1°F) increments 2. Set your desired temperature using the Temp Up/Down button. -
Page 21: Dry Operation
DRY OPERATION FAN OPERATION 1. Press the MODE button to select DRY 1. Press the MODE button to select FAN mode. mode. 2. Press FAN button to select the fan speed: 2. Set your desired temperature using the AUTO, LOW, MED or HIGH. Temp Up/Down button. - Page 22 Your air conditioning unit has two timer-related functions: TIMER ON: Set the amount of time after which the unit will automatically turn on. TIMER OFF: Set the amount of time after which the unit will automatically turn off. TIMER ON function: Sets amount of time for unit to turn on, such as when you will return home. ...
- Page 23 Setting combined timers: TIMER ON and TIMER OFF at the same Keep in mind that the time periods you set for both functions refer to hours after the current time. For example, say that the current time is 1:00 PM, and you want the unit to turn on automatically at 7:00 PM (which is 6 hours from current time); operate for 2 hours, then automatically turn off at 9:00 PM (which is 8 hours from current time).
- Page 25 ° °F after 30 minutes; and by another 1°C/1°F after additional 30 minutes. New temperature will be maintained for 7 hours then unit returns to originally set temperature. This ends the SLEEP function. ° ...
Need help?
Do you have a question about the WA-1240AE1 and is the answer not in the manual?
Questions and answers