
Subscribe to Our Youtube Channel
Related Manuals for SPT WA-1240E


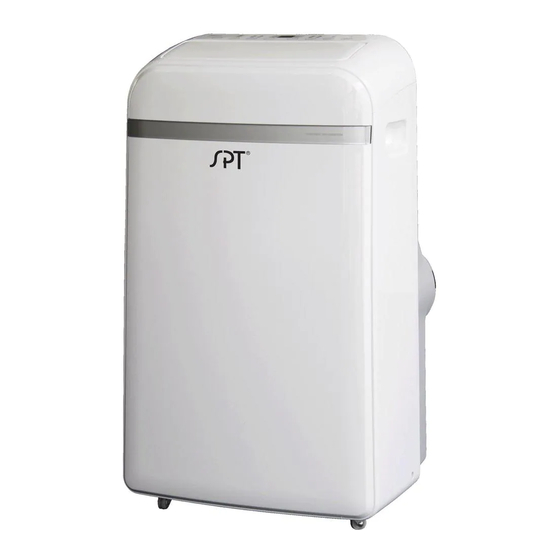
Summary of Contents for SPT WA-1240E
- Page 1 WA-1240E: 12,000 BTU Cooling only WA-I240H: 12,000 BTU Cooling and Heating WA-I420E: 14,000 BTU Cooling onMy WA-1420H: 14,000 BTU Cooling and Heating...
-
Page 2: Table Of Contents
CONTENTS SOCmABLE REMARK Sociable remark ..........................SAFETY PRECAUTIONS Safety rules ............................Operating condition ........................... Electrical information ......................... mDENTIFmCATmON PARTS Accessories ............................Names of parts ........................... AmR CONDmTIONER FEATURES Electronic control operating instructions ................... iNSTALLATiON iNSTRUCTiONS Location ............................Window kit installation ........................Exhaust hose installation ........................ -
Page 3: Sociable Remark
SOCIABLE REMARK DISPOSAL: Do not dispose this product as unsorted municipal waste. Collection such waste separately for special treatment is necessary. It is prohibited to dispose of this appliance in domestic household waste. For disposal, there are several possibilities: A) The municipality has established collection systems,... -
Page 4: Safety Precautions
SAFETY PRECAUTIONS Safety ru|es To prevent injury to the user or other people and property damage, the following instructions must be followed. Incorrect operation due to ignoring of instructions may cause harm or damage. Always do this} Never do this °... - Page 5 iDENTiFiCATiON OF PARTS your safety Do not store or use gasoline or other flammable vapors and liquids in the vicinity of this or any other appliance. Avoid fire hazard or electric shock. Do not use an extension cord or an adaptor plug. Do not remove any prong from the power cord.
-
Page 6: Names Of Parts
iDENTiFiCATiON PARTS NAMES OF PARTS Front Control panel Horizontal louver blade (swings automatically) Caster Carrying handle (both sides) Fig.1 Rear Upper air filter (Behind the grille) Upper air intake Air outlet Drain outlet (Heating models only) Power cord outlet Power cord bracket (for storage purposes only) -
Page 7: Electronic Control Operating
CONDiTiONER FEATURES ELECTRONIC CONTROL OPERATmNG mNSTRUCTIONS Before you begin, thoroughly familiarize yourself with the functions of the control panel and remote controller, then follow the symbol for the functions you desire. The unit can be controlled by the unit control panel alone or with the remote controller. - Page 8 OPERATING iNSTRUCTiONS Error codes and protection code: AUTO operation Room temperature sensor error- When you set the air conditioner in AUTO Unplug the unit and plug it back in. mode, it will automatically select cooling, If error repeats, call for service. heating (for heating models only), or E2- Evaporator temperature...
- Page 9 OPERATING iNSTRUCTiONS SLEEP operation If unit is running in COOL mode when SLEEP function is activated, unit will automatically increase set temperature by 1°C/2°F after 30 minutes. After another 30 minutes, unit will again increase temperature by 1°C/2°F. If unit is running in HEAT mode (heating models only) when SLEEP function is activated, unit will automatically decrease set temperature by 1°C/2°F after 30 minutes.
-
Page 10: Location
iNSTALLATiON iNSTRUCTiONS iNSTALLATiON iNSTRUCTiONS Location • The air conditioner should be placed on a firm foundation to minimize noise and virbration. For safe and secure positioning, place the unit on a smooth, level floor strong enough to support the unit. •... - Page 11 iNSTALLATiON iNSTRUCTiONS |nstallatien for a double-hung sash windew Foam sealA Trim foam seal (with adhesive) to the proper length and attach to window stool (Fig .8) Adjust the length of the slider kit according to the width esive type) of the window. Place slider kit to window stool, on top of foam seal (Fig.9) Fig.8 Trim another foam seal (with adhesive) to the proper...
- Page 12 iNSTALLATiON iNSTRUCTiONS |nstaiiatien sliding sash window 1. Trim foam seal (with adhesive) to the proper length Foam sealA (adhesive type) and attach to window frame (Fig.12). 2. Adjust the length of the slider kit according to the height of the window. Place window slider kit against foam seal (Fig.13).
-
Page 13: Exhaust Hose Installation
NOTE: it is necessary to purchase the following parts for through-the-wail installation: Wall Adaptor (sold separately, please contact Sunpentown at 1=800=330=0388 or visit www.sunpentown.com) Screws & expansion plugs _'.'._ (can be purchased at any hardware store) 47 inches 12 inches 1. - Page 14 ContinuousDrainage - COOL/DRY m odes o Remove theupper drainplugfrombackofunit. o Attach drainconnector (5/8"universal female mender) t oa 3/4"hose(notincluded, purchase fromanyhardware s tore). C onnect tospout. o Position theopenenddirectly overdrainarea. (Fig.20a) Continuous Drainage - HEAT mode hose (heating mode_s on_y) upper drain p_ug adaptor o Remove the lower drain plug from back of the...
-
Page 15: Care And Maintenance
CARE MAINTENANCE CARE MAINTENANCE 1) Be sure to unplug the unit before cleaning or servicing. 2) Do not use gasoline, thinner or other chemicals to clean the unit. Remove 3) Do not wash the unit directly under a tap or spray with screw _thea water hose. - Page 16 TROUBLESHOOTING TiPS TROUBLE SHOOTmNG POSSIBLE CAUSES SUGGEST REMEDIES P1 appears in the display window Drain the water in the bottom tray. Room temperature is lower than Adjust the set temperature. the set temperature.(Cooling mode) The windows or doors in the room Make sure all the windows and are not closed.
-
Page 17: Handlmng The R_=Mote
HANDLING REMOTE CONTROLLER Lecation of the remote centromilero + Use the remote controller within a distance of 26 feet from the appliance, pointing it towards the receiver= Reception is confirmed by a beep= _CAUTION$1 The air conditioner will not respond if curtains, doors or other barriers ¢... -
Page 18: Function Buttons
HANDLING REMOTE CONTROLLER _-Funct_on buttons SET TEMPERATURE(°C) AUTO F -_} FAN | MED COOL L | HIGH H FAT J LOW =C2) MODE SWING ECONOMY TIMER ON RESET LOCK TIMER t£D DISPLAy O TEMP DOWN Button TIMER ON Button Press to activate Auto=on timer. Each press Push this button to decrease set temperature, in increases the timer setting by 30=minutes, up increments of 2°F (I °13).Lowest is 62°F (I 7°C°) - Page 19 HANDLING REMOTE CONTROLLER MODE display indicates the current selected mode: AUTO, COOL, DRY or HEAT (heating models only). Transmission indicator This transmission indicator lights up whenever remote controller is transmitting signals to the AC unit. Temp./Timer display Displays the set temperature (62°F to 88°F/! 7°C to 30°C) or timer setting (0-24h).
- Page 20 HANDLING REMOTE CONTROLLER Us_e remete eentreHer- SET TEMPERATURE(°C) Auto _eratien Ensure the unit is plugged in and power is available. 1. Press the MODE button to selectAuto. TEMP 2_ Press the TEMP up/down button to set desired temperature, between 62°F to 88°F (17°C to 30°C)_ Each press is in ©...
- Page 21 HANDLING REMOTE CONTROLLER ,1" SET TEbtPERAq URE(OC) Swing eperatien AUTO Use the SWING button to adjust the UptDown airflow direction. NEAT[ IL UI 1_When the button is quickly pressed once, the louver is adjusted by 6°_ Keep pressing the button to adjust louver to desired angle_ TEMP A 2_ Press and hold for 2 seconds to activate/deactivate auto-swing function_...
- Page 22 HANDLING REMOTE CONTROLLER TmMER OFF (auto-off operation) //-_ h The TIMER OFF feature is useful when you want the unit to automatically turn off, say after you go to bed. TIMER OFF Example: To have the AC unit turn off after 10 hours: 1_Press the TIMER OFF button.
-
Page 23: Your Guarantm=I
This guarantee is subject to the following terms: • Sunpentown must be notified of the fault. Proof of purchase must be presented to Sunpentown's nominated representative. The warranty will be void if the product if modified, misused or repaired by an unauthorized person.
Need help?
Do you have a question about the WA-1240E and is the answer not in the manual?
Questions and answers