
Related Manuals for SPT WA-1011S


Summary of Contents for SPT WA-1011S
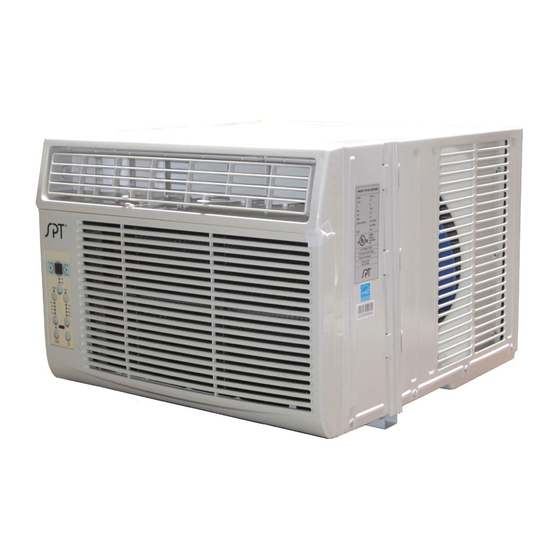
- Page 1 WINDOW / WALL-TYPE ROOM AIR CONDITIONER WA-6011S: 6000 BTU WA-8011S: 8,000 BTU WA-1011S: 10,000 BTU WA-1211S: 12,000 BTU Thank you for your purchase. Before using your air conditioner, please read this manual carefully and keep it for future reference.
-
Page 2: Table Of Contents
CONTENTS 1. SAFETY PRECAUTIONS ………………………………….2 2. IMPORTANT SAFETY INSTRUCTIONS …………………3 3. NORMAL SOUNDS ………………………………………...4 4. AIR CONDITIONER FEATURES …………………………4 5. INSTALLATION INSTRUCTIONS …………………………9 6. CARE AND CLEANING…………………………………...12 7. TROUBLESHOOTING TIPS………………………………13 8. SPECIFICATIONS …………………………………………14 9. REMOTE CONTROL ……………………………………...15 READ THIS MANUAL Inside you will find many helpful hints on how to use and maintain your air conditioner properly. -
Page 3: Safety Precautions
SAFETY PRECAUTIONS To prevent injury or property damage, the following instructions must be followed. Failure to follow instructions and incorrect operation may cause harm or damage. Warning marks and classification: Indicates possibility of death or serious injury. WARNING Indicates possibility of injury or property damage. CAUTION WARNING Ensure plug is firmly connected to prevent electric shock or fire due to excess heat... -
Page 4: Operation Of Current Device
NOTE: For some models, the WARNING – For Your Safety power supply cord with this air conditioner contains a current Do not store or use gasoline or other flammable vapors and detection device designed to liquids in the vicinity of this or any other appliance. reduce the risk of fire. - Page 5 High Pitched Chatter High efficiency compressors may have a high-pitched chatter Vibration during the cooling cycle. Unit may vibrate and make noise because of poor wall or window construction or incorrect installation. Sound of Rushing Air At the front of the unit, you may hear the sound of rushing air being moved by the fan.
-
Page 6: Air Conditioner Features
AIR CONDITIONER FEATURES (CONTINUED) NOTE: The following instruction represent the Unit Controls, the same instructions can be used for the Remote Control. TO TURN UNIT ON: DO THIS: Press the On/Off button. TO CHANGE TEMPERATURE SETTING: NOTE: Press or hold either Left (<) or Right (>) button until the desired temperature is seen on the display. - Page 7 NOTE: TO SELECT THE Press the Mode button to select operating mode. With OPERATING MODE: each press of the button, the mode will go through the following sequence: Auto, Cool, Dry and Fan. The indicator light next to each corresponding mode will illuminate DO THIS: AUTO mode:...
- Page 8 AIR CONDITIONER FEATURES (CONTINUED) SLEEP FEATURE: SLEEP feature: When selected in conjunction with COOL mode: Unit will operate at set temperature for 30 minutes. After 30 minutes, unit will increase temperature by 2° F. After another 30 minutes, unit will again increase temperature by 2°...
- Page 9 ADDITIONAL THINGS YOU SHOULD KNOW Now that you have mastered the operating procedures, here are some additional features: The Cool circuit has an automatic 3-minute time delay when unit is turned off and on quickly. This protects the compressor from overheating and possible circuit breaker tripping. The fan will continue to run during this time.
-
Page 10: Installation Instructions
Your air conditioner is designed install in standard double hung windows with opening widths of 23 to 36 inches (584mm to 914mm) (See Fig.1) Lower sash must have sufficient vertical opening for installation (Table 1). Side and rear of unit needs to be clear of obstacles to allow airflow through condenser. - Page 11 INSTALLATION NOTE: Top rail and side panels are offset to provide the proper pitch to the rear (5/16”). This is necessary for drainage of water condensation. If the side panels are not used, this pitch still needs to be maintained. Place unit on floor or sturdy table.
- Page 12 Install frame lock between the frame extension Insert and secure ½” (13mm) locking screws and the windowsill. Drive a ¾” (19mm) locking through frame holes into window sash. (Fig.9&10) screw through the frame lock and into the sill (Fig.7&8) Note: To prevent the windowsill from splitting, first drill a 1/8”...
- Page 13 CAUTION Clean your air conditioner occasionally to keep I looking new. Be sure to unplug the unit before cleaning to prevent chock or fire hazards. Air Filter Cleaning The air filter should be checked at least once a month to see if cleaning is necessary. Trapped particles in the filter can build up and cause an accumulation of frost on the cooling coils Push the vent handle to the Vent Closed position...
-
Page 14: Care And Cleaning
Before calling for service, review this list, it may save you time and expense. This list includes common occurrences that are not the result of defective workman-ship or materials in this appliance. Wall plug disconnected. Push plug firmly into wall outlet. Air conditioner does not start House fuse blown or circuit breaker tripped. -
Page 15: Specifications
Water dripping Unit removing large quantity of moisture from humid room. This is normal during OUTSIDE when unit is excessively humid days. cooling Remote control not used within range. Place remote control within 20 feet and 180° Remote sensing deactivating radius to the front of the unit. - Page 16 HANDLING THE REMOTE CONTROLLER Location of the remote controller Use the remote control within a distance of 5 meters (5.5 yards) from the appliance, pointing toward the receiver. Reception is confirmed by a beep. CAUTIONS The air conditioner will not operate if curtains, doors or other materials block the signals from the remote controller to the indoor unit.
- Page 17 Press this button to Operation starts when select the desired this button is pressed operation mode from and stops when the AUTO, COOL, DRY and button is pressed again. FAN. Push this button to Push this button to Push this button to increase the increase the temper- decrease the...
- Page 18 Cooling and Fan Operation Ensure the unit is plugged in and power is available. 4. Press the ON/OFF button to start the air conditioner. 5. Press the MODE button to select COOL or FAN mode. 6. In COOL mode, press the TEMP UP/DOWN button to set desired temperature.
- Page 19 Timer Operation Press the TIMER button to initiate the Auto-Start or Auto-Off program. Timer can be set up to 24 hours. 1. Press the TIMER button to program Timer-On or Timer-Off, the corresponding indicator will illuminate on unit’s control panel. 2.
- Page 20 Your Guarantee If this product is found to be faulty as a result of faulty materials or workmanship within one year from date of purchase, it will be repaired free of charge. This guarantee is subject to the following terms: Sunpentown must be notified of the fault.
Need help?
Do you have a question about the WA-1011S and is the answer not in the manual?
Questions and answers
When I reset unit beeps then turns off.