Satel VERSA User Manual
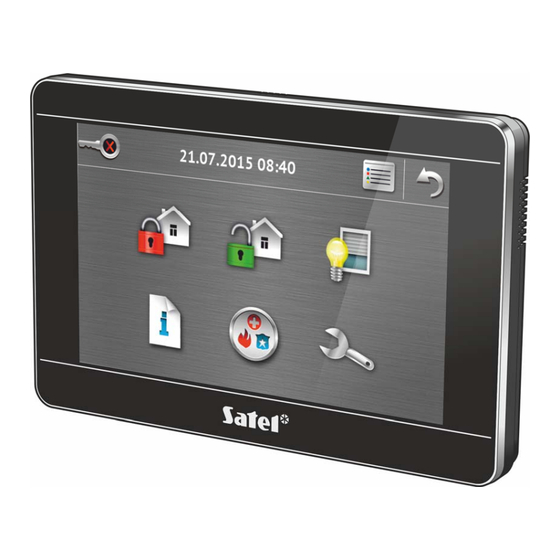
Keypad int-tsh
Hide thumbs
Also See for VERSA:
- Programming manual (87 pages) ,
- User manual (54 pages) ,
- Operating instructions manual (32 pages)

Related Manuals for Satel VERSA


Summary of Contents for Satel VERSA
- Page 1 10/15 Keypad INT-TSH Firmware version 1.00 VERSA • VERSA Plus • VERSA IP Brief System User Manual SATEL sp. z o.o. • ul. Budowlanych 66 • 80-298 Gdańsk • POLAND tel. 58 320 94 00 www.satel.eu...
- Page 2 The installer manual contains information on how to minimize the radio interference. SATEL's goal is to continually upgrade the quality of its products, which may result in alterations of their technical specifications and firmware. The current information on the introduced modifications is available on our website.
-
Page 3: Keypad Description
SATEL Ltd. is a manufacturer of a wide variety of dedicated devices for use in alarm systems. Additional information can be found on our website www.satel.eu or at points of sale offering our products. - Page 4 INT-TSH SATEL etc. The installer defines the content which is to be displayed after the keypad wake-up (status screen, main screen or start of the disarming procedure). Tapping and holding the screen for 3 seconds will trigger a silent panic alarm, if: ...
- Page 5 SATEL INT-TSH Additional information presented on the status screen The keypad with factory settings presents the date and time on the status screen. The installer can customize the information displayed to suit the user needs. Information on the state of selected partitions, zones or outputs, date and time, as well as any text, can be presented on the status screen.
- Page 6 INT-TSH SATEL 1.1.4 Main screen Presented on the main screen are: date and time in the format defined by the installer (if some specific events occur, other messages can be displayed, instead of the date and time, e.g. entry or exit delay countdown, alarm messages, etc.);...
- Page 7 SATEL INT-TSH 1.1.5 Authorization screen Some screens and functions may only be available after user authorization. The authorization is code based. Use the number keys to enter the code and then confirm, tapping the icon. By default, the following codes are preprogrammed in the control panel:...
- Page 8 INT-TSH SATEL Screen with partition selection This screen is displayed when you can arm both partitions. The partitions are presented by means of appropriately described fields. By default, the icon is displayed in both fields, which means that the partition is to be armed. Tap on the field, if the partition is not to be armed (the icon will be displayed).
- Page 9 SATEL INT-TSH 1.1.7 “Alarm clearing / Disarming” screen The “Alarm clearing / Disarming” screen will be displayed after you tap the icon on the main screen, when there is an alarm (alarm memory) and at least one partition is armed.
-
Page 10: System Status Screen
INT-TSH SATEL 1.1.9 “System status” screen Icon Function Displays the “Partition status” screen. Displays the “Zone status” screen. Displays the “Troubles” screen, on which the current troubles are presented (the installer can configure the control panel to display the troubles until cleared). - Page 11 SATEL INT-TSH armed in full mode armed in day mode armed in night mode entry delay countdown is running fire alarm alarm warning alarm tamper alarm fire alarm memory alarm memory warning alarm memory tamper alarm memory Zone status The status of zones is illustrated by means of icons. The icons are designated by numbers corresponding to the zone numbers.
-
Page 12: "Emergency" Screen
INT-TSH SATEL tamper memory alarm memory 1.1.10 “Emergency” screen Icon Function Tapping and holding for 3 seconds will trigger the fire alarm. Tapping and holding for 3 seconds will trigger the medical (auxiliary) alarm. Tapping and holding for 3 seconds will trigger the panic alarm. The installer defines, whether the loud panic alarm (with a loud alarm signal) or the silent one (without a loud signal) will be triggered. - Page 13 SATEL INT-TSH 1.1.11 “Advanced” screen In the lower right corner of the screen you will find information on the keypad firmware version. Icon Function Locking the touch screen for 30 seconds (to clean the screen). Displays the “Backlight” screen. Displays the “Volume” screen Enables updating of the keypad firmware (the function is available after entering the service code).
- Page 14 INT-TSH SATEL Backlight Intensity of the screen backlight can be controlled within the 10-100% range. In the night hours, which can be specified, the backlight intensity can be different. Volume You can define the volume level of sounds generated: when operating the keypad (tapping the keys, confirmation of performed operation, etc.) and signaling the trouble.
-
Page 15: Sound Signaling
LCD keypad with text menu. The method of using such a keypad is described in the control panel programming / user manuals (electronic versions of the manuals are available on the www.satel.eu website). 1.2 Sound signaling The installer can disable the sound signaling. -
Page 16: Operating The Alarm System
INT-TSH SATEL – enabling chime signal in the keypad, using the key; – ending the function and exiting the user menu after confirmation of the data entered. 1 long beep – some zones are bypassed (when arming) or denial of arming (some zones in the partition are violated or there is a trouble). - Page 17 SATEL INT-TSH If exit delay is programmed for a partition, you can leave the partition through the exit route without triggering alarm after the partition arming procedure has started. The exception is when the partition is armed without exit delay.
- Page 18 INT-TSH SATEL 2.1.2 Denial of arming The installer can configure the control panel in such a manner that, if there is any violated zone in the partition or any trouble (including tamper) in the system, the arming procedure will not start, but the terminal and the following message will be displayed: “Zone [zone number] violat.”...
- Page 19 SATEL INT-TSH II. There is an alarm (alarm memory) and 1 partition is armed / you have access to 1 partition The “Alarm clearing / Disarming” screen will be displayed. Tap . The partition will be disarmed. III. There is no alarm (alarm memory) and both partitions are armed A screen will be displayed presenting partitions by means of appropriately described fields.
Need help?
Do you have a question about the VERSA and is the answer not in the manual?
Questions and answers