Sign In
Upload
Download
Table of Contents
Contents
Add to my manuals
Delete from my manuals
Share
URL of this page:
HTML Link:
Bookmark this page
Add
Manual will be automatically added to "My Manuals"
Print this page
×
Bookmark added
×
Added to my manuals
Manuals
Brands
Tenma Manuals
Test Equipment
72-8710
Operating manual
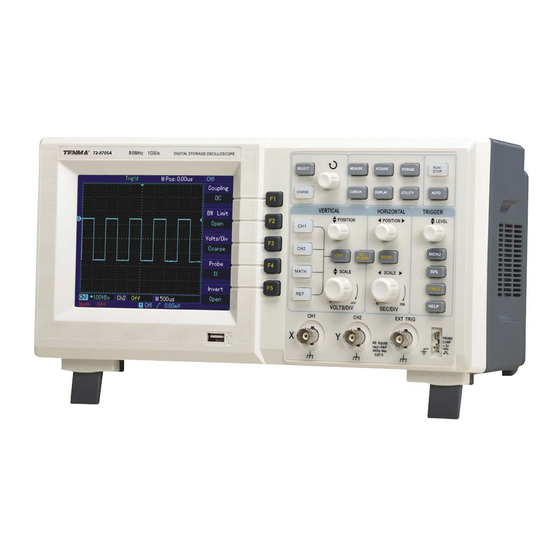
Tenma 72-8710 Operating Manual
Digital storage oscilloscope
Hide thumbs
1
2
3
4
5
6
7
8
9
Table Of Contents
10
11
12
13
14
15
16
17
18
19
20
21
22
23
24
25
26
27
28
29
30
31
32
33
34
35
36
37
38
39
40
41
42
43
44
45
46
47
48
49
50
51
52
53
54
55
56
57
58
59
60
61
62
63
64
65
66
67
68
69
70
71
72
73
74
75
76
77
78
79
80
81
82
83
84
85
86
87
88
89
90
91
92
93
94
page
of
94
Go
/
94
Contents
Table of Contents
Troubleshooting
Bookmarks
Table of Contents
Safety Instructions
Table of Contents
Chapter 1 User Guide
General Inspection
Functional Check
Probe Compensation
Automatic Setup for Waveform Display
Getting to Know the Vertical System
Getting to Know the Horizontal System
Getting to Know the Trigger System
Chapter 2 Instrument Setups
Setting the Vertical System
Setting the Horizontal System
Setting the Trigger System
Pulse Width Trigger
Alternate Trigger
Setting the Sampling System
Setting the Display System
Storage and Recall
Utility Function Setup
Automatic Measurement
Cursor Measurement
Using the Run Button
Chapter 3 Practical Example Illustrations
Illustration 1 : Measuring Simple Signals
Illustration 2 : Observing the Delay and Time-Lapse Caused by a Sine Wave Signal Passes through the Circuit
Illustration 3 : Acquiring Single Signals
Illustration 4 : Reducing Random Noise of Signals
Illustration 5 : Using the Cursors for Measurement
Illustration 6 : Using the X-Y Function
Illustration 7 : Using the USB Upgrade Programme
Illustration 8 : Screen Copy
Chapter 4 System Prompts and Trouble-Shooting
Definitions of System Prompts
Troubleshooting
Chapter 5 Technical Indicators
Appendix A : Technical Indicators
Appendix B : Accessories for DSO Series Digital Storage Oscilloscope
Appendix C : Maintenance and Cleaning
Index
Advertisement
Quick Links
1
Chapter 1 User Guide
2
Functional Check
3
Automatic Setup for Waveform Display
4
Storage and Recall
5
Chapter 5 Technical Indicators
Download this manual
OPERATING
MANUAL
Table of
Contents
Previous
Page
Next
Page
1
2
3
4
5
Advertisement
Table of Contents
Need help?
Do you have a question about the 72-8710 and is the answer not in the manual?
Ask a question
Questions and answers
Subscribe to Our Youtube Channel
Related Manuals for Tenma 72-8710
Test Equipment Tenma 72-8705 Operating Manual
Digital storage oscilloscope (94 pages)
Test Equipment Tenma 72-2650 User Manual
Digital storage oscilloscope (29 pages)
Test Equipment Tenma 72-2650 Operating Manual
Digital storage oscilloscope (75 pages)
Test Equipment Tenma 72-6802 User Manual
30mhz dual trace oscilloscope (21 pages)
Test Equipment Tenma 72-7910 Manual
Digital storage oscilloscope (57 pages)
Test Equipment Tenma 72-9405 Quick Start Manual
Digital insulation resistance tester (8 pages)
Test Equipment Tenma 72-3575 Manual
Voltage & continuity tester (12 pages)
Test Equipment Tenma 72-3580 Manual
Voltage & continuity tester (12 pages)
Test Equipment Tenma 72-6947 Instruction Manual
Audio impedance tester (8 pages)
Test Equipment Tenma 72-7630 Instructions Manual
4 channel digital storage oscilloscope (32 pages)
Test Equipment Tenma 72-9355 Manual
Digital storage oscilloscope (29 pages)
Test Equipment Tenma 72-14520 Instructions Manual
Digital phosphor storage oscilloscope (49 pages)
Test Equipment Tenma 72-7615 Operating Manual
Digital storage oscilloscope (80 pages)
Test Equipment Tenma 72-7985 Manual
Hdtv + pc video pattern generator (11 pages)
Test Equipment Tenma 72-3565 Manual
Multifunction voltage tester (8 pages)
Test Equipment Tenma 72-9400A User Manual
Insulation resistance tester (6 pages)
This manual is also suitable for:
72-8705
Table of Contents
Print
Rename the bookmark
Delete bookmark?
Delete from my manuals?
Login
Sign In
OR
Sign in with Facebook
Sign in with Google
Upload manual
Upload from disk
Upload from URL


Need help?
Do you have a question about the 72-8710 and is the answer not in the manual?
Questions and answers