Advertisement
Table of Contents
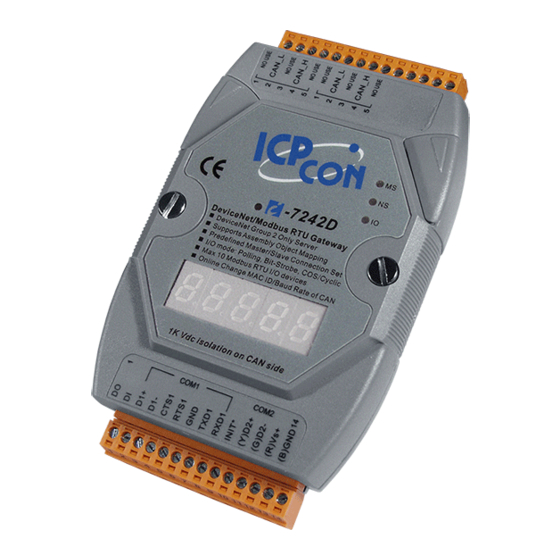
The I-7242D DNS/Modbus RTU Gateway
1. Introduction
This user guide introduces the user how to implement the I-7242D
module into their applications in a quick and easy way. Therefore, it only
provides the basic instructions. For more detailed information, please refer
to the I-7242D user manual located on the ICPDAS CD-ROM or download
it from the ICPDAS web site:
ftp://ftp.icpdas.com.tw/pub/cd/can_cd/devicenet/gateway/i-7242d/manual/
The sake of this manual is focused on helping users to quickly
familiarize themselves with the I-7242D module. Users can apply the
I-7242D module as follows.
I-724D DNS/Modbus RTU Quick Start User Guide, July 2006, Version 1.1 ------ 1
Quick Start User Guide
Advertisement
Table of Contents

Related Manuals for ICP DAS USA I-7242D


Summary of Contents for ICP DAS USA I-7242D
- Page 1 Therefore, it only provides the basic instructions. For more detailed information, please refer to the I-7242D user manual located on the ICPDAS CD-ROM or download it from the ICPDAS web site: ftp://ftp.icpdas.com.tw/pub/cd/can_cd/devicenet/gateway/i-7242d/manual/...
- Page 2 I-7242D to Modbus device which device address is 0x01. The number format is hex. For more information, please refer to section 2.5 of the I-7242D User’s Manual. I-724D DNS/Modbus RTU Quick Start User Guide, July 2006, Version 1.1 ------ 2...
- Page 3 7242D to the PC’s COM port with the download cable, CA0910F. Initial the I-7242D by connecting the Init * pin with the GND pin. Power on the I-7242D and execute the DNS_MRU Utility order configure the I-7242D. Then it will establish the EDS file automatically.
-
Page 4: Software Installation
Utility/. Step 2: Before you use the software, connect the I-7242D with your computer correctly. Then turn off the I-7242D and connect the INIT* pin with the GND pin of the I-7242D. Step 3: Turn on the I-7242D. And execute the DNS_MRU Utlility.exe file. Thus the startup figure would be displayed. - Page 5 Step 4: Select PC’s COM port correctly. Then press the “Connect” button to connect with the I-7242D. Then it would take few seconds to read the communication parameters stored in the I-7242D’s EEPROM. Step 5: After reading parameters from EEPROM, a related information dialog box will be displayed.
- Page 6 Step 7: After the configuration of Modbus devices parameters, press the “Next” button and start to build the specific EDS file for the I-7242D. Set the EDS file information and give it a description in the description box. Then set the poll, strobe-bit and COS/Cyclic I/O connection path for the I-7242D.
- Page 7 Step 8: The last step is to press the “Finish” button to create the EDS file and store these setting in the I-7242D. You can find the EDS file “MBDNS_x.eds” in the path of DNS_MRU.exe. 6. The relation of application and assembly objects...
- Page 8 The components of assembly objects in I-7242D Assembly Object Instance Component devices Data Length (Byte) (ID, Address) 0x64 DO: 2 1(00016~00001) 0x65 AO: 6 2(40001~40003) 0x66 DI: 1 3(10007~10001) 0x67 AI: 8 4(30001~30004) “User-defined Modbus Device Object” ( 0x64 ) attributes:...
Need help?
Do you have a question about the I-7242D and is the answer not in the manual?
Questions and answers