Advertisement
Packing List
In addition to this guide, the package includes the following items:
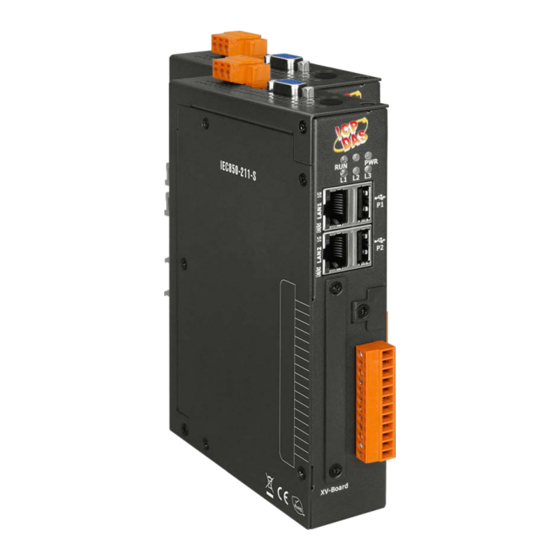
DNP-211
Technical Support
service@icpdas.com
www.icpdas.com
For Desktop Web
Screw Driver
Resources
How to search for drivers, manuals and
spec information on ICP DAS website.
For Mobile Web
DNP-211
DNP-211-S
DNP-211 Quick Start
A microSD card and a
CA-0910
micro SD/SD adapter
v1.0, Oct 2021
P1
Advertisement
Table of Contents

Related Manuals for ICP DAS USA DNP-211


Summary of Contents for ICP DAS USA DNP-211
- Page 1 DNP-211 Quick Start v1.0, Oct 2021 Packing List In addition to this guide, the package includes the following items: A microSD card and a DNP-211 Screw Driver CA-0910 micro SD/SD adapter Resources How to search for drivers, manuals and Technical Support spec information on ICP DAS website.
- Page 2 1 Connect to PC, Internet, IED and Power Step1. Connect PC and DNP3 slave (IED) to LAN1 of DNP-211 with Ethernet switch. Step2. Provide +10 ~ +48 V power to DNP-211. 2 Execute DNP-211 Utility to set DNP-211 Step1. Input IP address and port to configure Modbus TCP of DNP-211.
- Page 3 3 Configure DNP3 Slave Step1. Click the tab page of configured slave. Step2. Select connection mode (TCP, UDP and Serial). Step3. Input IP address or select Com port follow the connection mode. Step4. Input DNP3 slave ID, can’t be the same as the DNP3 master.
- Page 4 Step3. Click “Upload” button, input the DNP-211 IP address (factory default is 192.168.0.1). Step4. Select the configuration file that just exported to upload. Step5. Reboot the DNP-211; the DNP-211 will enable the new configuration file. 6 Read and Test Step1. Execute “DNP-211 Reader” and import configuration file.
Need help?
Do you have a question about the DNP-211 and is the answer not in the manual?
Questions and answers