Table of Contents
Advertisement
Quick Links
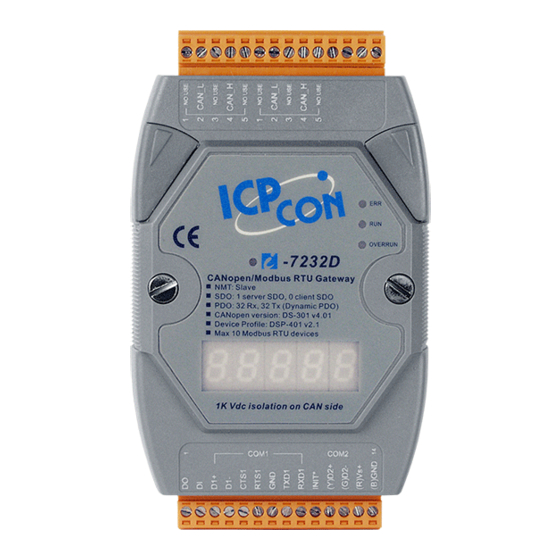
The I-7232D CANopen/Modbus Gateway
1. Introduction
This user guide describes how to implement the I-7232D module into
users' applications in a quick and easy way. Therefore, it only provides the
basic instructions. If users want to know more detail information about the
I-7232D, please refer to the I-7232D user manual in the product CD or
download it from following web site:
http://www.icpdas.com/download/can/index.htm
The purpose of this manual is focused on helping users to quickly
familiarize themselves with the I-7232D module. Users can apply the I-
7232D module as follows.
PISO-CAN200/400
PISO-CPM100
PC
I-8421
CANopen
Device
I-7232D CANopen/Modbus RTU Quick Start User Guide (Version 1.1,March/2006, I-7232D) -----1
Quick Start User Guide
CANopen
Modbus RTU
Salve
Master
CPS_Modbus RTU
Gateway
RS-485
Modbus RTU
(M-7000)
Advertisement
Table of Contents

Related Manuals for ICP DAS USA I-7232D


Summary of Contents for ICP DAS USA I-7232D
- Page 1 Therefore, it only provides the basic instructions. If users want to know more detail information about the I-7232D, please refer to the I-7232D user manual in the product CD or download it from following web site: http://www.icpdas.com/download/can/index.htm...
- Page 2 CAN Baud rate: RS-485 Baud rate: 800 K bps 57600 bps Refer to the right Refer to the right 1000 K bps 115200 bps hand side table hand side table I-7232D CANopen/Modbus RTU Quick Start User Guide (Version 1.1,March/2006, I-7232D) -----2...
- Page 3 4.How to Start I-7232D CANopen/Modbus RTU Quick Start User Guide (Version 1.1,March/2006, I-7232D) -----3...
- Page 4 (Note: We use the ICPDAS M-7000 series Modbus RTU modules for this demo, if users want to use any other Modbus RTU device, please configure the communication parameters of this device firstly.) Step 3: Turn off the I-7232D firstly. Connect the INIT* pin and the GND pin on the I- 7232D. Then, turn on the I-7232D.
- Page 5 Warning dialog as follows. This situation may be happen because the connection between PC and I-7232D is broken during the CAN_MRU.exe is writing the data to the I-7232D EEPROM. Users can repeat the steps from 2~5 to solve this problem)
- Page 6 “Next” button to next step. Step 8: You have to input the Modbus device NodeID, Relay Address, Register/Relay Address and Data Length for one Modbus device connected with I-7232D. These parameters are decided from this Modbus RTU device. Then click “ADD”...
- Page 7 “Delete” button, the device information will be removed.) Users can click on the “PDO Information” or “Modbus Information” button to view the PDO objects or Modbus RTU devices configuration information. These information dialogs are shown below. I-7232D CANopen/Modbus RTU Quick Start User Guide (Version 1.1,March/2006, I-7232D) -----7...
- Page 8 Step 9: If everything is ok, click the “Finish” button to create the EDS file and save the related information into the EEPROM of the I-7232D. Step 10: Turn off the I-7232D, and remove the wire between the Init* pin and GND pin of the I-7232D, Then power on the I-7232D. When the I-7232D has finished the initialization, the RUN LED on the I-7232D will be flashed about twice per second, and the I-7232D is into the NMT pre-operational state.
Need help?
Do you have a question about the I-7232D and is the answer not in the manual?
Questions and answers