Advertisement
Quick Links
Building instructions
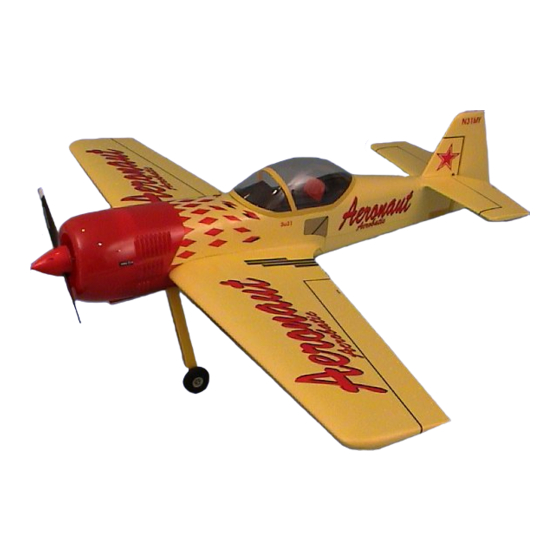
Sukhoi SU 31M
Electric RC model aircraft
Order No. 1352/00
Specification
Wingspan
Length
Wing area
Tailplane area
Weight
RC functions
- Elevator
- Ailerons
- Rudder
- Speed controller or motor switch
Recommended power system
actro CL 6 (Köhler) and actronic 40-18
12 cells 13 x 8" propeller
Fun 480/33/5,2 (Kontronik)
10 cells 14 x 8" propeller
12 cells 13 x 7" propeller
aero-naut Modellbau GmbH & Co. KG
Stuttgarterstr. 18-22
D-72766 Reutlingen
Germany
http://www.aero-naut.com
© aero-naut Modellbau GmbH & Co. KG
Building instructions - Sukhoi SU 31M
approx. 1410 mm
approx. 1120 mm
approx. 37 dm²
approx. 7.2 dm²
approx. 2000 g
Sukhoi SU 31M
1
Advertisement

Related Manuals for aero-naut Sukhoi SU 31M


Summary of Contents for aero-naut Sukhoi SU 31M
-
Page 1: Building Instructions
Fun 480/33/5,2 (Kontronik) 10 cells 14 x 8” propeller 12 cells 13 x 7” propeller aero-naut Modellbau GmbH & Co. KG Stuttgarterstr. 18-22 D-72766 Reutlingen Germany http://www.aero-naut.com © aero-naut Modellbau GmbH & Co. KG Building instructions - Sukhoi SU 31M... - Page 2 Separate the two elevator panels from the tailplane at both tips using a sharp knife (Figs. 3 + 4). Cut away the central area between the two elevators (Fig. 3); at a later stage this part is glued to the tail end of the fuselage. Building instructions - Sukhoi SU 31M...
- Page 3 (14) with a drop of epoxy, then fit a self-tapping screw in each and remove it again immediately; the epoxy hardens the threaded holes. Tape the cowl sections together at the front using adhesive film (scrap decal sheet material). Building instructions - Sukhoi SU 31M...
- Page 4 Cut out the individual decals and apply them to the model in the arrangement shown in the kit box illustration. Control surface travels Elevator: 20 mm each side Rudder: 50 mm each side Ailerons: 30 mm each side Building instructions - Sukhoi SU 31M...
- Page 5 16 Motor mount, side piece Plywood 3 mm Laser-cut 17 Motor mount, side piece Plywood 3 mm Laser-cut 18 Motor mount, front Plywood 3 mm Laser-cut 19 Motor mount, bottom Plywood 3 mm Laser-cut Building instructions - Sukhoi SU 31M...
- Page 6 58 Self-adhesive film strip, rudder Plastic, 105 x 20 mm Ready made 59 Pushrod retainer clip Plastic 7489/07 60 Wing retainer screw reinforcement Balsa 2.5 mm Die-cut 61 Decal sheet Self-adhesive film 62 Building instructions Building instructions - Sukhoi SU 31M...
Need help?
Do you have a question about the Sukhoi SU 31M and is the answer not in the manual?
Questions and answers