Table of Contents
Advertisement
Quick Links
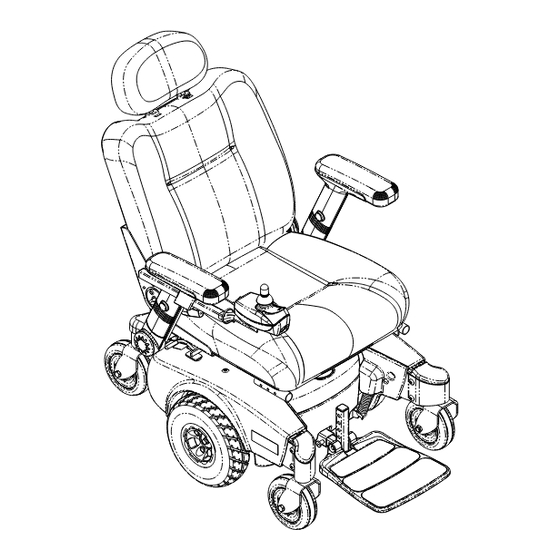
Owner's Operator and Maintenance Manual
Pronto
M50
, M51
and
®
™
™
M61
with SureStep
™
™
DEALER: This manual MUST be given to
the user of the wheelchair.
USER: BEFORE using this wheelchair, read
this manual and save for future reference.
For more information regarding
Invacare products, parts, and services,
please visit www.invacare.com
Advertisement
Table of Contents
Troubleshooting


Need help?
Do you have a question about the M50 and is the answer not in the manual?
Questions and answers