Table of Contents
Advertisement
Quick Links
Download this manual
See also:
Instruction Manual
I n s t r u c t i o n M a n u a l
144.5 cm
(56.9 in)
2250 gr
114.5 cm
(4.95 lbs)
(45.1 in)
All wood construction.
95% almost ready to fly.
All accessories are included.
Most parts are cut by laser machine.
Easy to assemble and easy to prepair.
Pre-covered and decorated
with real iron - on film.
40 - 46
two stroke
4 channels
4 servos
Advertisement
Table of Contents

Summary of Contents for Phoenix Model CLASSIC
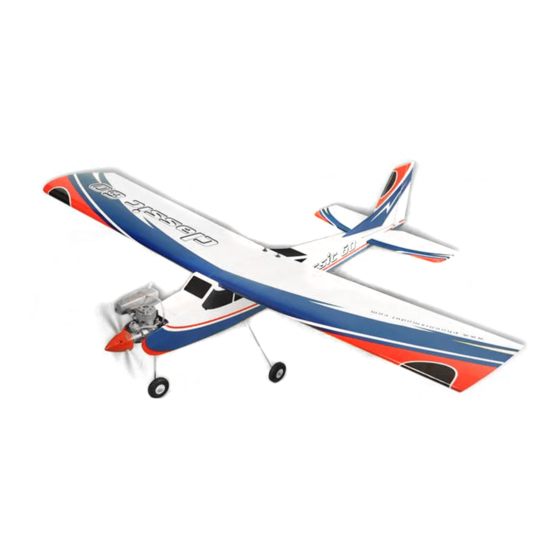
- Page 1 I n s t r u c t i o n M a n u a l All wood construction. 95% almost ready to fly. All accessories are included. Most parts are cut by laser machine. Easy to assemble and easy to prepair. Pre-covered and decorated with real iron - on film.
-
Page 2: Joining The Wing Halves
Instruction Manual Classic Joining the wing halves. Joining the wing halves. Center line Draw a center line. Remove the covering. Glue the wing joiner to the wing. Apply the epoxy into the wing section. Glue the wing by epoxy. Apply the trim tape to the center section of the wing where they join. - Page 3 Instruction Manual Classic Nylon clasp Bend "L" the aileron pushrod. Attach the nylon clasp to the aileron Make the same way to install the servo arm. second aileron pushrod. Installing the horizontal and vertical. Installing the horizontal and vertical. Center line Remove the covering from the fuselage.
- Page 4 Instruction Manual Classic Joining the landing gear and nose gear. Joining the landing gear and nose gear. Collar Gear The landing gear and nose gear. Install the collar. Install the wheel. Cut away the covering on the fuselage. Install the landing gear.
- Page 5 Instruction Manual Classic Install the rudder servo. Install the metal connector to the servo Connect the rudder pushrod and the arm. nose gear pushrod to the rudder servo. Cut away the rudder pushrod. Secure the nose gear pushrod. Bend "L" the rudder pushrod.
-
Page 6: Installing The Fuel Tank
Instruction Manual Classic Installing the fuel tank. Installing the fuel tank. Cut away the fuel tube. Install the stopper to the tank. Secure the stopper. Install the silicone tube to the tank. Slide the fuel tank into the fuselage. Secure the fuel tank by foam and wood. -
Page 7: Installing The Wing
Instruction Manual Classic Installing receiver battery and switch. Installing receiver battery and switch. Switch Battery Receiver Install the switch. Secure the switch. Install the radio. Installing the wing. Installing the wing. Remove the covering from four holes Install two dowels into the fuselage. -
Page 8: Control Throws
CONTROL THROWS BALANCING 1. We highly recommend setting up a plane using the 1. It is critical that your airplane be balanced correctly. control throws listed. Improper balance will cause your plane to lose control and crash. 2. The control throws should be measured at the widest point of each control surface.


