Table of Contents
Advertisement
Quick Links
Advertisement
Table of Contents

Related Manuals for Godex C690LJ


Summary of Contents for Godex C690LJ
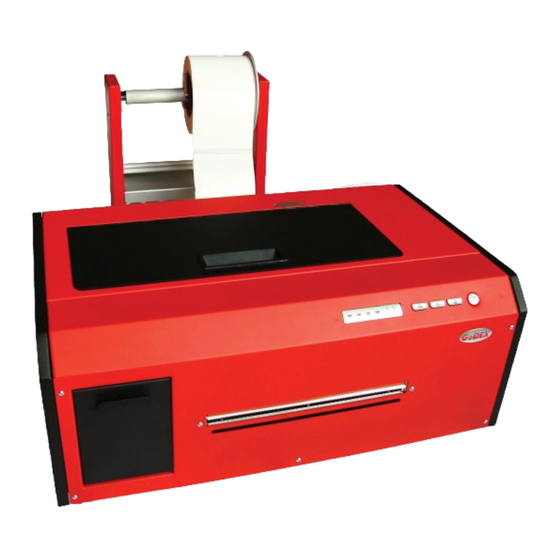
- Page 1 C690LJ Label Inkjet Printer User Manual...
-
Page 2: Table Of Contents
Contents 1. Installing the driver in MS Windows ..............2. Getting the printer ready for operation ..............2.1. Connecting the power supply unit ..............2.2. Installing the print heads ................2.3. Installing the ink cartridges ................. 2.4. Initialization ..................... 3. Preparing for the first label print job ..............3.1. -
Page 3: Installing The Driver In Ms Windows
1. Installing the driver in MS Windows This section guides you through the driver installation. Please follow the instructions below. Please make sure to FIRST complete the installation on your computer and THEN connect the printer. 1. Download the driver from our website or insert the driver CD in your CD/DVD drive. Double-click the button setup.exe file to run it. - Page 4 6. Click “Install” to confirm and continue with the driver installation. 7. The necessary files are unpacked and copied to your computer. This may take a few minutes. 8. Click "Finish" to continue with the installation. 9. Now connect the printer with the host computer. Once they are connected, the computer should detect and automatically install the printer.
-
Page 5: Getting The Printer Ready For Operation
2. Getting the printer ready for operation 2.1. Connecting the power supply unit The connection panel is located at the back of the printer on the left. Connect the blue plug of the power supply unit to the top jack. Once the power supply unit is connected to the mains, switch on the printer. -
Page 6: Installing The Print Heads
2.2. Installing the print heads Open the printer cover..press the Feed button and keep it press... - Page 7 ... until the print head carriage has moved to the far left (service position) and stops. Lift the print head release lever.
- Page 8 Then install the two print heads. "KY" is for black and yellow, "MC" for magenta and cyan. Please make sure you read the instructions included with the print heads. Lower the print head release lever and close the printer cover.
-
Page 9: Installing The Ink Cartridges
2.3 Installing the ink cartridges To install the ink cartridges, open the cover of the ink cartridge compartment fully. Now install the cartridges in the correct slots. Each slot is marked with the respective colour. The arrow on the cartridge has to point downwards. Please make sure you read the instructions included with the ink cartridges. -
Page 10: Initialization
2.4. Initialization Once you have installed the print heads and ink cartridges, the printer will start initialisation. This is a fully automatic process that will run every time you change the print heads or ink cartridges. Please wait with any other actions until the printer has completed initialisation and stopped making any sounds. - Page 11 Move the adjustable label guide on the right up to the label stock and secure the guide with the screw. The label guides should hold the label stock securely without squashing the liner. The labels should move through the feeder easily and without creasing. Gently push the label stock to the feed point (first resistance felt).
-
Page 12: Toolbox Functions
4. Toolbox functions The Toolbox has a number of functions for changing the printer settings. It also lets you access printer maintenance functions and provides status information about the consumables. (Please note that this image of the Toolbox is for illustration only. The final version will look a little different, though it will have the same scope of functionality.) 4.1. -
Page 13: Print Settings
4.2 Print Settings 1. Print medium type: • Labels with gaps • Labels with black marks • Z-fold / continuous print medium • Cut sheets 2. Print medium height: When using a continuous print medium or cut sheets, the maximum height setting is 300 mm. - Page 14 4. Cut type: Manual tear bar: With this setting, labels have to be torn off or removed • manually. 5. Adjust left margin (mm): Use this setting to prevent white margins on your labels. If a white margin is visible on the left or right of the label, enter a positive or negative value to correct it.
- Page 15 8. Auto cap timeout (sec): The print head is closed automatically after 5 seconds in "Ready" status. You can edit this interval as required. 9. Properties: • AUTO LF: With this option enabled, the printer will automatically carry out an LF calibration before starting a print job.
-
Page 16: Media Control
4.3. Media control 1. LF Motor calibration:: Use this button if the "Auto mode" is disabled in the settings and the printer displays the message "LF motor calibration error". 2. Enable gap sensor: Use this command if the gap sensor values stored in the printer have been lost and the printer does not detect the gaps during printing. -
Page 17: Service Menu
4.4. Service menu 10. Calibrate print head: This option guides you through the adjustment of the print heads. You may need to adjust the print heads if the printout is blurred or after you have changed a print head. Follow the instructions on the screen. 11. - Page 18 Light/Medium/Thorough The Toolbox offers three cleaning levels for the print heads. If white lines appear in your printouts, start with "Light". If the lines persist after this light cleaning procedure, run "Medium" cleaning. "Thorough" cleaning should be used in emergencies only. If used too frequently, the print head may be damaged.
-
Page 19: Lines On Printout
4.5. Lines You can correct white or dark lines on the printout in normal print mode by adjusting the three above parameters. 4.6 Ink Status... -
Page 20: Print Medium Status
4.7 Print medium status 4.8 Printer ID... -
Page 21: Error Details
4.9. Error Details 4.10. About Toolbox Click for information about the Toolbox version.
Need help?
Do you have a question about the C690LJ and is the answer not in the manual?
Questions and answers